We replace the rear wheel pads in case of damage, oiling and wear of the pads to a thickness of less than 1 mm.
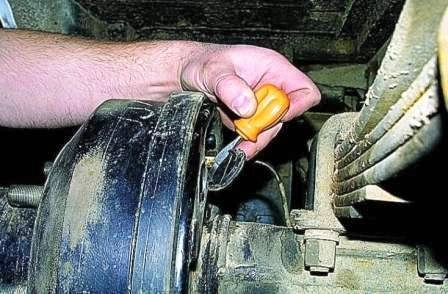
Check the condition of the friction linings of the brake pads through the inspection hole, after removing the plug
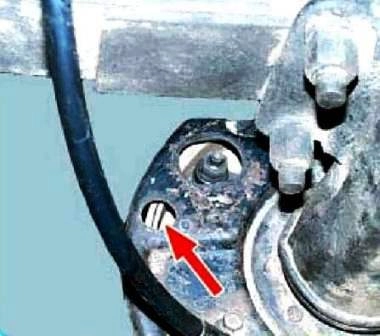
We replace the drum if it is damaged, cracked, or the working surface is worn out up to a diameter of more than 283 mm.
We replace all four rear wheel pads at the same time.
Brake drums are machined complete with hubs, so we install the removed drums only in their original places.
The factory manual recommends turning new drums assembled with the hub before installing them on the car.
Never press the brake pedal after removing the brake drum.
Remove the rear wheels.
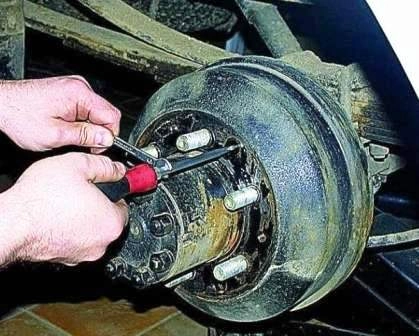
Using a large slotted screwdriver, unscrew the three screws securing the brake drum to the hub.
You can use an impact screwdriver
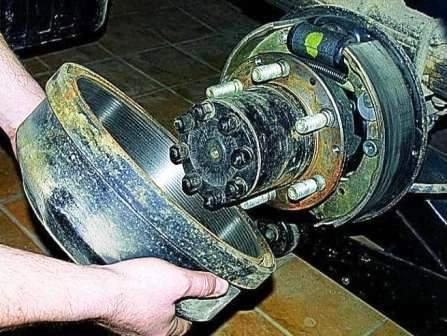
Remove the drum.
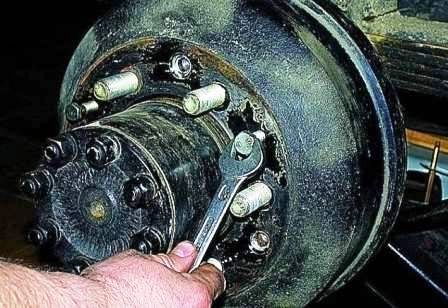
If it is difficult to remove the drum, you need to bring the pads together.
In case of a tight fit or “sticking” of the drum to the hub, you can compress it by screwing two M10 bolts into special holes.
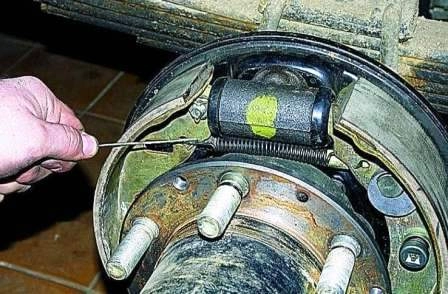
Use a hook or thin pliers to remove the end of the return spring from the hole in the rear brake shoe.
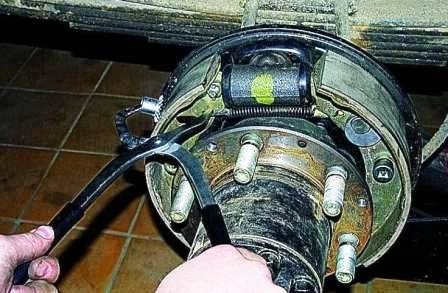
It is more convenient to use a special device for this.
From the inside of the brake shield with one hand, press the cap of the rear brake shoe rod, with the other hand on the cup, compressing the spring.
Turn the spring cup 90°.
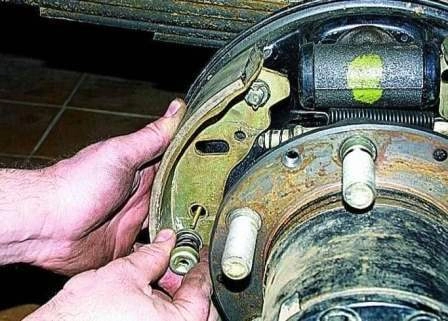
This will align the notch on the cup with the axle tip.
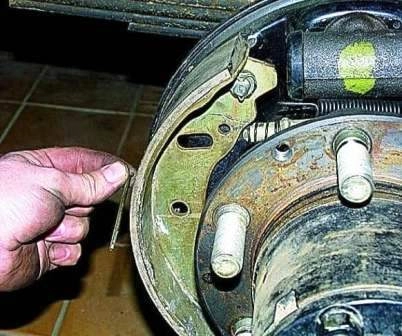
Remove cups with spring
We take out the rod (soldier) from the hole in the brake shield
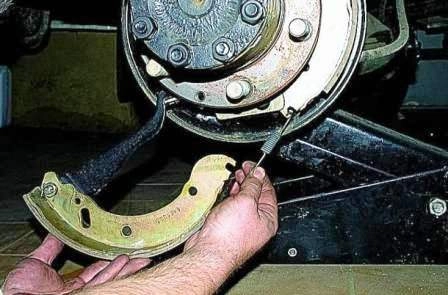
By turning the rear shoe, remove the lower return spring
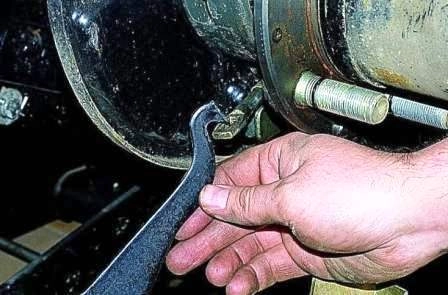
Remove the parking brake lever from the tip of the cable.
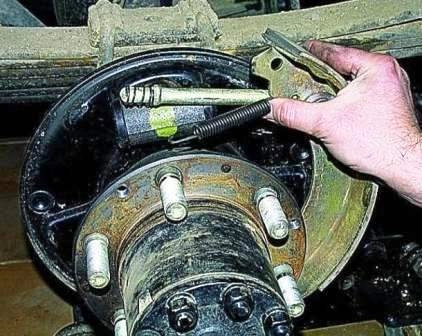
Similarly, remove the fastening of the front brake pad to the brake shield, and remove the front pad
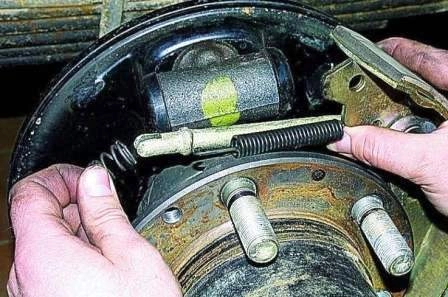
Remove the return spring from the block and the spring from the spacer rod.
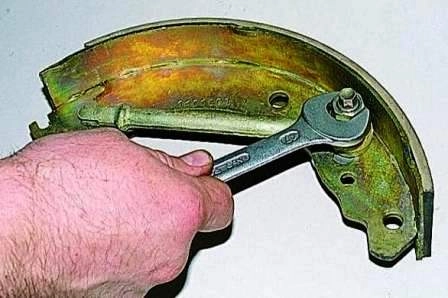
Using the “17” key, we unscrew the nut that fastens the rod to the block
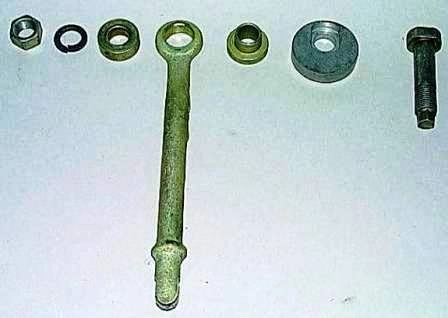
Remove the parts of the parking brake adjustment mechanism.
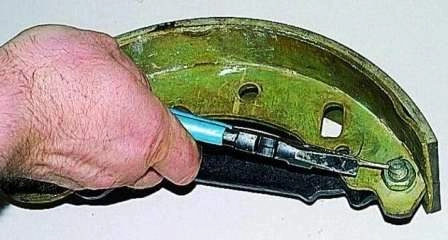
Using pliers, unpin the nut securing the parking brake lever.
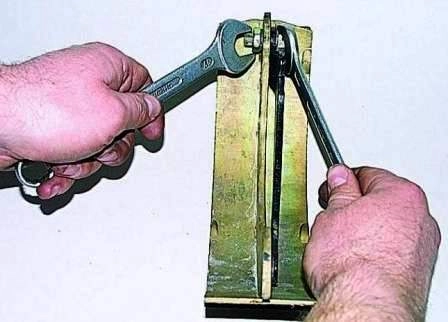
Holding the fastening bolt with the “17” key, unscrew the nut with the same key
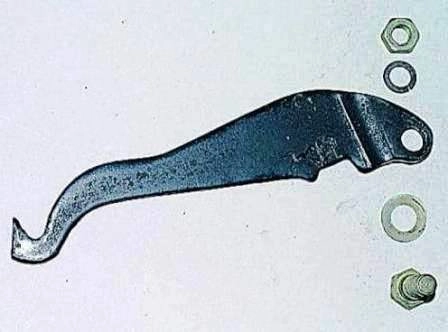
We take out the bolt and remove the fastening parts of the parking brake lever to the shoe
We rearrange the removed parts to new pads.
We install new brake pads in reverse order, after which we adjust the gap between the pads and the brake drum.
We install the drum, lubricating its landing belt with SHRUS-4 grease or graphite grease.
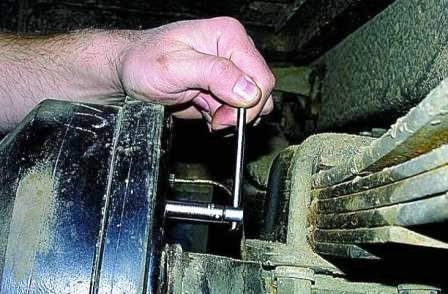
If you have difficulty installing the brake drum, bring the shoes together by turning the eccentric counterclockwise as far as it will go.
We install the wheels and press the brake pedal several times to self-install the elements of the brake mechanisms.
We finally tighten the wheel nuts with the car standing on the ground, evenly crosswise with a torque of 300-380 Nm.


