The car's power plant is mounted using three supports
Two supports with rubber cushions are located on the sides of the engine and one support is located under the gearbox
The side supports are identical in design and are replaced using the same techniques.
To replace the front cushions of the car, we install the car on an inspection ditch or lift.
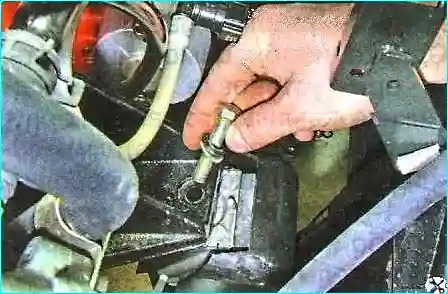
To remove the left cushion, unscrew the bolt securing the left support to pillow.
Unscrew the bolt securing the pillow to the frame crossmember.
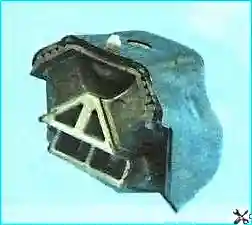
Lift the engine so that the pillow is released, and remove it from the frame crossmember.
Install the pillow in the reverse order.
When installing the engine bracket on the pillow, make sure that the pillow pin fits into the bracket hole (use a mounting tool).
Replacing the right engine mount
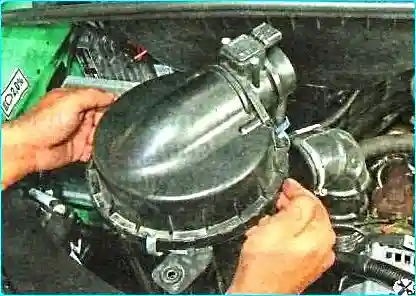
To remove the right mount, remove the air filter
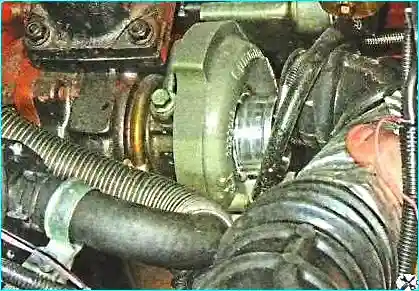
Disconnect the air supply hose
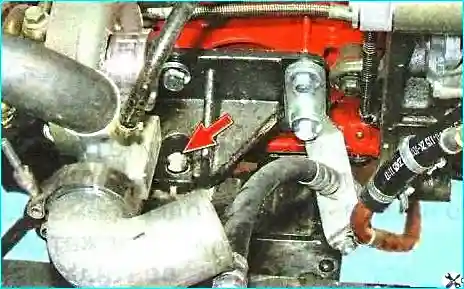
Unscrew the bolt securing the right support to the mount
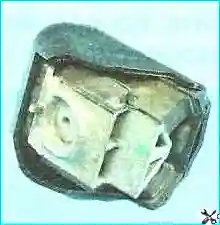
Unscrew the bolt securing the mount to the frame crossmember
Lift the engine enough to release the mount and remove it from the frame crossmember.
Install the cushion in the reverse order.
When installing, make sure the pin fits into the hole in the bracket.
Replacing the rear engine mount
Raise the car on a lift or install it in an inspection pit.
Place a jack or hydraulic support under the gearbox.
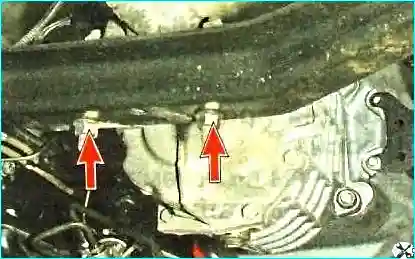
Unscrew the two nuts securing the rear mount cushion to the crossmember
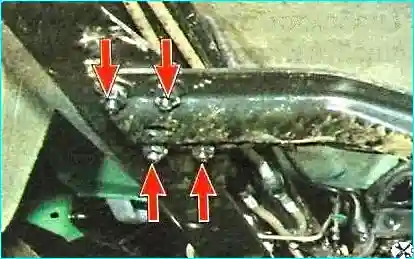
Unscrew the four nuts securing the crossmember on the left side
Unscrew the four nuts securing the crossmember on the right side
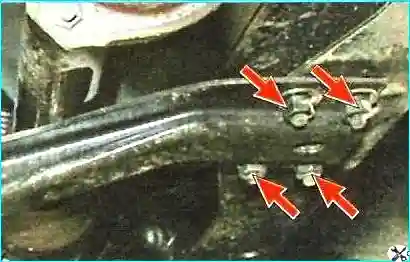
Remove the crossmember and remove support
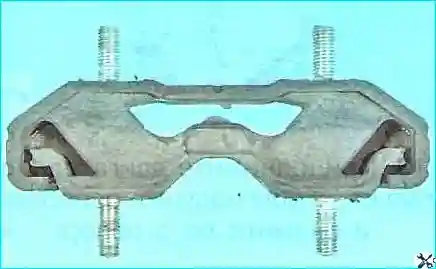
We install the rear support of the power unit in the reverse order.


