We disassemble the shock strut to replace the elements of the telescopic strut
To disassemble the shock strut, you need a spring compressor and a 19 wrench
Remove the shock absorber strut as described in the previous article
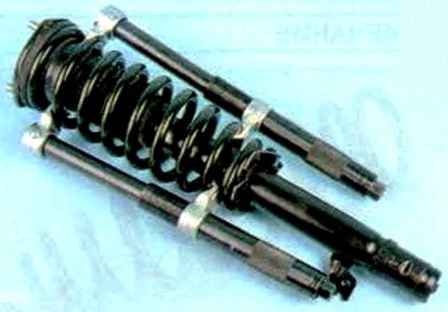
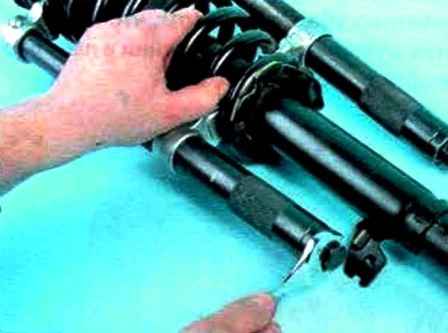
Install the spring compressor and compress the spring
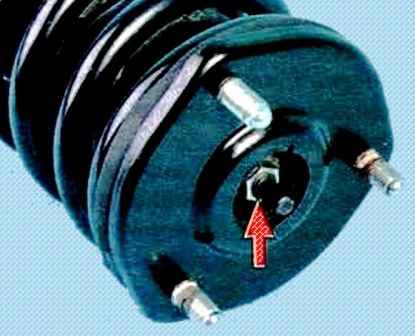
Unscrew the stem nut, keeping the stem from turning
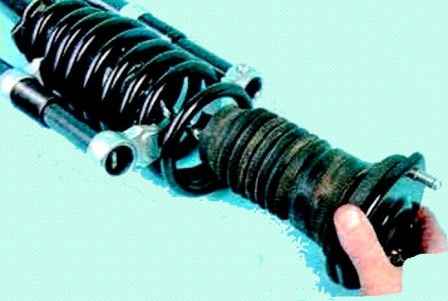
Remove the upper strut support assembly with compression buffer and protective cover
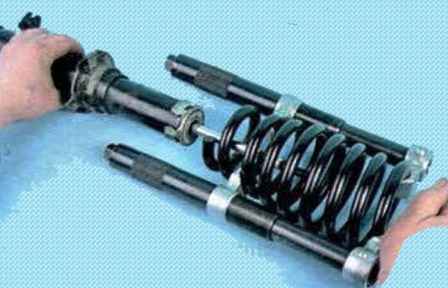
Remove the front suspension spring
Springs are replaced in pairs (right and left at the same time)
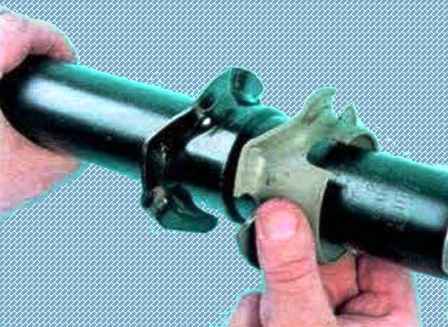
Remove the protective cap of the shock absorber
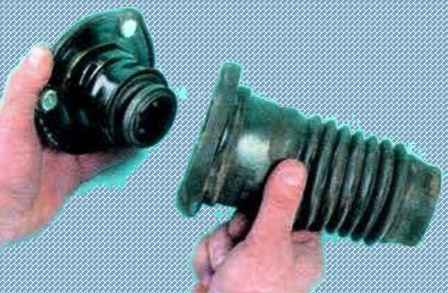
Remove the protective cover from the upper support of the shock strut
We replace the damaged cover with a new one
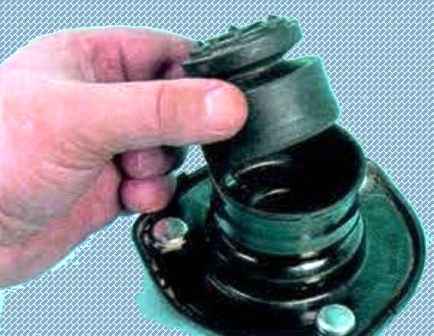
Remove the compression buffer
Replace the damaged compression buffer with a new one
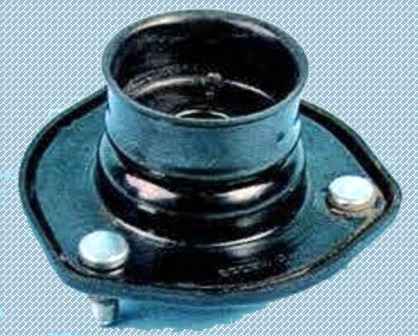
The upper support and the thrust bearing are a non-separable unit; in case of a malfunction, we replace the assembly as an assembly
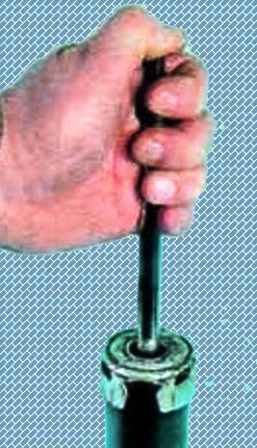
Place the shock absorber vertically and lower and raise the shock absorber rod several times until it stops
Make sure that the stem moves without dips, jams and knocks. Otherwise, replace the shock absorber
Also, we replace the shock absorber if liquid leaks are detected (slight fogging is allowed in the upper part of the body) and if the thread in the upper part of the stem is damaged
Install parts in reverse order
After repairing the shock strut, we check and, if necessary, adjust the wheel alignment


