Remove the fuel module for replacement or repair
Tools will be required: screwdrivers, a container for draining fuel from the fuel pump module, a 14 wrench
Reducing the fuel pressure as described in the previous article
Disconnect the negative battery terminal
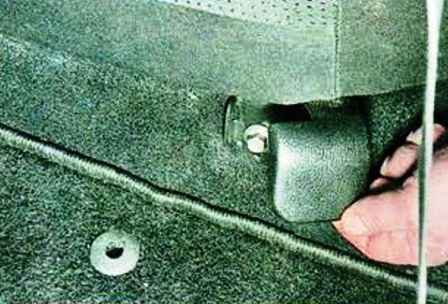
Remove the lining of the bolts of the front mounting of the rear seat cushion
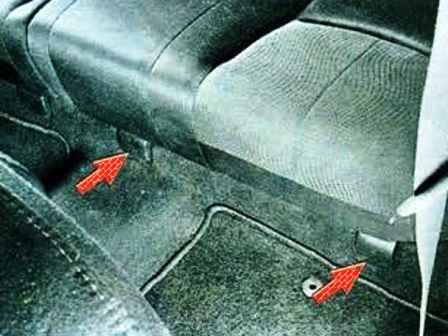
Unscrew the rear seat cushion mounting bolts
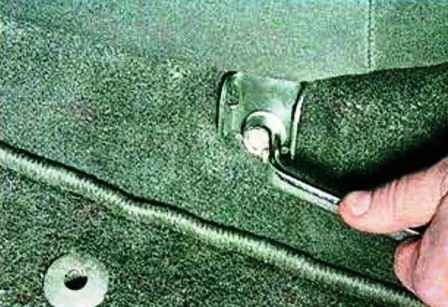
Raise the rear seat cushion up
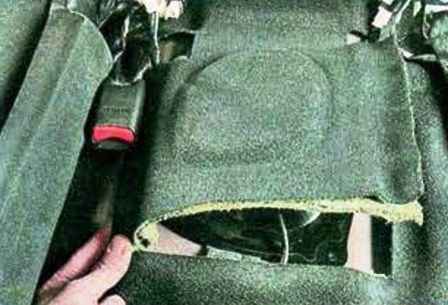
Let's fold back the floor upholstery that closes the hatch above the fuel module in the base of the body
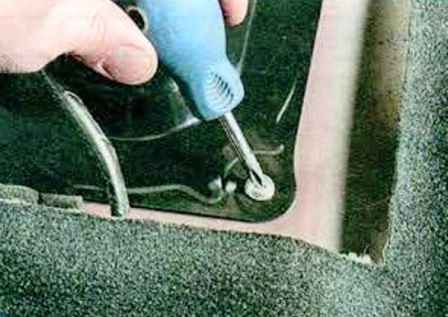
Remove the four screws
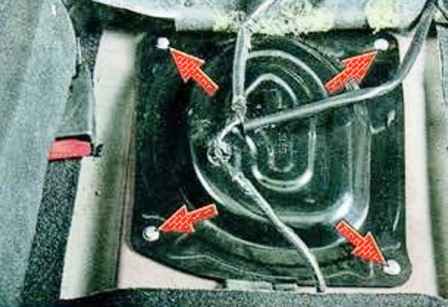
The figure shows the screws securing the manhole cover above the fuel module
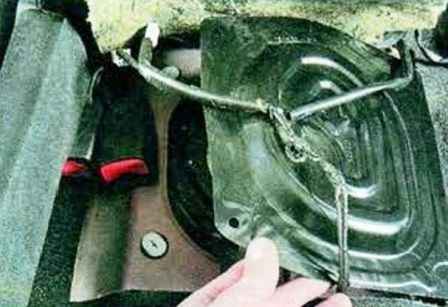
Disconnect the wire blocks of the signaling devices for unfastened passenger seat belts in the rear seat
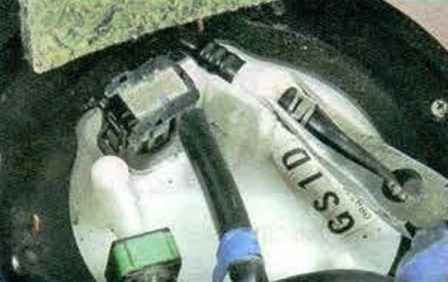
Remove the manhole cover to the side
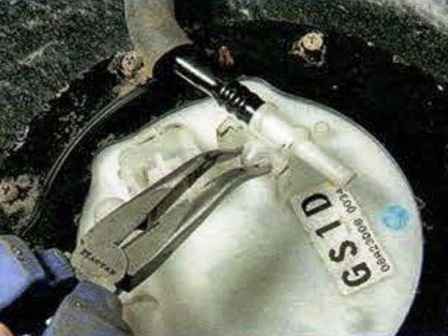
Loosen the clamp securing the return pipeline to the connector on the fuel module by squeezing the bent ears of the clamp with pliers and sliding the clamp along the pipeline
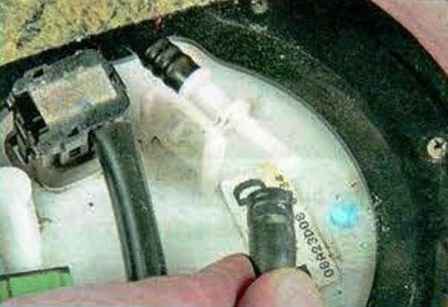
Disconnect the pipe tip from the fittings of the connector
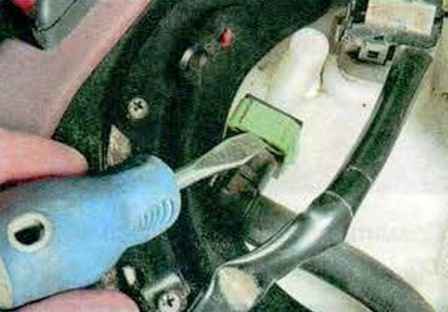
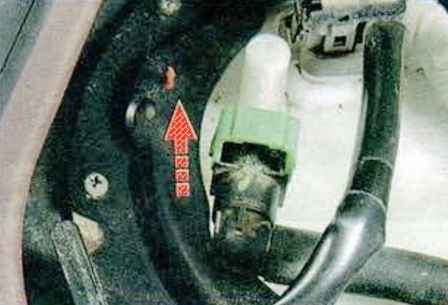
Pry off the latch with a screwdriver and slide it up
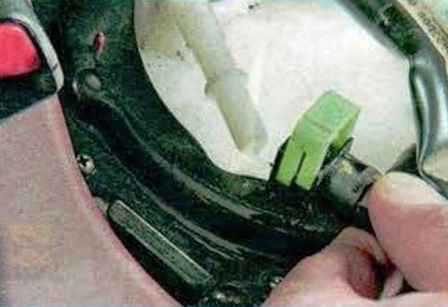
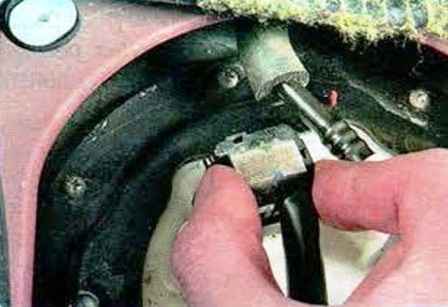
And disconnect the tip of the pressure fuel line from the module fitting
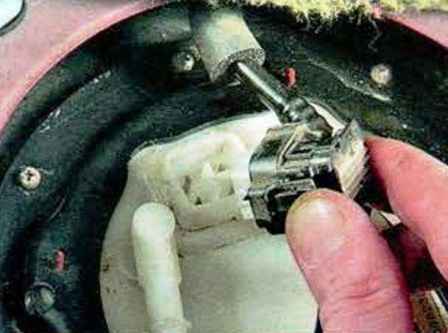
We press the latches and disconnect the wire block from the fuel pump module connector
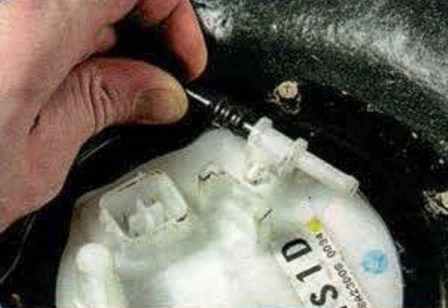
Squeeze the plastic retainer with pliers and disconnect the fuel return line connector from the fuel module cover
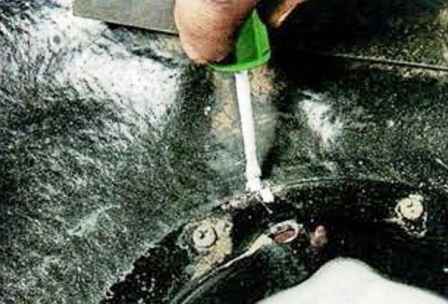
We mark the relative position of the fuel tank and the module clamping ring
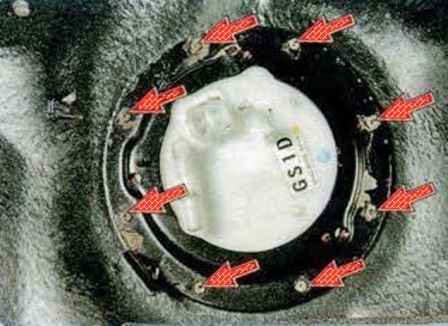
We unscrew the eight screws securing the fuel pump module to the fuel tank
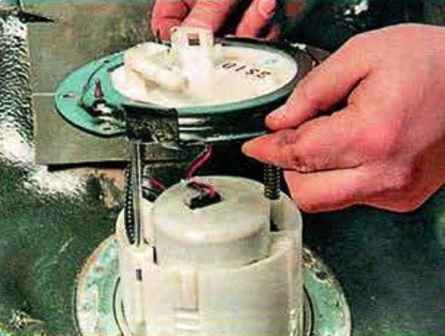
Carefully remove the module and drain the fuel from it into the prepared container
Install the fuel module in reverse order, aligning the marks on the fuel tank and the fuel module pressure ring
After installing the fuel module, start the engine and check the tightness of the fuel lines


