We remove the lining of the car floor tunnel to remove the instrument panel, and if necessary
We prepare the car and disconnect the negative battery terminal
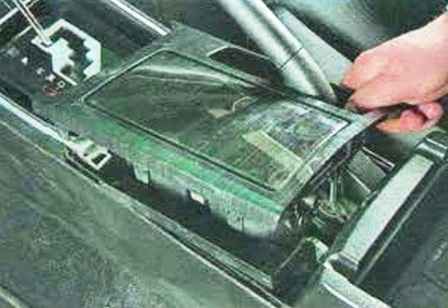
Remove the block of coasters
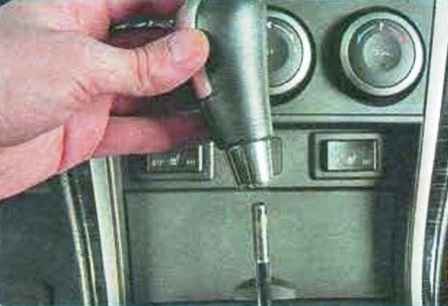
Unscrew the handle of the automatic transmission selector lever
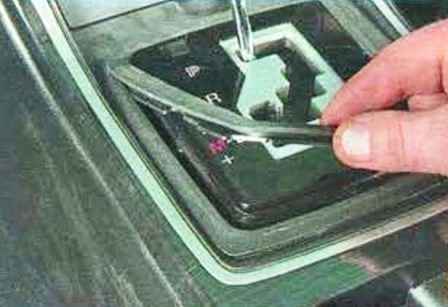
Remove the rubber seal of the automatic transmission selector frame
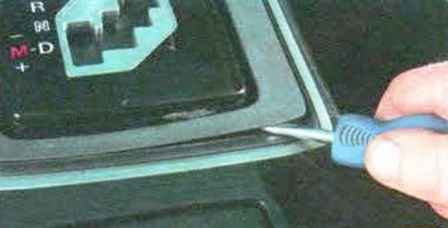
Use a screwdriver to pry off the decorative frame of the automatic transmission selector and remove the frame
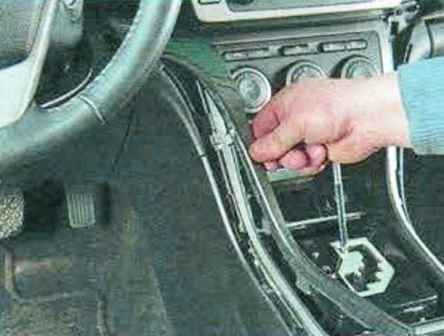
Remove the decorative overlay of the instrument panel on the left side
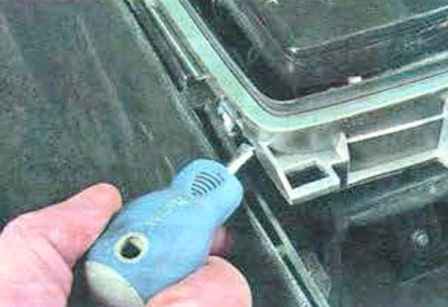
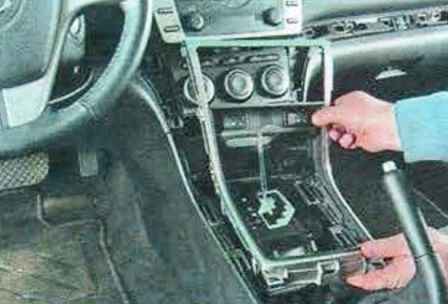
Using a screwdriver, we press the latches and remove the decorative frame with the ashtray, cigarette lighter and front seat heating switch blocks from the instrument panel
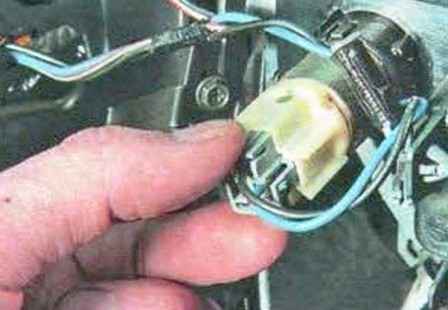
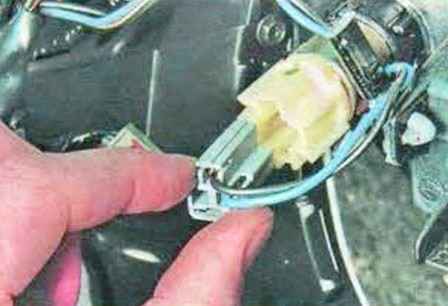
On the reverse side of the decorative frame, press the lock of the cigarette lighter wire block and disconnect the block from the cigarette lighter
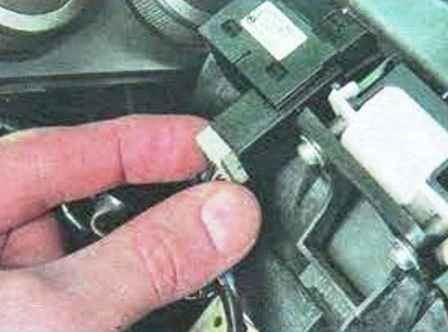
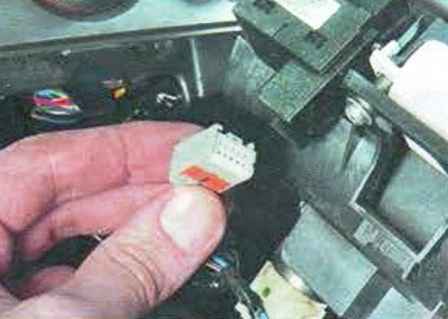
Squeeze the latch and disconnect the wire block from the heating control of the right front seat
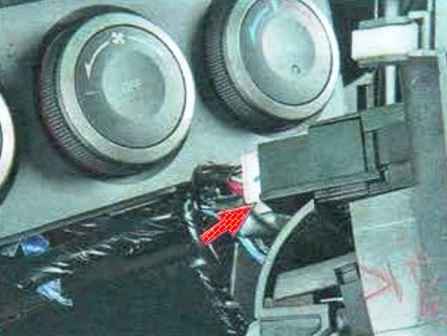
Also disconnect the wiring harness from the left front seat heating control
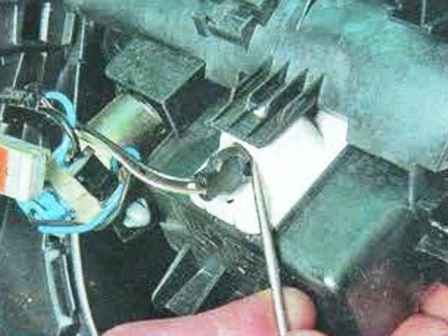
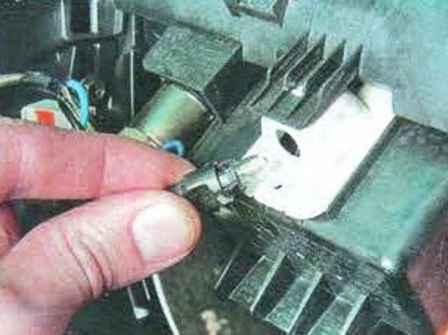
Pry off with a screwdriver and take out the cartridge with the ashtray light
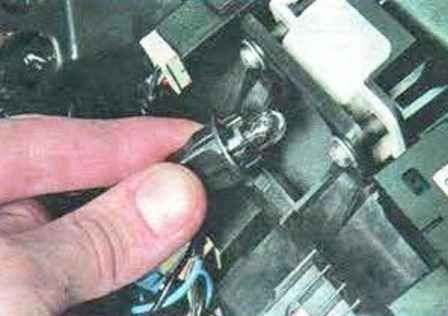
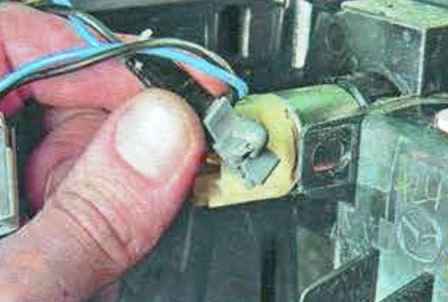
We also remove the cartridge with the airbag deactivation indicator lamp from the decorative frame
Squeeze the latches, remove the wire holder and the decorative frame with the ashtray, cigarette lighter and front seat heating switch block
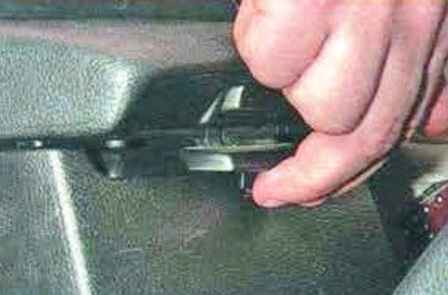
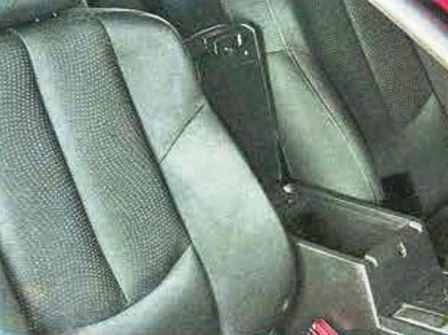
By pressing the handle, open the armrest cover
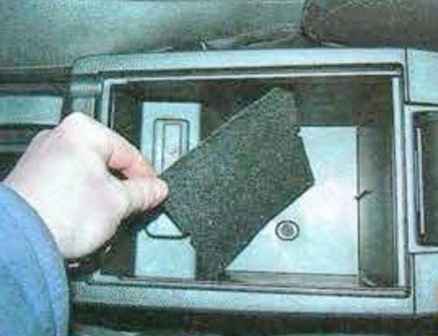
We take out a decorative insert from the bottom of the glove box of the armrest
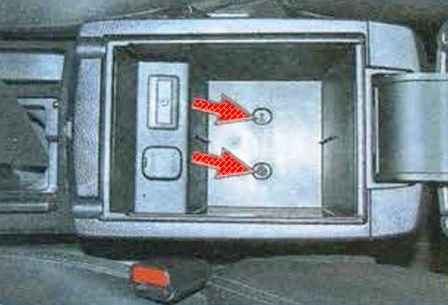
We unscrew the two screws securing the lining of the floor tunnel, located at the bottom of the glove box under the armrest cover
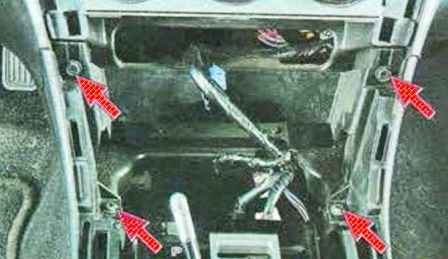
We unscrew the four screws of the front fastening of the floor tunnel lining to the instrument panel
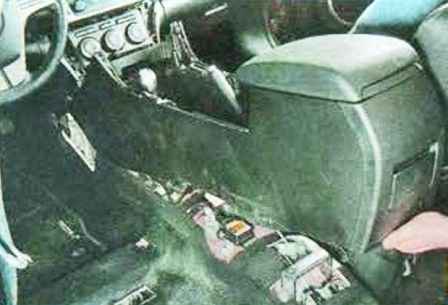
Raise the lining of the floor tunnel up and turn it if possible
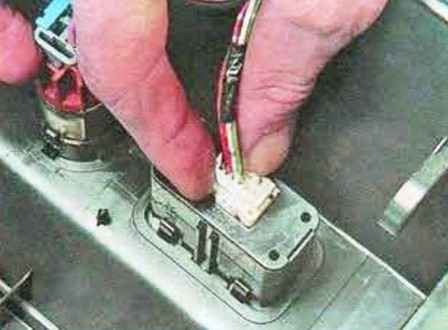
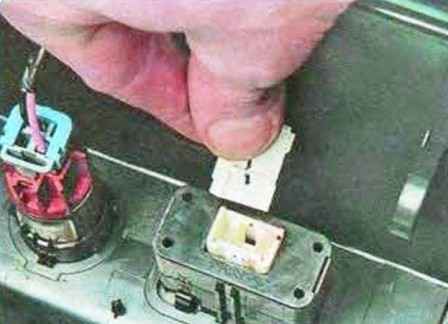
On the back of the glove box of the armrest, squeeze the latch and disconnect the wire block from the connector for additional audio equipment
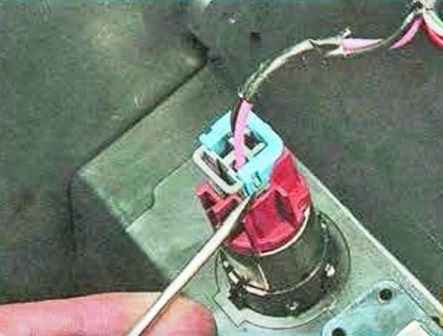
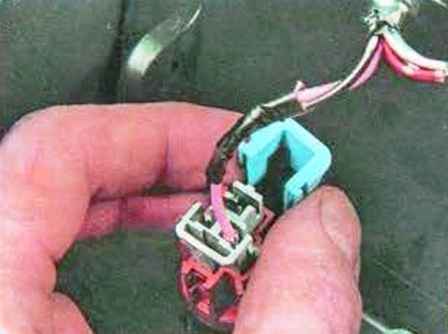
Pry off the holder with a screwdriver
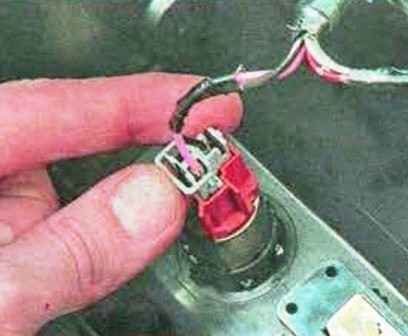
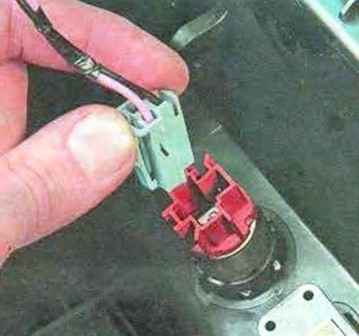
After that, press the latch and disconnect the wire block from the additional outlet
Remove the lining of the floor tunnel by turning it so that the front holders of the sidewalls of the lining come out of the grooves of the instrument panel
Install parts in reverse order


