


The bumper is removed for various types of repairs: when repairing the bumper itself, to gain access to the radiators, and when changing the engine coolant.
Place the vehicle on a lift or over an inspection pit.
To perform this work, you will need a TORX T20 key, a 13 mm socket, and screwdrivers.
Disconnect the negative battery terminal.
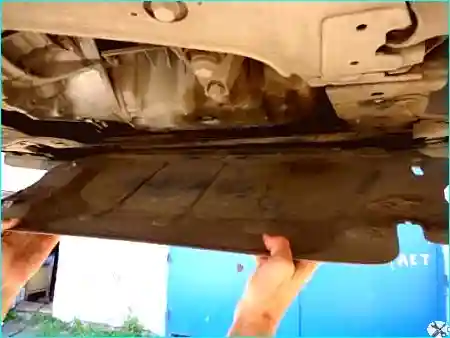
Fig. 1. Remove the engine sump guard
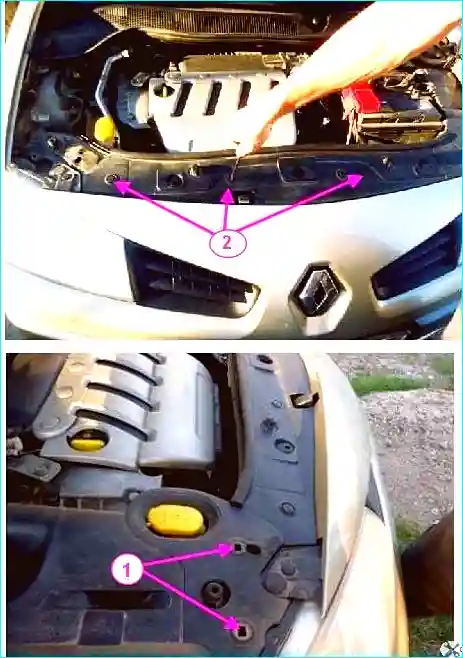
Fig. 2. Remove the upper trim panels
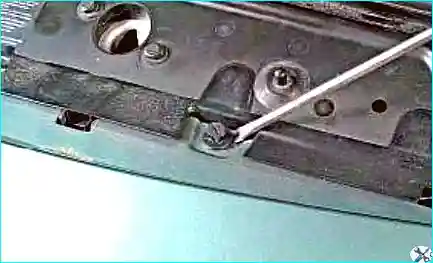
Fig. 3. Unscrew the clip core, then prise it out with a screwdriver
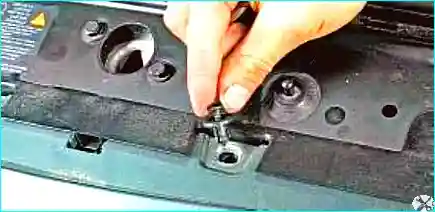
Fig. 4. Remove the clip from the hole in the bumper
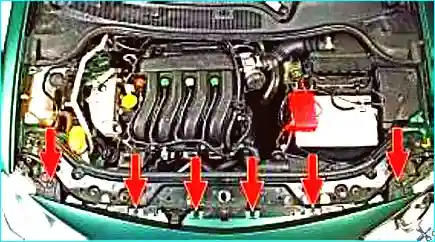
Fig. 5. Location of the clips securing the bumper to the upper crossmember of the radiator frame
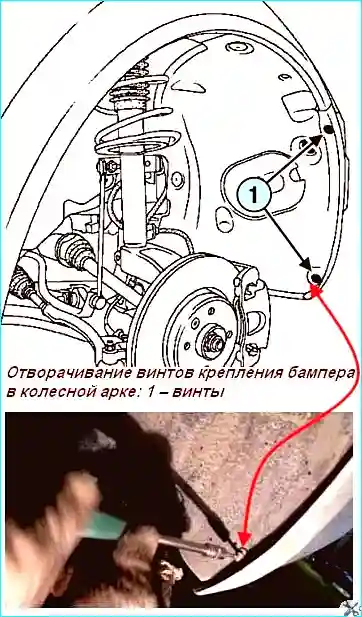
Fig. 6. Unscrew the screws
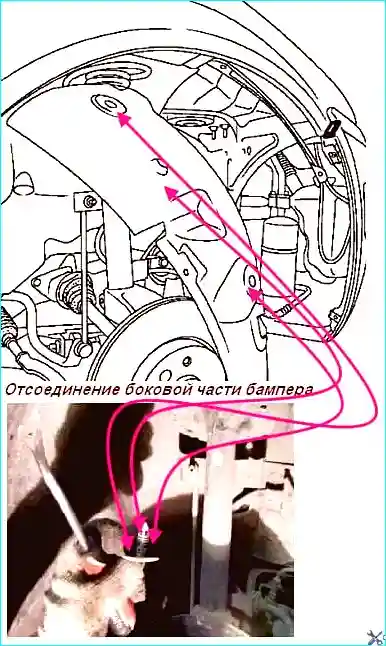
Fig. 7. Detach the side part of the bumper
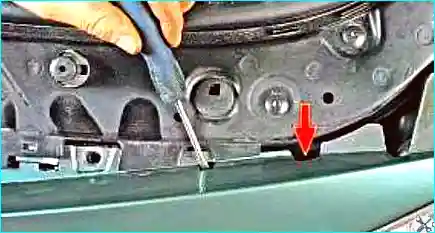
Fig. 8. Slide the bumper forward, release the retaining clips (two on each side)
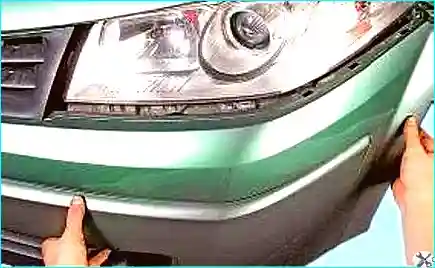
Fig. 9. With the help of an assistant, pull the bumper from the right and left sides, forwards and upwards, to slide it off its holders
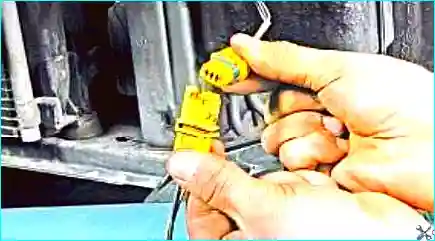
Fig. 10. Disconnect the wiring harness connectors from the fog lamps
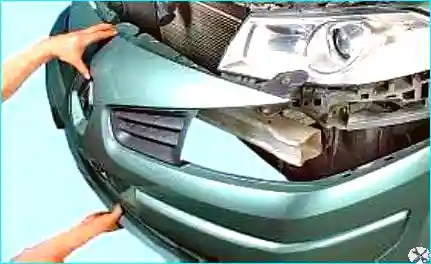
Fig. 11. Remove the bumper
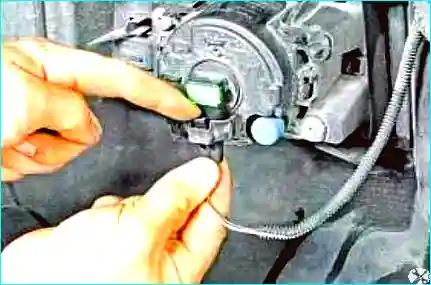
Fig. 12. If you need to dismantle the bumper, release the fog lamp connector clip
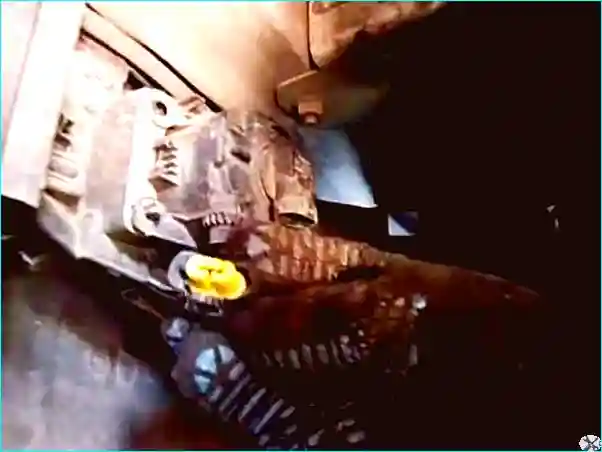
Fig. 13. Disconnect the wiring harness connectors from the fog lamps
Disconnect the fluid supply pipes from the headlamp washer jets.
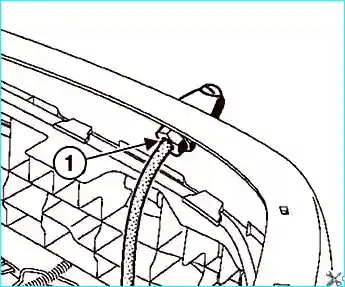
Fig. 14. Removing the headlamp washer jet: 1 - retaining nut
Unscrew the retaining nut of the headlamp washer jet and remove it (Fig. 14).
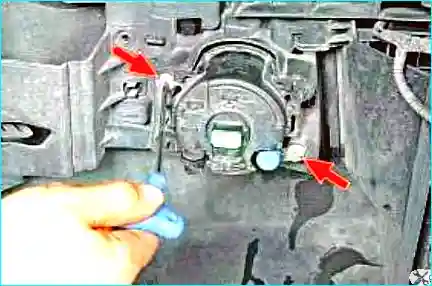
Fig. 15. Unscrew the two retaining screws securing the fog lamp to the bumper
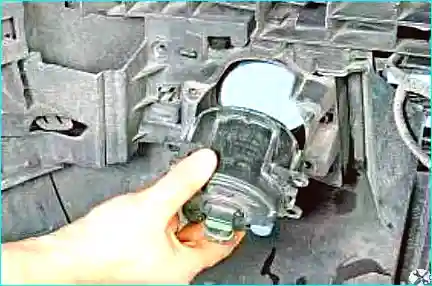
Fig. 16. Overcoming the resistance of the clips, remove the fog lamp
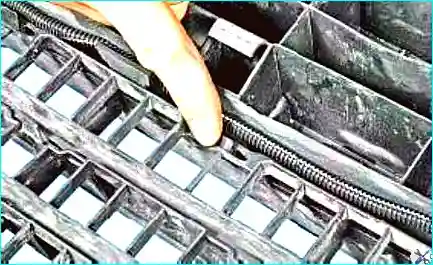
Fig. 17. Release the clips of the inner air intake grille
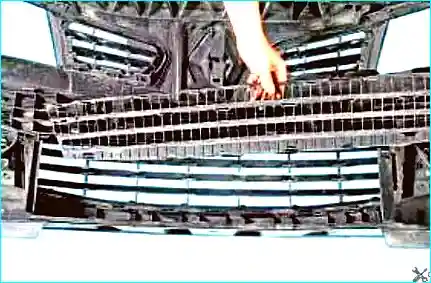
Fig. 18. Remove the inner air intake grille
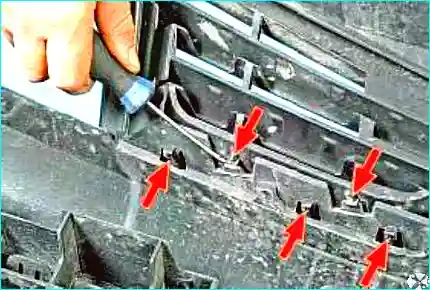
Fig. 19. Release the clips of the right radiator trim
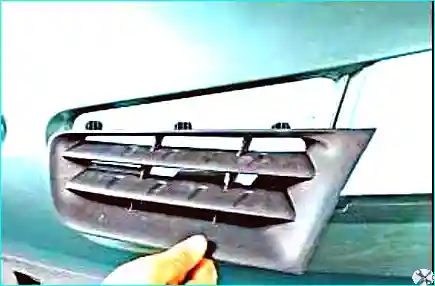
Fig. 20. Remove it. Also remove the left radiator trim
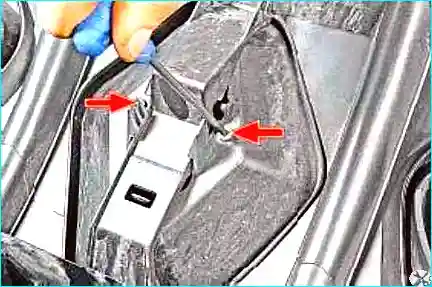
Fig. 21. Unscrew the two emblem retaining screws
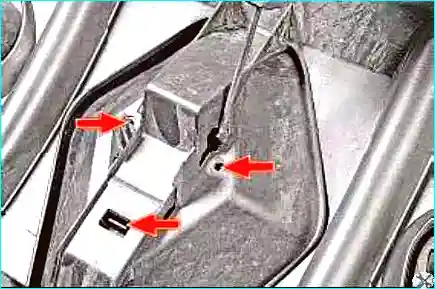
Fig. 22. Release the three emblem retaining clips
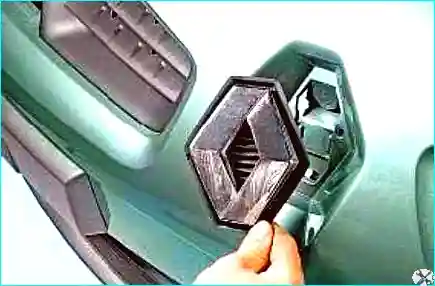
Fig. 23. Remove the emblem
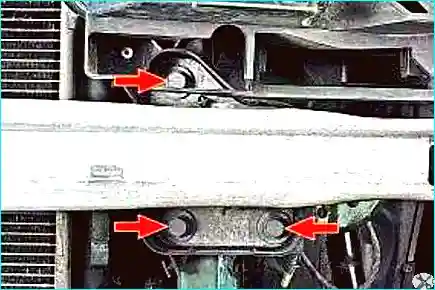
Fig. 24. Unscrew the three bolts securing the bumper reinforcement to the body side members on each side, then remove the reinforcement
Installing the bumper
Before installing the new bumper, drill the bumper at the headlamp washer jet locations according to the pre-marked positions.
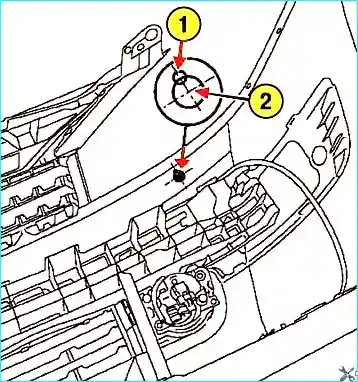
Fig. 25. Drilling the holes for the jet: 1 - mounting hole, 2 - pilot hole
Use a 3 mm diameter drill bit to drill the mounting hole as well as the pilot hole, which you then enlarge to the diameter of the jet using a conical cutter (countersink) (Fig. 25).
Before installing the jets, ensure that the sealing gasket is present.
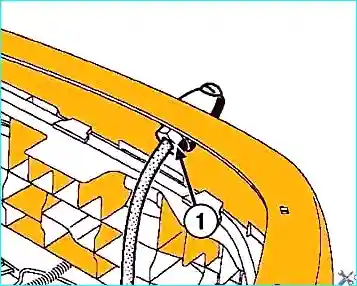
Fig. 26. Installing the jet: 1 - retaining nut
Tighten the nut lightly (Fig. 26).
Connect:
- the fluid supply pipe;
- the fog lamp wiring connector.
The remaining components are installed in the reverse order of removal.


