In the article, we will consider disassembling and removing the front door of the car.
Removing the front door trim
To remove the upholstery, you will need a set of screwdrivers and Torx T20, Torx T27 keys.
When installing the upholstery, you may need plastic clips, which can break when removing the upholstery.
Remove the inner handle of the front door lock drive, for this:
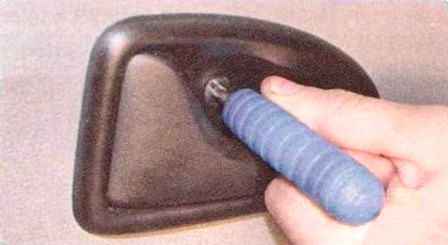
We unscrew the screw securing the inner handle of the door lock
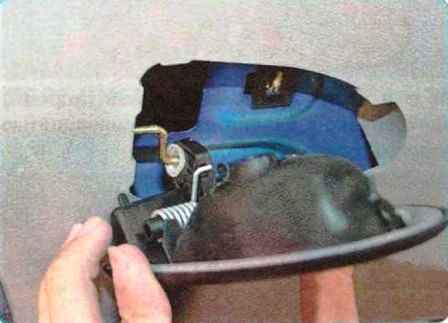
We remove the handle from the socket in the upholstery and, having disconnected the drive rod from its lever, remove the handle
Removing the speaker of the speaker system
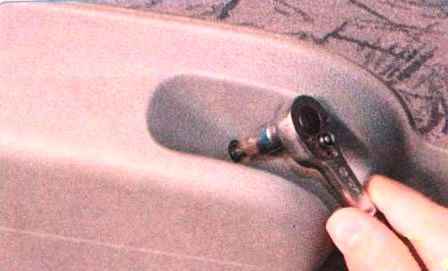
Unscrew the screw securing the upholstery on the armrest
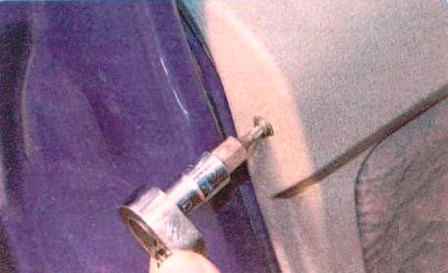
Remove the screw on the back of the door
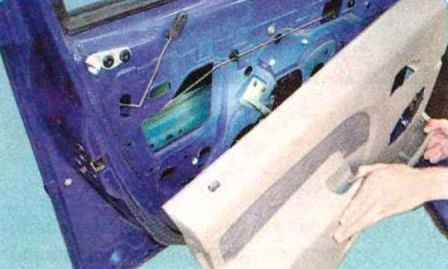
Disconnect the upholstery from the door panel, overcoming the force of the clips of its fastening.
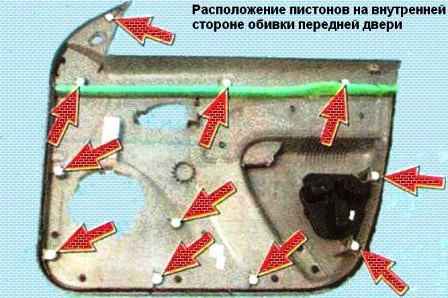
We remove the lock button from the upholstery hole and remove the upholstery from the car.
The upholstery is attached to the door panel with eleven clips
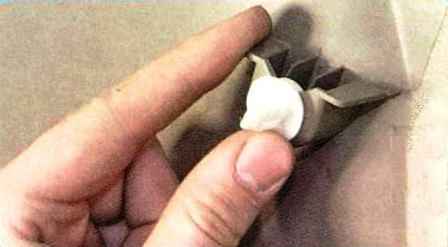
We replace damaged caps with new ones by removing them from the upholstery brackets.
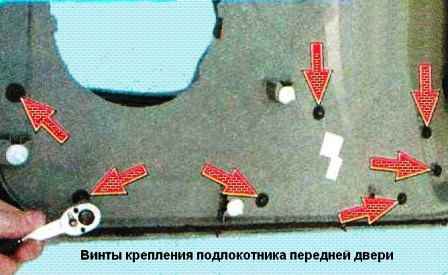
If necessary, remove the armrest by unscrewing the seven screws securing it from the back of the upholstery.
Install upholstery in reverse order.
Replacing the front door glass
Torx T20, Torx T30 wrenches required
Remove the door upholstery as described above
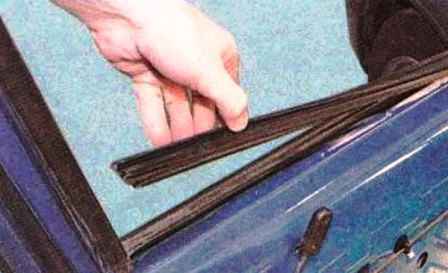
Fully lower the glass and remove the inner seal
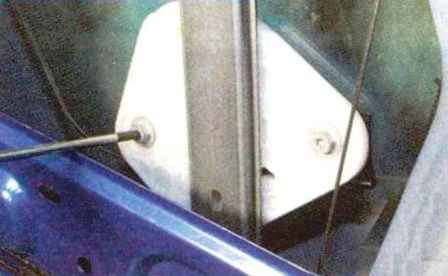
Raise the glass so that the power window slider is installed opposite the technological hole in the door panel.
Holding the glass, unscrew the two screws securing its holder to the slider
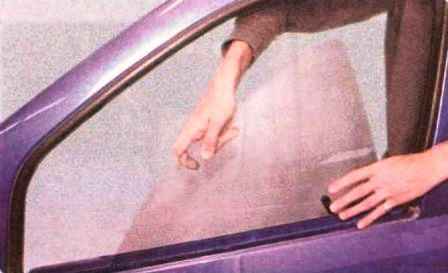
Remove the glass from the door, lifting it up
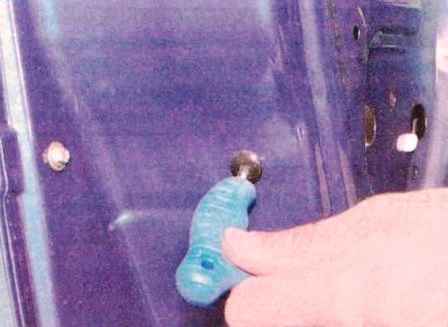
If it is necessary to replace the front door glass guide, unscrew the guide fastening screw at the end of the door
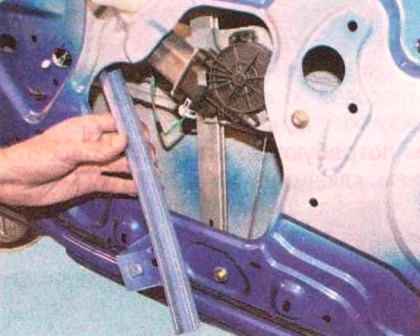
We remove the guide from the door through the technological hole in the inner panel.
Install the glass of the front door in reverse order.
Replacing the power window of the front door
You will need a key for 10
Remove the glass as described above
It is not necessary to remove the glass from the door, it is enough to disconnect it from the power window and fix it in the highest position using masking tape or other devices.
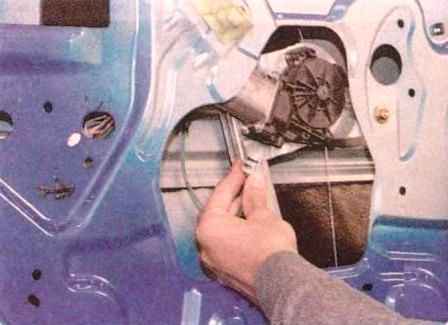
Press the latch and disconnect the wire block from the power window gearmotor
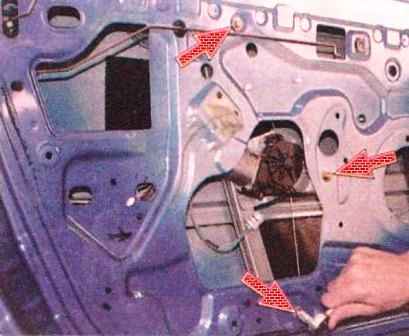
We unscrew the two nuts of the upper and lower fastenings of the window guide and one nut of the gearmotor to the door panel
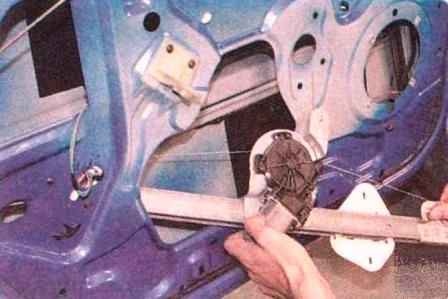
We remove the power window from the door cavity through the technological hole in the inner panel.
Install the power window in reverse order
Replacing the outside handle of the front door
Raise the glass and remove the front door upholstery as described above
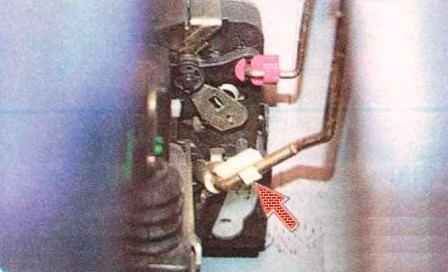
Unfasten the lock of the external handle rod and unfasten the rod from the lock lever
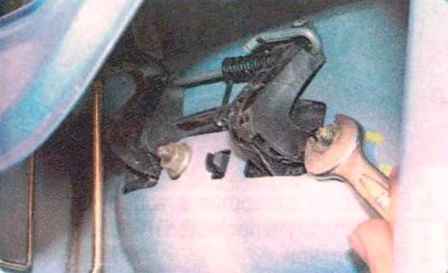
Using a 10 key, unscrew the two nuts securing the outer handle and remove it
Install the outer handle and all parts in reverse order.
Replacing the front door lock switch
Raise the glass and remove the front door upholstery as described above
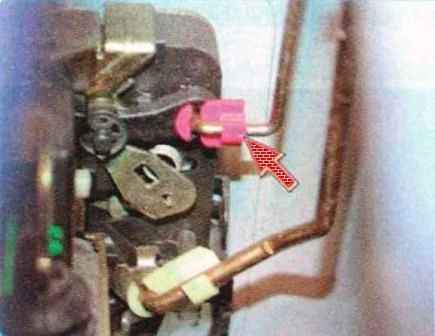
Unfasten the lock of the switch rod and disconnect the rod from the lock lever
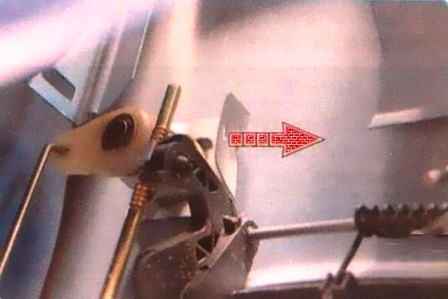
Having grasped the bent edge of the spring-loaded latch of the switch with pliers, we take out the latch, moving it in the direction of the arrow
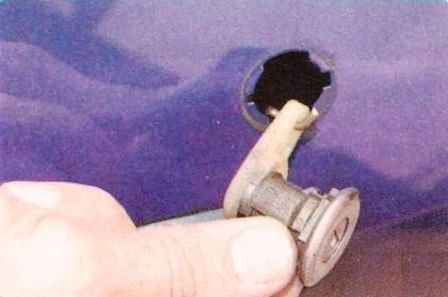
Remove the switch together with the rod from the hole in the outer panel of the door
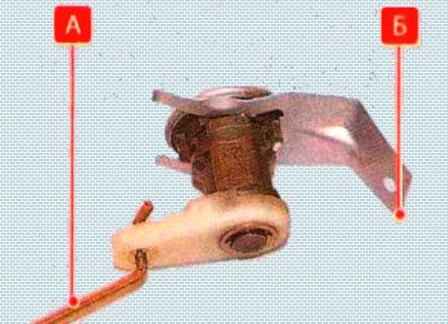
To replace the switch, disconnect the rod "A" from the lever of the old switch by turning it in the hole of the switch lever and install it on the new switch.
Replace the spring retainer "B" if it is severely deformed or has lost elasticity.
Install the front door lock switch in reverse order.
Before installation, lubricate the lock switch mechanism with silicone grease.
Replacing the front door lock
Remove the door trim and front door glass as described above
Remove from the holder the rod of the inner handle of the lock drive (the front end of the drive rod was disconnected from the lever of the inner handle in the process of removing the door upholstery)
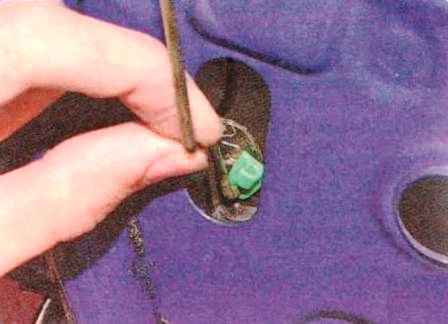
Unfastened plastic clips, disconnect the lock button rod from the lock levers
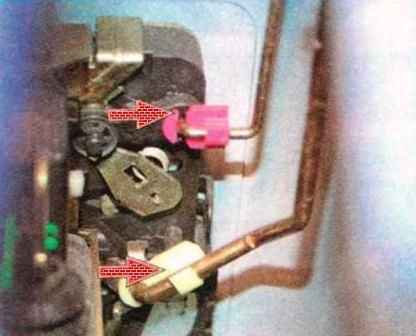
Disconnect the lock switch rods and the outer handle
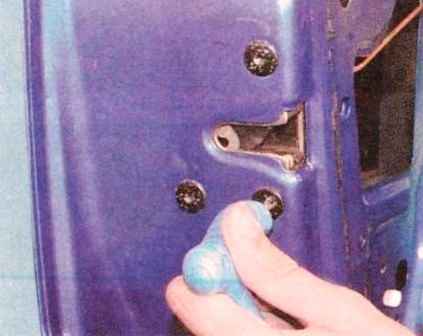
We unscrew the three screws securing the lock to the door panel
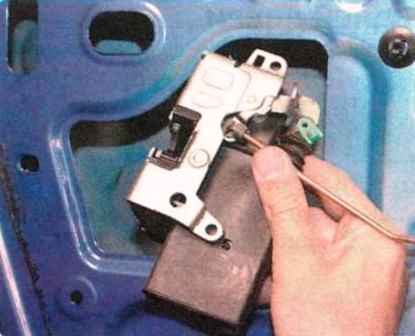
We bring the lock into the technological hole of the door panel
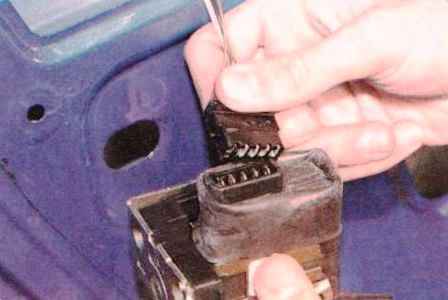
Disconnect the wire block from the lock and remove the lock.
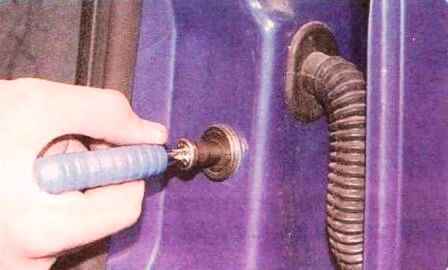
To remove the door lock latch, unscrew it from the body pillar (it is better to use an impact screwdriver)
Install the lock in reverse order.
If necessary, we adjust the clarity of locking the lock.
Replacing the door opening limiter
You will need the tools needed to remove the door trim, as well as a Torx T40 key, 10 socket
Remove the front door upholstery as described above
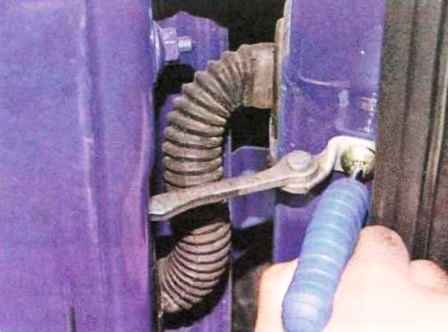
We unscrew the screw securing the limiter to the body pillar
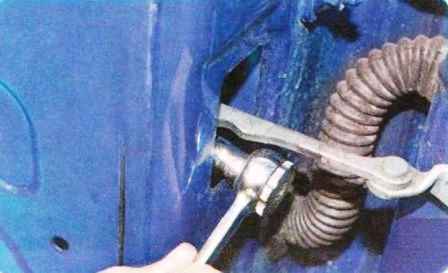
We unscrew the two nuts securing the limiter to the door
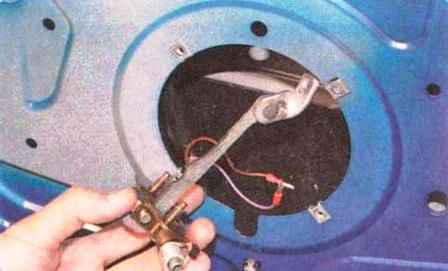
Remove the limiter through the hole for the speaker in the inner panel of the door.
Install the limiter in reverse order.
Removing and installing the front door
Remove the front door upholstery and disconnect the front door opening limiter from the A-pillar as described above
Disconnect the wire blocks from the power window gearmotor
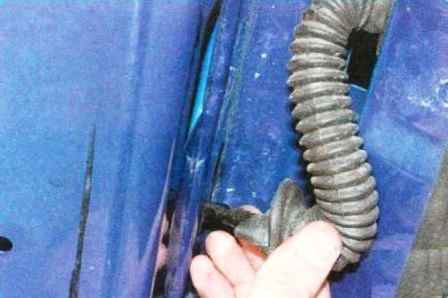
Remove the protective cover of the wiring harness from the hole in the end of the door and remove the harness from the door cavity
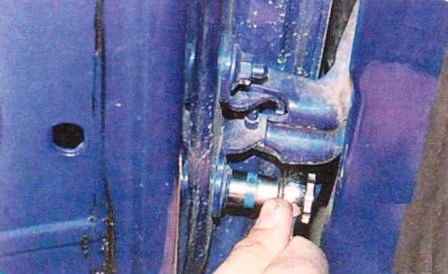
If the door is not removed for replacement, mark the position of its hinges on the door by tracing the hinges around the contour with a felt-tip pen.
Holding the door with the help of an assistant, unscrew the two nuts securing the upper and lower hinges to the door and remove the door.
Install the door in reverse order.


