Daily maintenance mainly includes inspection of the main components of the vehicle and fuel tanks.
Checking wheels
Before the trip, you need to check the condition of the wheels, tire pressure.
Tire pressure should be checked when the wheels have cooled down after a ride.
After driving a car for several kilometers, the tires heat up and the pressure in them increases.
Check tire pressure periodically
Tire pressure depending on load
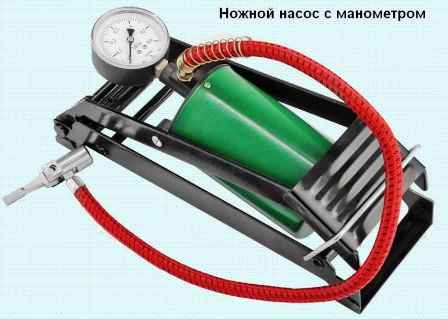
It is best to use a foot pump with a pressure gauge or a compressor.
It is advisable to rearrange tires after a run of 15,000 km so that there is uniform tread wear.
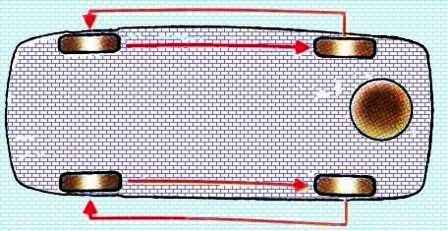
The wheels should be rearranged in accordance with the scheme
Also, every 15,000 km you need to balance the wheels
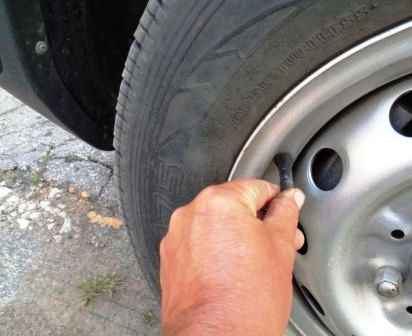
To check the tire pressure, unscrew the cap from the valve
Connect the pressure gauge and check the tire pressure
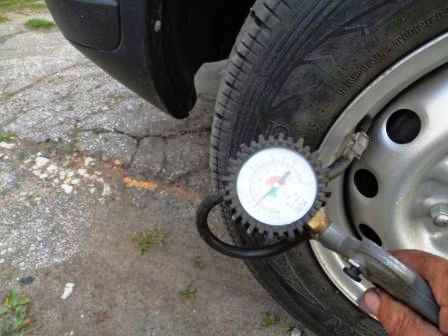
At low pressure, connect the hose tip to the valve and inflate the tire, controlling the pressure on the pressure gauge.
If the pressure is higher than required, you need to release part of the air, and control the pressure on the pressure gauge.
Repeating these operations, we bring the pressure to normal.
If the pressure in the wheel is constantly dropping, you need to check with a soapy solution for air leakage through the spool.
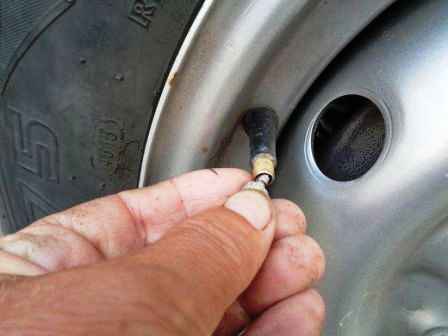
Using a cap with a key, you can try to tighten the spool.
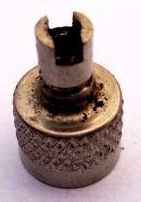
The picture shows a protective cap with a key for unscrewing and tightening the spool.
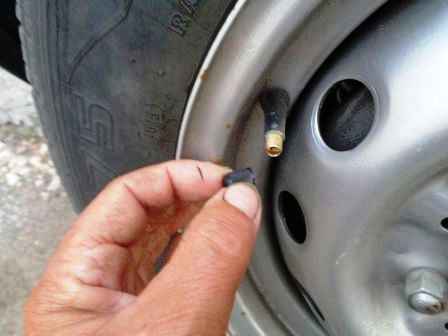
It is imperative to screw the protective cap onto the valve, protecting the spool from contamination.
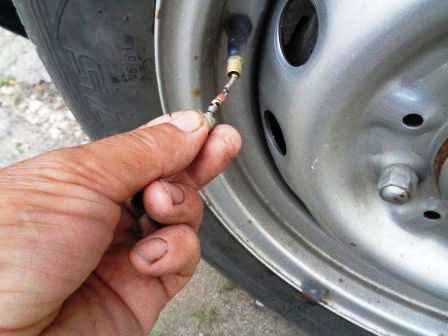
If, during the check, the spool passes air, then unscrew the spool using a cap with a key and put another spool.
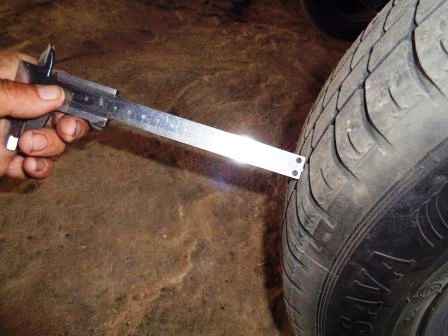
Measure the remaining tread depth with a caliper.
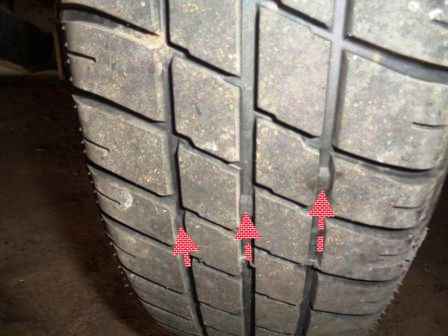
If the tread depth is less than or equal to 1.6 mm, you need to replace the tire
Tread depth can also be checked visually by the tire wear indicators in the form of continuous transverse stripes on the tread
The indicator locations are marked on the tire sidewall with a triangle
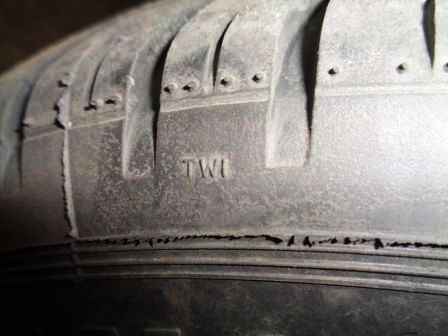
Also in TWI letters (depending on from the tire manufacturer)
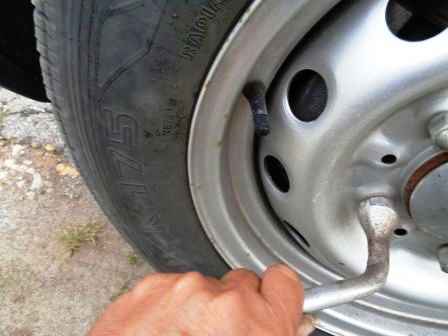
Check the tightness of the wheel bolts. Bolt tightening torque 105 Nm
|
Size |
Front wheels (kPa) |
Rear wheels (kPa) |
||
|---|---|---|---|---|
|
Up to three people in the salon |
Full load |
Up to three people in the salon |
Full load |
|
|
165/80R14 |
200 |
220 |
200 |
220 |
|
185/65R15 |
190 |
210 |
210 |
230 |
|
175/70R14 |
200 |
220 |
210 |
230 |
Checking the engine oil level
Before checking the oil level after a trip, stop the engine and wait 5-10 minutes for the oil to drain into the sump.
Add oil of the same brand, viscosity and quality class as the one used previously.
The oil level in the engine crankcase should not exceed the upper mark on the index, otherwise there may be leaks through gaskets and seals, increased oil consumption.
Check the level by parking the car on a level surface.
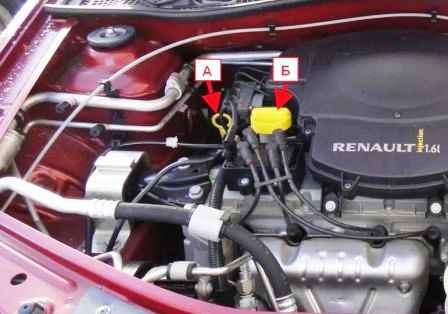
The oil level gauge "A" and the oil filler plug "B" are located on the right side of the engine compartment next to the air filter.
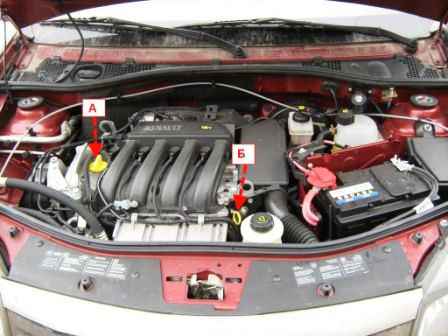
On the K4M engine, the dipstick "B" of the oil level is located on the left side of the engine compartment, and the plug "A" of the oil filler neck is on the right side.
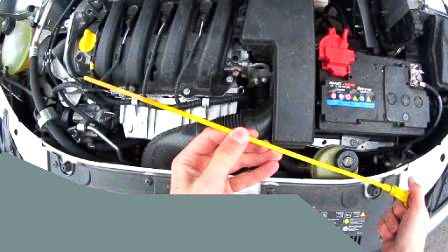
Remove the dipstick
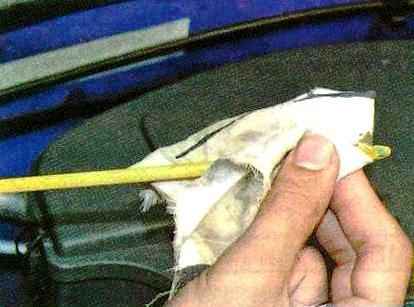
Wipe the dipstick with a clean rag and put it back in place
We take out the probe again.
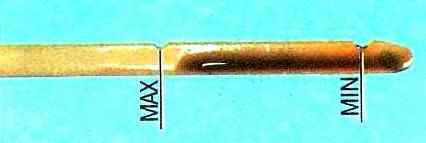
The oil level must be between the lower MIN and upper MAX marks on the pointer.
If the level is below or close to the bottom mark, add oil.
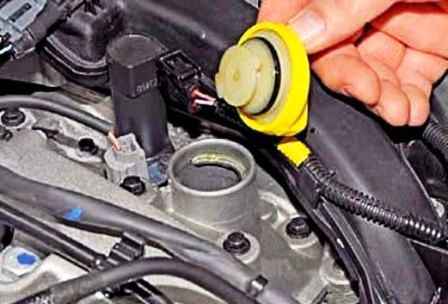
To add oil, turn the oil filler cap counterclockwise and remove it
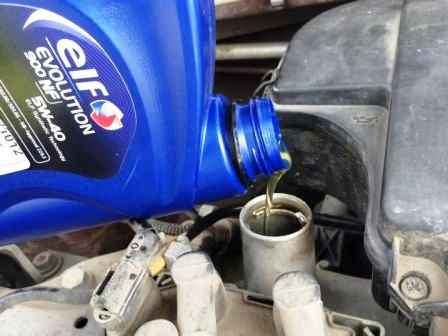
Pour oil into the engine in small portions, controlling the level on the dipstick
The oil must be topped up with the same viscosity and class that was filled into the engine.
The engines of this model are filled with oil that meets the European ACEA A2 or A3 standard or API SJ standard, viscosity grade 15W-40, 15W50 or 5W-50.
After the oil level reaches the required level, reinstall the filler cap.
Adding engine coolant
It is necessary to add coolant of the same brand as it was filled in.
Add fluid when the engine is cold.
Above the MAX mark, you can not add liquid; when the engine is running, its volume will increase.
When starting the engine, the filler cap of the expansion tank must be closed.
Keep an eye on the coolant level.
Its sharp decrease or increase should be a signal for an immediate check of the engine cooling system.
If the freshly poured antifreeze suddenly turned brown quickly, it means that you were sold a fake, in which they forgot to add corrosion inhibitors.
Replace the fluid as soon as possible before it can corrode the cooling system.
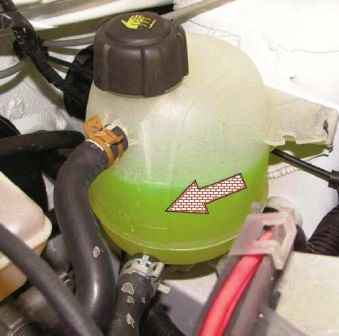
The expansion tank is installed under the hood on the left side
The level must be between the marks
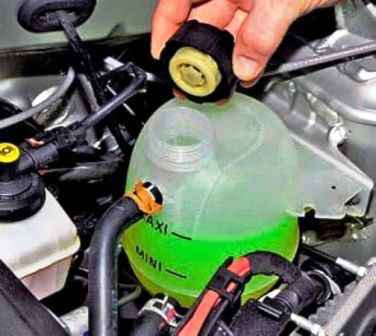
To top up the liquid, unscrew the plug of the expansion tank
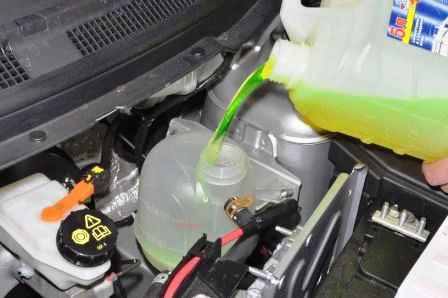
Add liquid to the required level
We wrap the cap of the expansion tank.
Adding brake fluid to the master cylinder reservoir
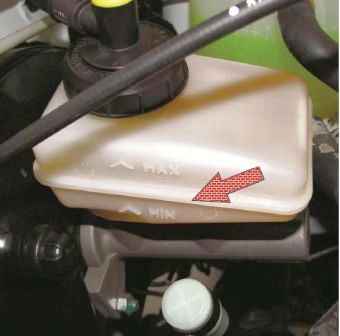
Checking the brake fluid level.
It must be between the lower MIN and upper MAX marks
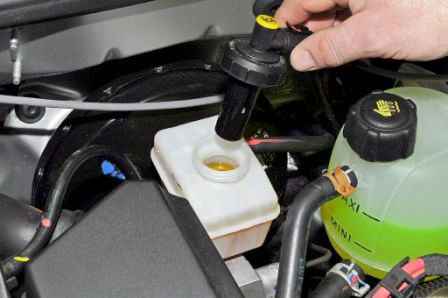
If the liquid level is lower, unscrew the tank cap
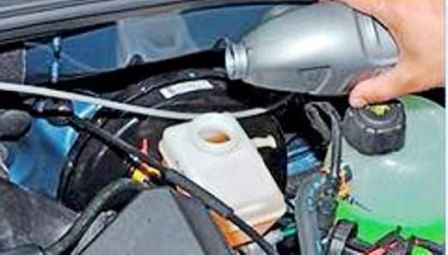
Add DOT-4 brake fluid up to the MAX mark.
Tighten the tank cap.
Adding working fluid to the power steering reservoir
Pour ELF Renaultmatic D3 fluid into the power steering reservoir
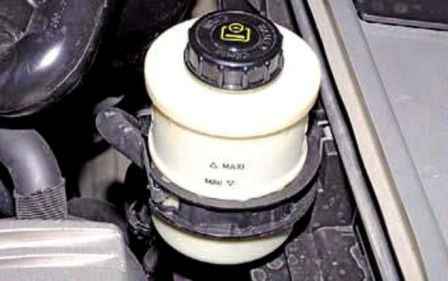
The power steering reservoir is located on a bracket in the front of the engine compartment.
The tank body is marked MIN and MAX.
When the engine is warm, the fluid level should be near the upper mark.
When the engine is cold, the fluid level should be above the lower mark.
Check levels You need it on a cold engine.
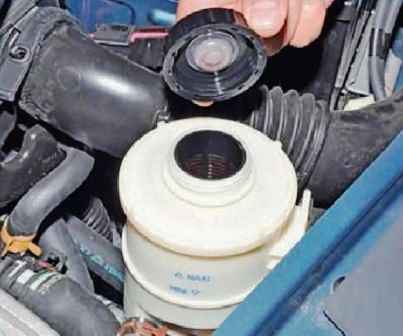
Unscrew the tank cap
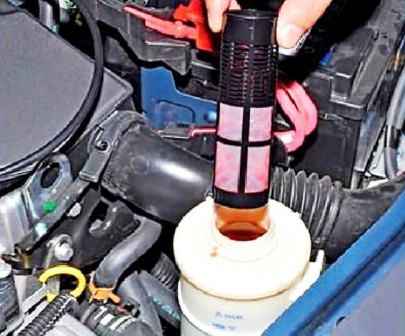
A filter is installed under the tank cap. If the filter is dirty, it must be washed
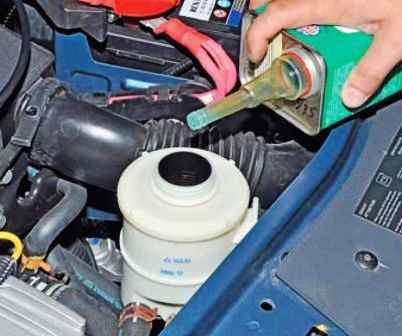
Add the required amount of working fluid
We twist the cork and wipe the drips.
Checking and adding liquid to the windscreen washer
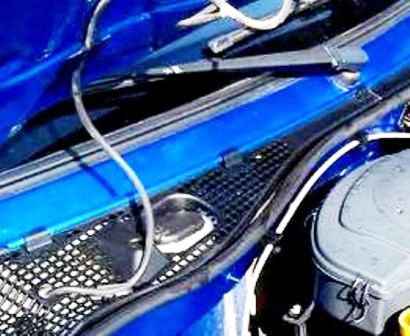
The washer reservoir is located on the right under the air intake grille
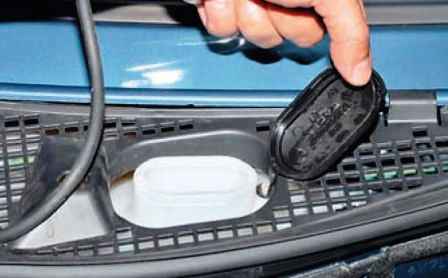
Remove the tank cap
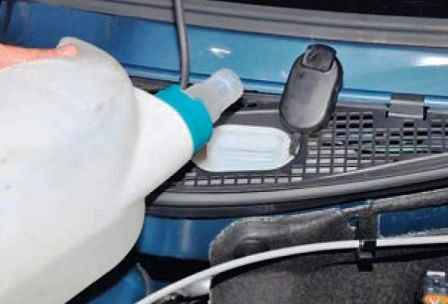
Add fluid to the washer reservoir up to the lower edge of the neck
Checking external lighting fixtures
Checking the operation of the headlights, taillights, additional brake light and license plate light.
The following lamps are used on the car:
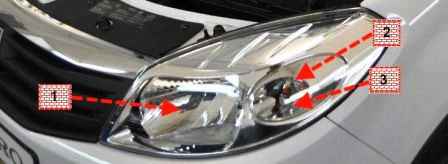
- 1 - front turn signal lamp PY21W;
- 2 - low/high beam H4;
- 3 - front position light bulb W5W;
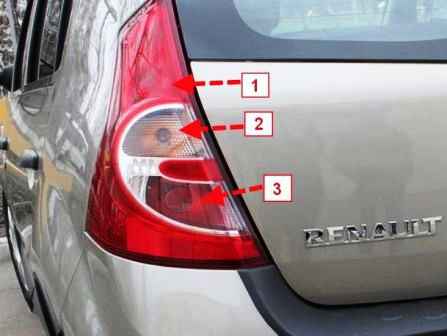
- 1 - stop/tail light P21/5W;
- 2 - rear turn signal lamp PY21W;
- 3 - rear fog light bulb P21W;
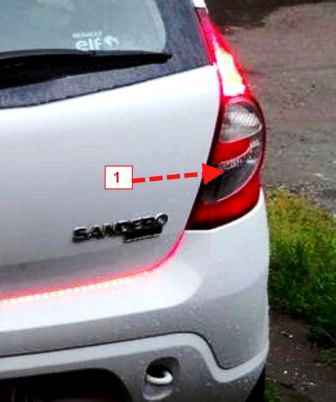
- reversing lamp P21W;
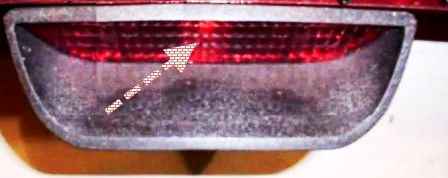
- additional brake light bulb P21W;
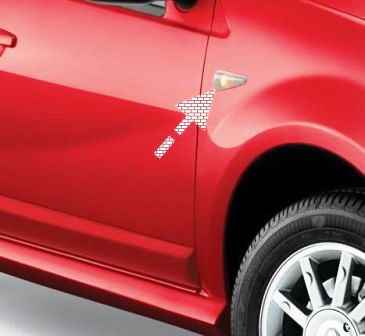
- turn signal lamp WY5W, with yellow shade W5W;
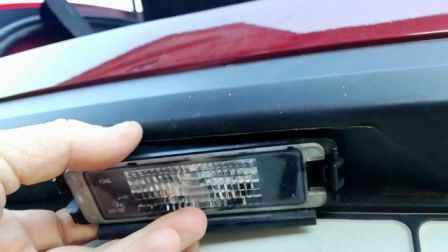
- W5W license plate light bulb.


