We disassemble the door to replace its elements or to repair it
Removing the rear door lining
We prepare the car for the task, and disconnect the negative wire from the battery terminal
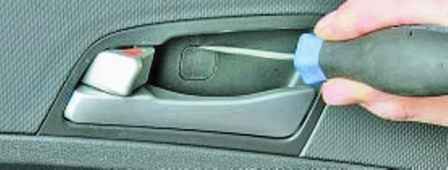
Using a screwdriver, we pry off the decorative plug of the lining fastening screw in the inner handle of the lock and remove the plug
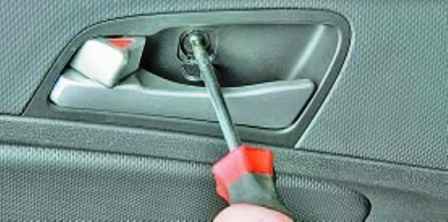
Unscrew the cladding fastening screw
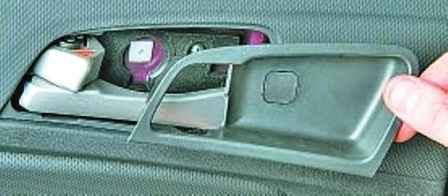
Remove the lining of the inner handle
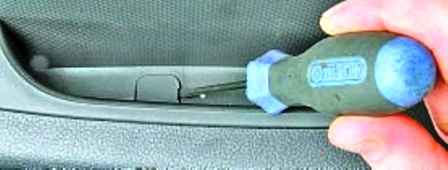
We pry off with a screwdriver and fold back the decorative plug of the screw securing the rear door lining in the armrest
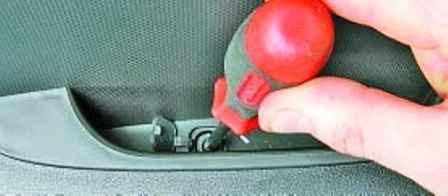
Unscrew the screw securing the rear door lining
We release the bracket for securing the window handle.
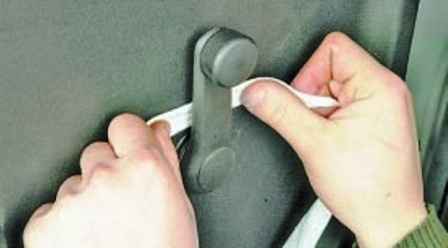
To do this, we insert a clean cloth between the handle and the door lining and, pulling the fabric against the ends of the bracket, hook the bracket, and then release the handle.
At the same time, we pull the handle towards us so that after releasing the bracket, remove the handle from the splines of the power window shaft
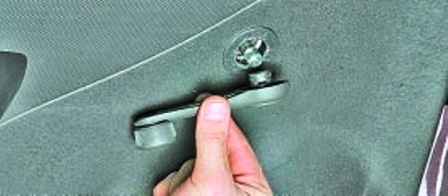
Remove the power window handle
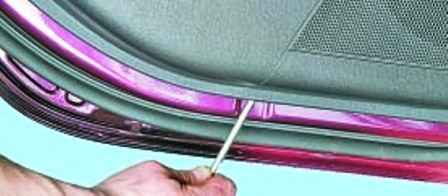
We pry off the door lining with a screwdriver, placing a clean rag under the blade of the screwdriver so as not to scratch the inner surface of the door
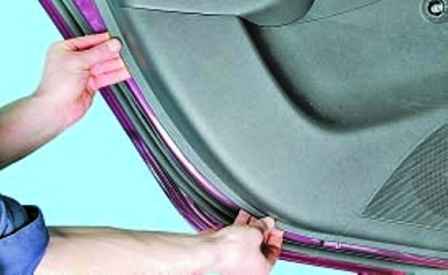
Overcoming the resistance of the fasteners of the rear door lining, we unhook the lining slowly
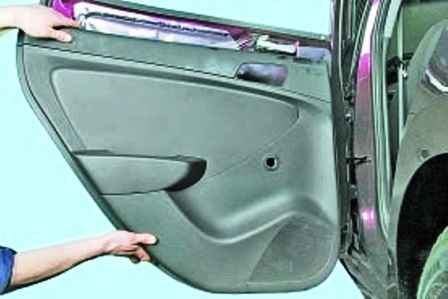
Remove the door lining
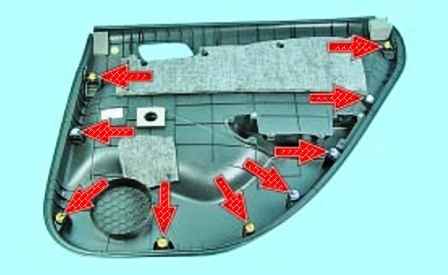
Replace damaged latches with new ones by removing them from the cladding
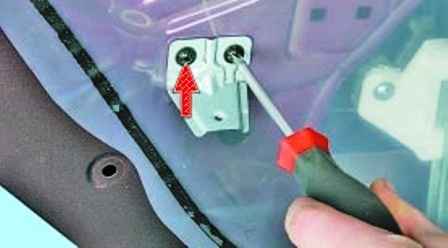
To remove the protective film of the rear door, unscrew the two screws securing the door trim bracket
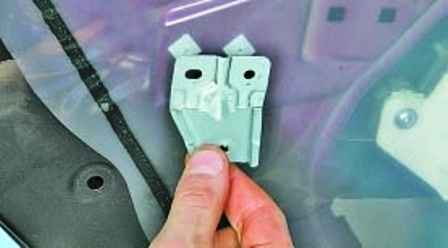 Remove the bracket
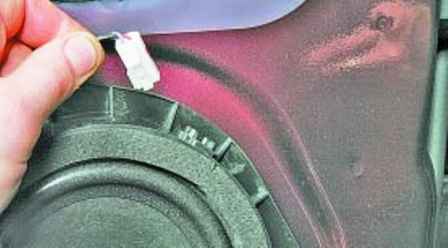
We press the latch and disconnect the wire block from the speaker of the audio system
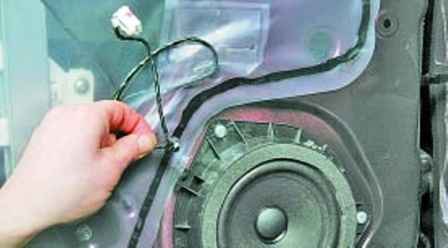
We press the fastening latch and disconnect the wire holder from the speaker
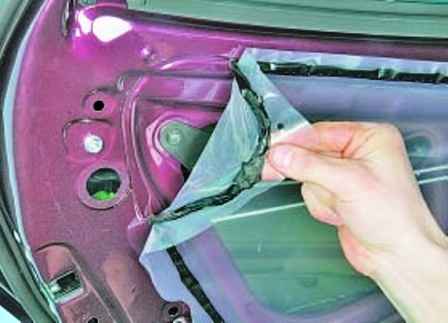
Pry off the protective film and peel off its edge from the inner panel of the door
We remove the radio speaker wire block from the hole in the protective film
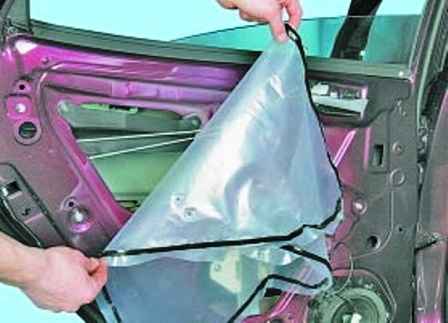
Peel off the protective film from the inner door panel and remove the film
Install the cladding in reverse order
Replacing the internal rear door handle
Remove the door lining as described above
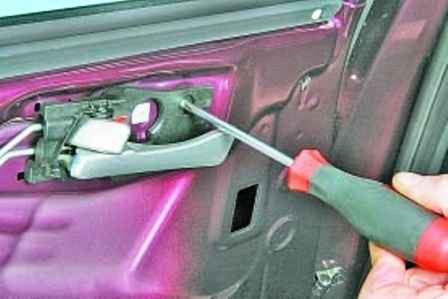
We unscrew the screw securing the inner handle of the lock drive to the rear door
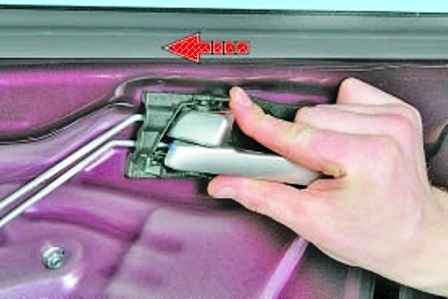
Move the handle back (in the direction of the arrow in the photo)
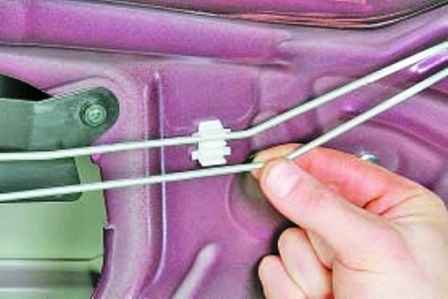
Remove from the holder of the drive rod of the rear door lock
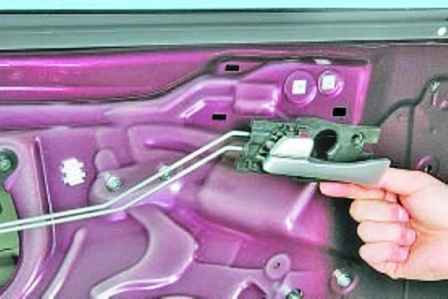
Remove the handle from the door
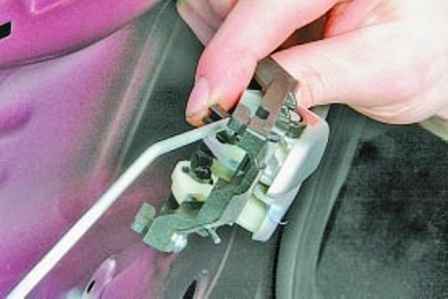
Press out the latches
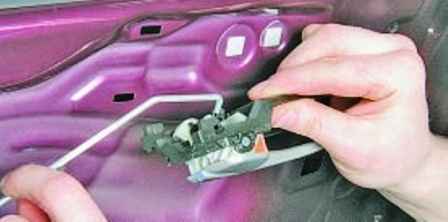
And disconnect the rods from the lever of the inner handle of the door lock
Install the inner handle and all parts in reverse order
Removing the outer handle of the rear door lock
Remove the rear door trim as described above
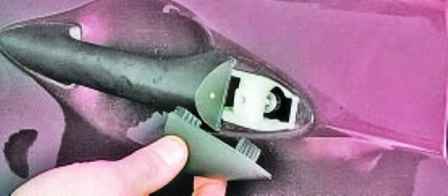
Remove the decorative overlay
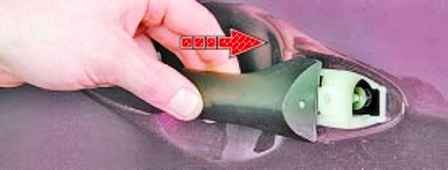
Remove the outer handle back (in the direction of the arrow in the photo)
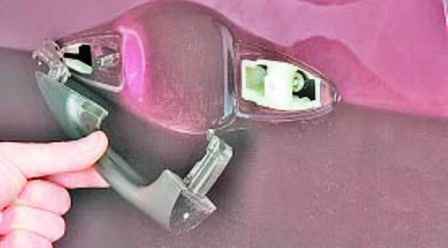
And remove the handle from the car
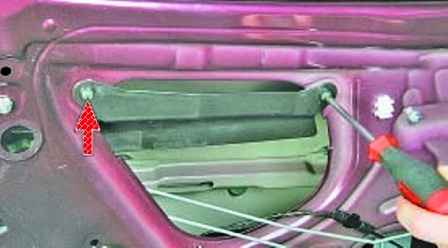
If it is necessary to remove the outer handle mounting bracket, unscrew the two screws securing the amplifier to the door from the inside of the door
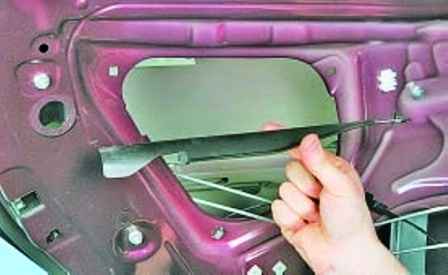
Removing the amplifier
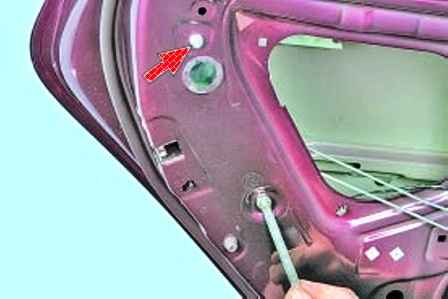
Unscrew the two nuts securing the sliding window guide
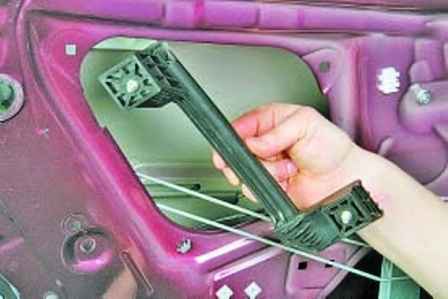
Remove the guide from the cavity of the door
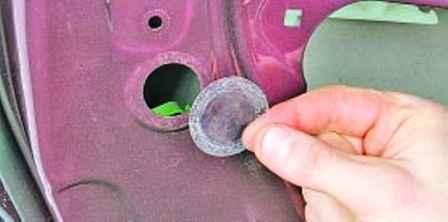
Pry off with a screwdriver and remove the plug of the hole in the door panel
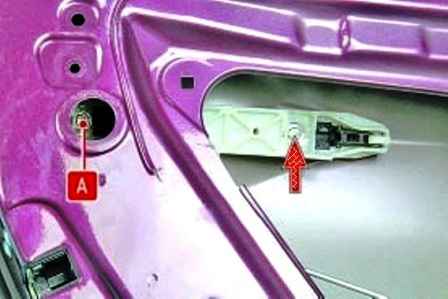
We unscrew the bolt “A” through this hole and the screw for fastening the bracket of the outer handle
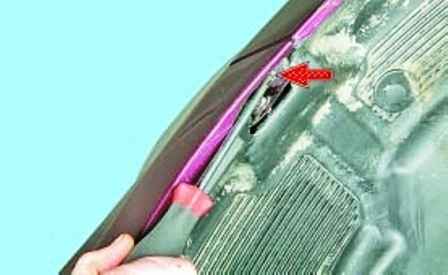
We press the retainer of the outer handle bracket to the door and push the bracket into the door cavity with a screwdriver
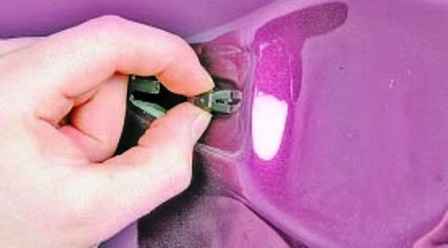
Pull out the latch
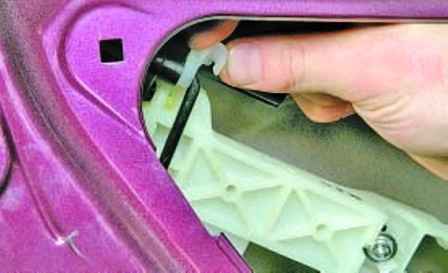
And disconnect the rod from the lever of the outer handle of the rear door lock
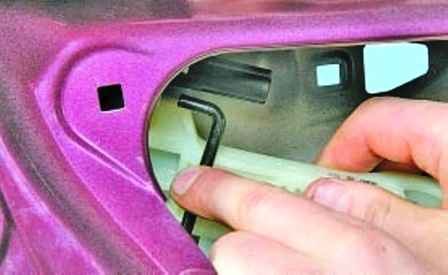
Remove the outer handle mounting bracket from the door cavity
Install the outer handle of the rear door lock drive and all parts in reverse order
Replacing the rear door lock
Requires Torx T30 wrench, socket wrench 8
Remove the rear door window lifter base
Remove the outer handle of the rear door lock drive and its mounting bracket, described above in this article
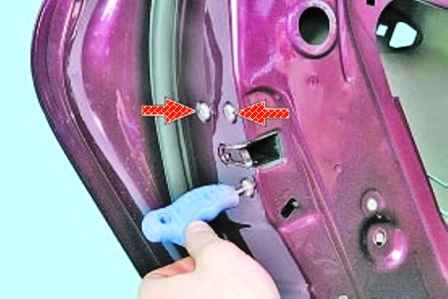
We unscrew the three screws securing the lock to the door frame
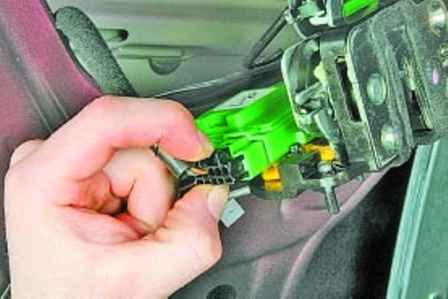
Press out the latch
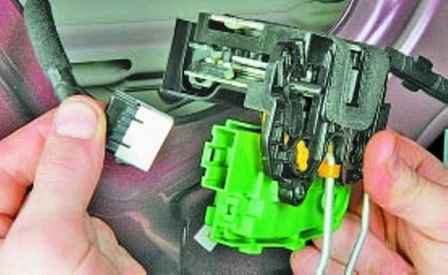
Disconnect the wire block from the lock drive connector
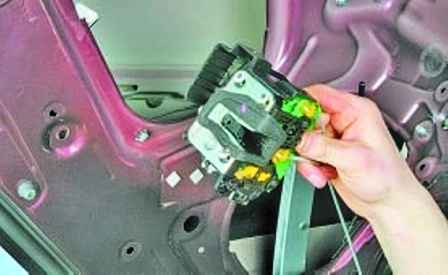
Remove the lock from the door cavity
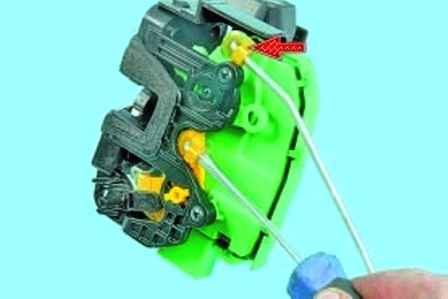
Press out the clamps of the end of the rods
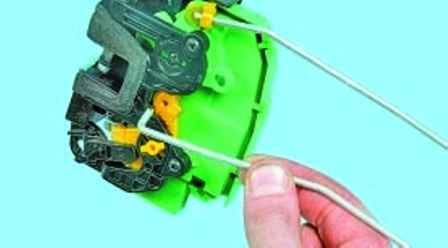
Disconnect the rods from the lock lever and remove the rods
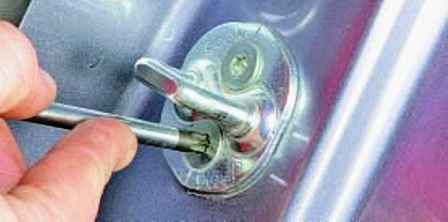
To remove the door lock latch, unscrew the two screws securing it to the body pillar and remove the latch
You can use an impact screwdriver if the screws are too tight
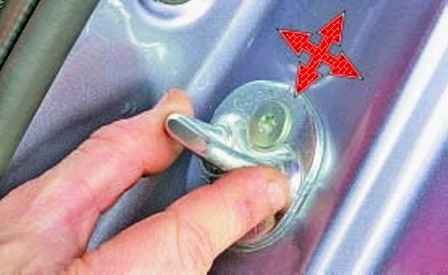
If necessary, adjust the clarity of the locking of the locking lock by moving the latch, loosening the screws securing it
Install the rear door lock in reverse order
Replacing the rear door glass
10 socket wrench required
Remove the rear door trim and protective film as described above
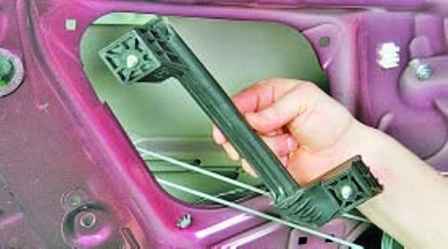
Remove the sliding glass guide from the door cavity
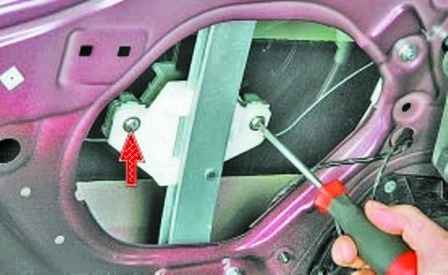
Holding the glass, unscrew the screws in the door cavity that secure the glass clip to the power window slider
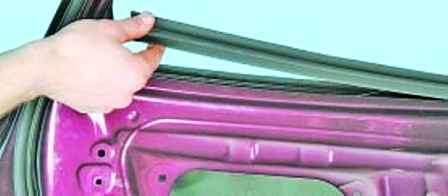
Remove the inner glass seal
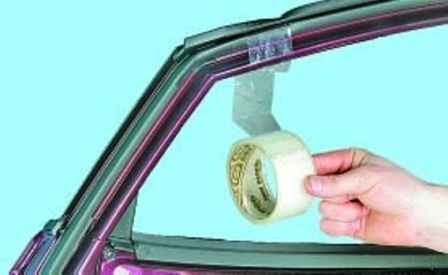
Raise up and fix the glass on the door with adhesive tape
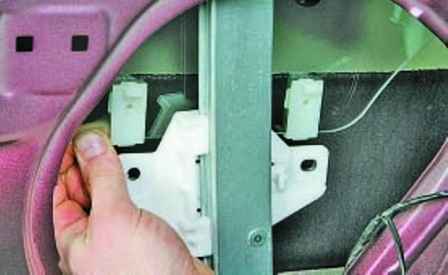
Remove the glass clips from the power window slider
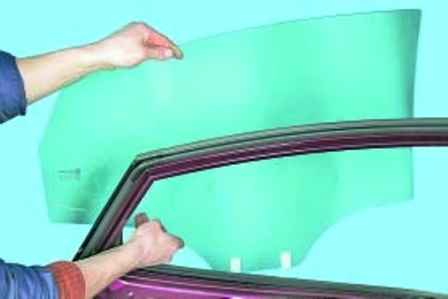
Peel off the adhesive tape from the glass and take out the glass, turning it in the opening
Install glass in reverse order
Removing the rear window mechanism
Disconnect the negative terminal from the battery
Remove the rear door lining
Remove the rear door glass
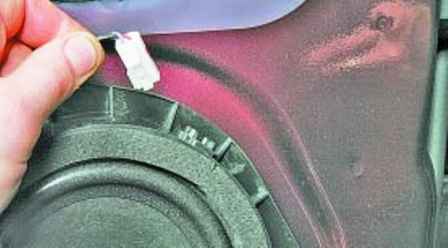
Disconnect the wire block from the speaker
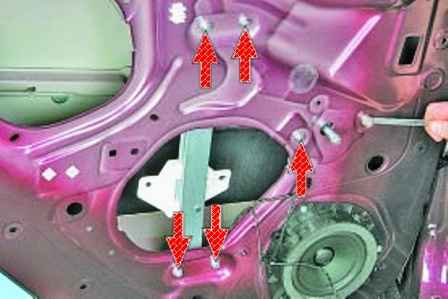
Unscrew the six nuts securing the power window mechanism
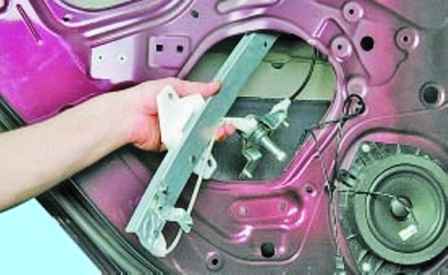
and take it out through the lower technological opening of the door
Install the power window mechanism in the reverse after sequence
Removing and installing the rear door
You will need a screwdriver and a 13 wrench
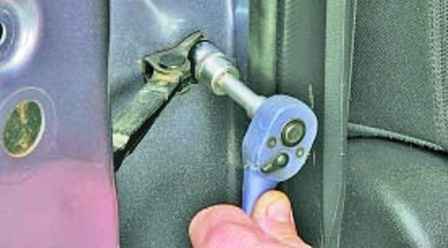
We unscrew the bolt securing the door opening limiter to the body pillar
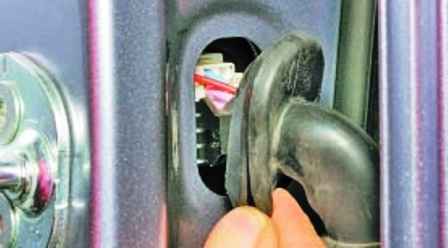
Remove the protective cover from the block of wires
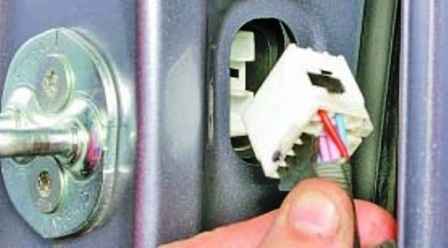
Disconnect the block from the connector in the B-pillar
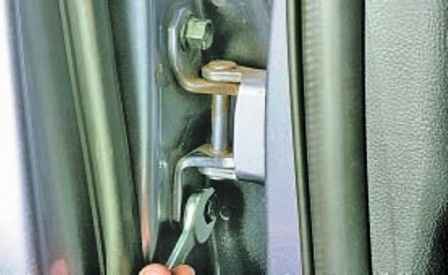
Holding the door, unscrew the two bolts securing the upper hinge to the door
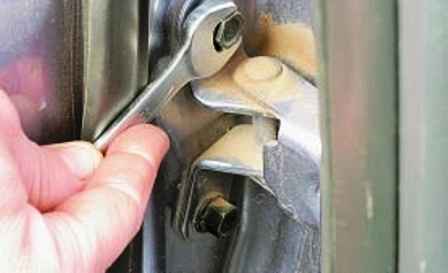
We unscrew the two bolts securing the lower hinge to the door and remove the door
Install the door in reverse order.


