In the article, we will consider the complete disassembly of the front door and its removal
Removing front door trim
Disconnect the negative battery terminal
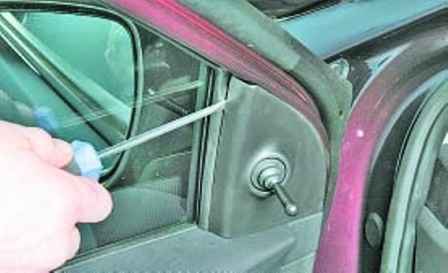
Pry off the outer mirror cover with a screwdriver
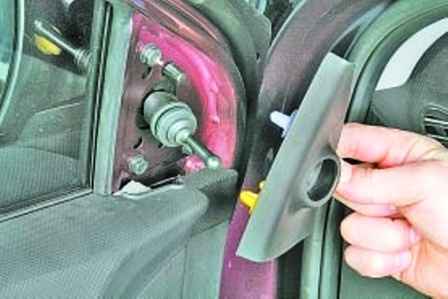
Remove the lining, overcoming the resistance of the clamps
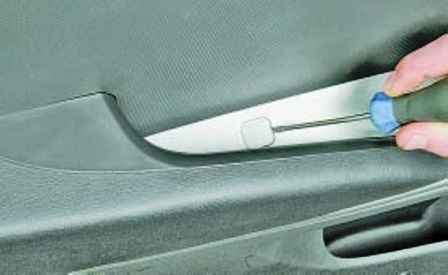
Pry off with a screwdriver and remove the decorative plug of the screw securing the front door trim in the armrest
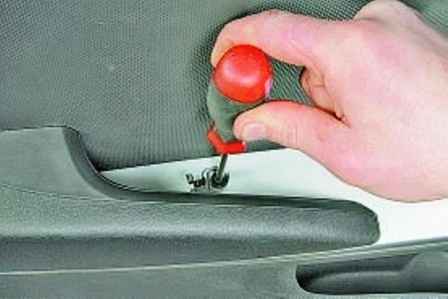
Unscrew the screw securing the front door lining
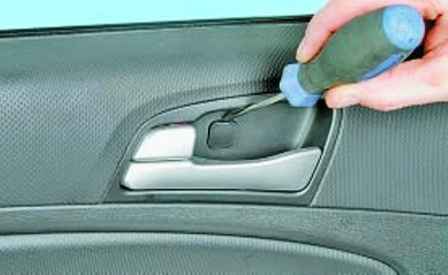
We pry off with a screwdriver and set aside the decorative plug of the front door lining fastening screw, installed in the niche of the inner handle
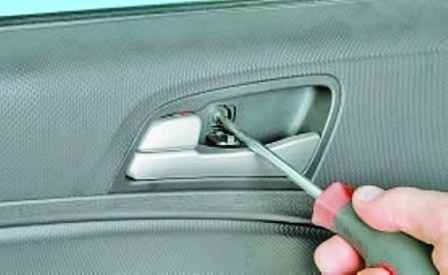
We unscrew the screw securing the lining of the inner door handle
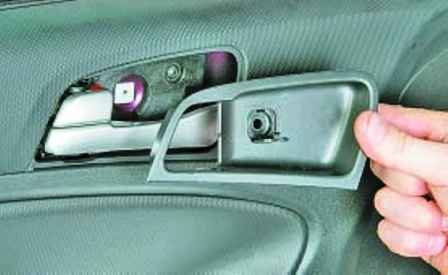
Removing the cladding
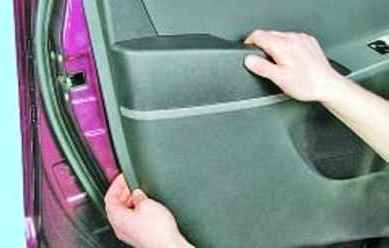
Pry off the lining with your hands
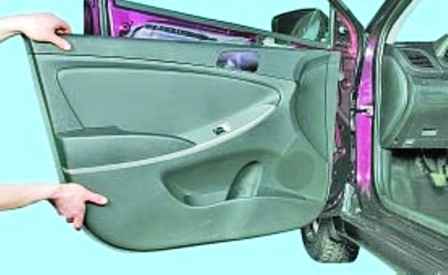
Disconnect and remove the lining from the inner panel of the door by the length of the wires
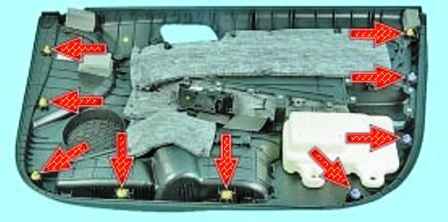
The cladding is secured with nine plastic fasteners.
Replace damaged latches
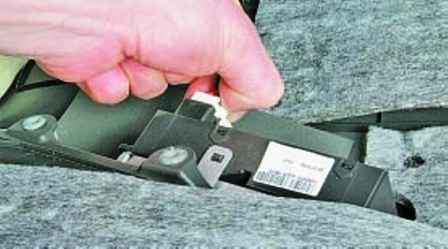
Press the wire block retainer
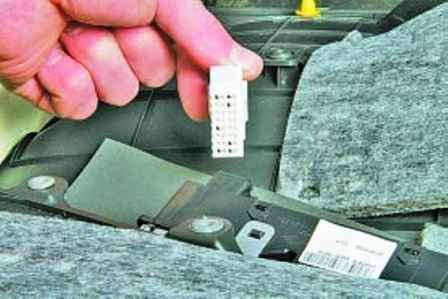
And disconnect the wiring harness from the power window control unit
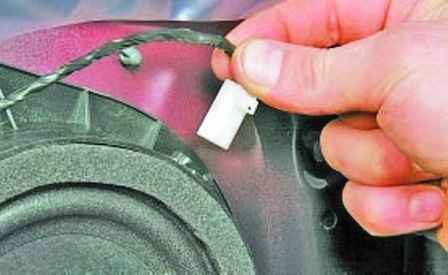
To remove the moisture-proof film of the front door, disconnect the wire block from the speaker of the audio system
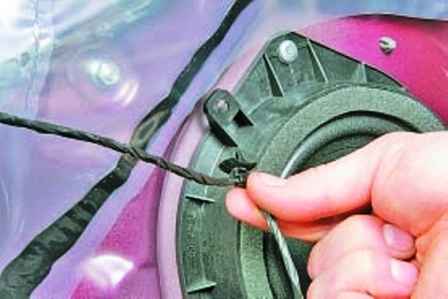
We press the fastening latches and disconnect the wire harness holder from the speaker of the audio system
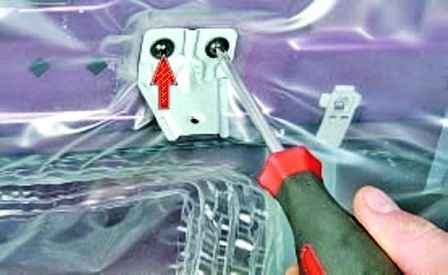
We unscrew the two screws securing the door trim bracket
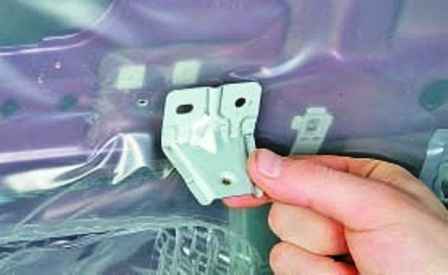
Remove the bracket
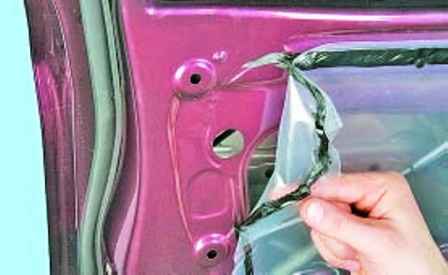
We pry off the protective film and peel off its back from the inner panel of the door
We bring out the front door wire blocks through the hole in the protective film
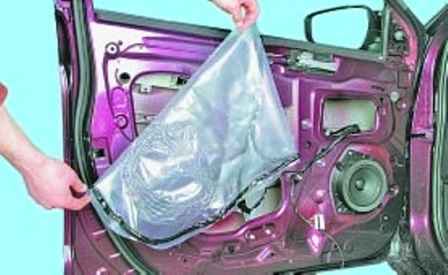
Finally peel off and remove the protective film
Install the front door trim in reverse order
Replacing the front door glass
Remove the door lining as described above
We temporarily connect the battery, connect the power window control unit and, by pressing the key of the power window control unit, set the glass to a position in which the screws securing the glass clip to the slider are located in a position that is convenient for access
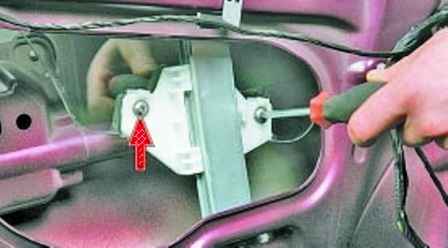
We unscrew the screws securing the glass clip to the power window slider
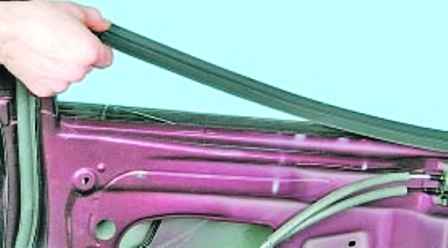
Remove the inner glass seal
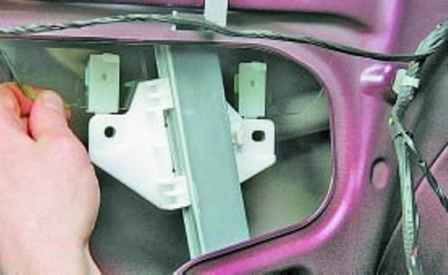
Remove the glass clips from the power window slider
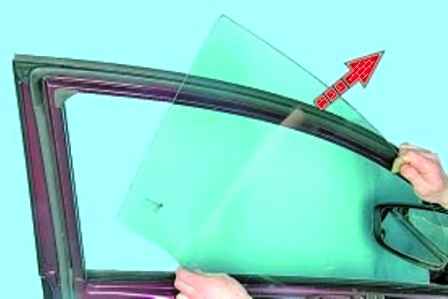
We carefully remove the glass from the door, taking it out and turning it, as shown in the photo
Install glass in reverse order
Removing and installing front door power window
Remove the front door trim as described above in this article
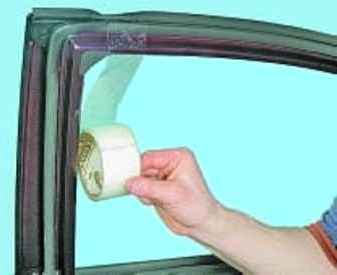
Raise up and fix the glass on the door with tape
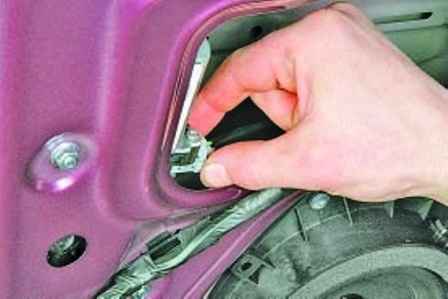
Press the wire block retainer
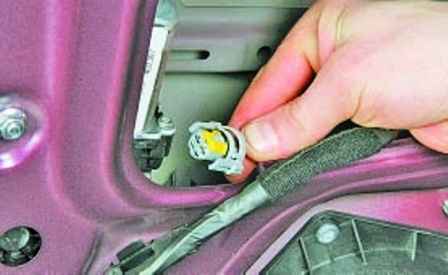
Disconnect the wiring harness from the power window gearmotor connector
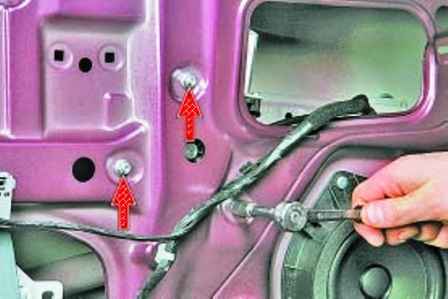
We unscrew the three screws securing the power window motor to the inner door panel
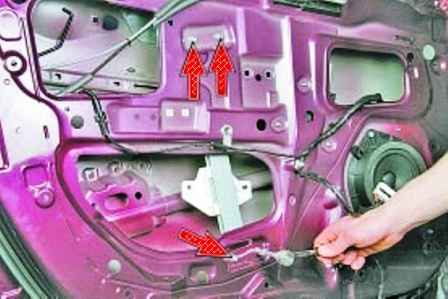
We unscrew the four nuts securing the power window mechanism to the inner door panel
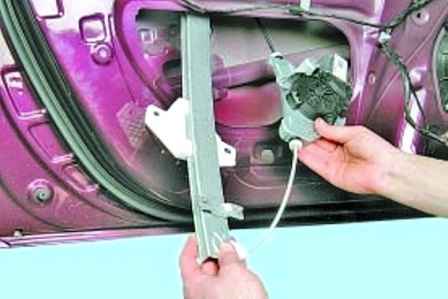
We take out the power window mechanism through the lower technological opening of the door
Install the power window mechanism in reverse order
Replacing the inner handle of the front door lock
Screwdrivers required
Remove the front door trim as described above
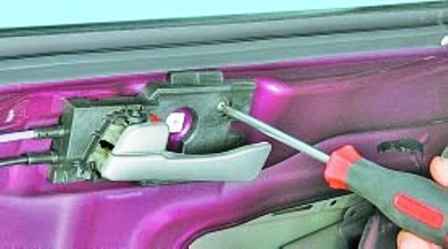
We unscrew the screw securing the inner handle of the lock drive to the front door
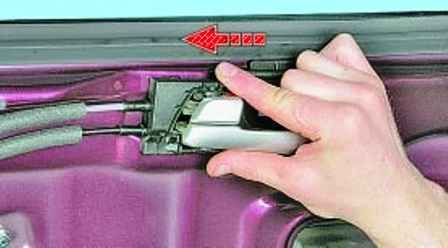
Move the handle as shown in the photo
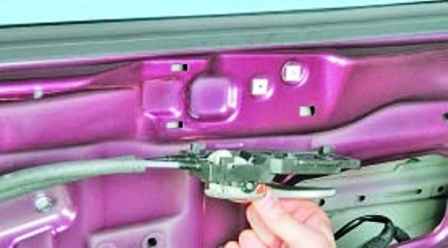
Taking her away from the door
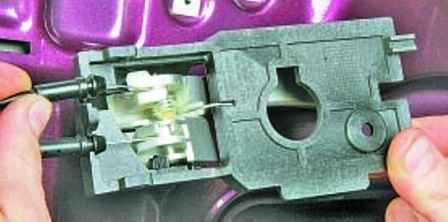
We remove the tip of the shell of the upper cable of the lock drive from the holder on the body of the inner door handle

We remove the tip of the upper cable from the groove of the handle lever
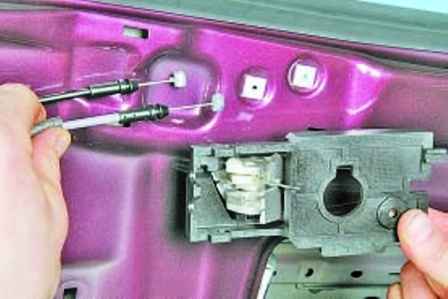
We also remove the tip of the shell of the lower cable of the lock drive and remove the tip of the lower cable from the groove of the handle lever
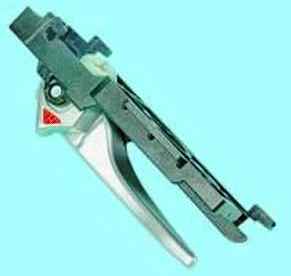
Install the inner handle of the front door lock drive and all the removed parts in reverse order
Removing and installing the outer handle of the front door lock
You will need a 10 wrench and screwdrivers
Remove the front door trim as described above in this article
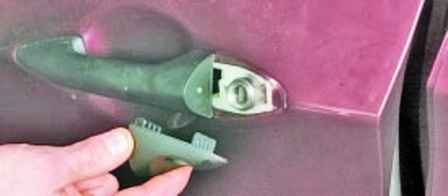
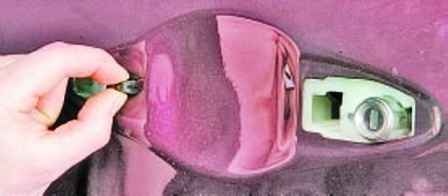
Remove the decorative trim of the front door lock switch
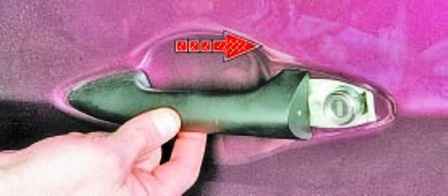
Move the outer handle back (in the direction of the arrow in the photo)
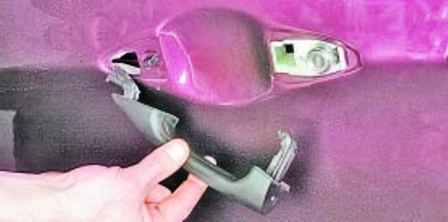
Remove the handle from the car
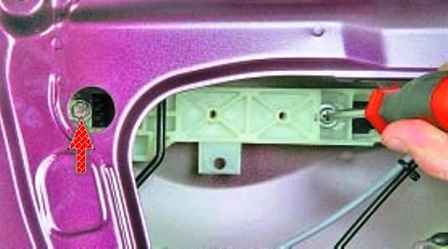
If you need to remove the handle mounting bracket, unscrew the screw from inside the door that secures the outer handle to the handle mounting bracket
We press the retainer of the outer handle bracket to the door and push the bracket into the door cavity with a screwdriver
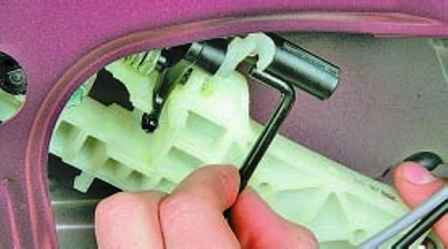
Disconnect the rods from the lever of the outer handle of the door lock
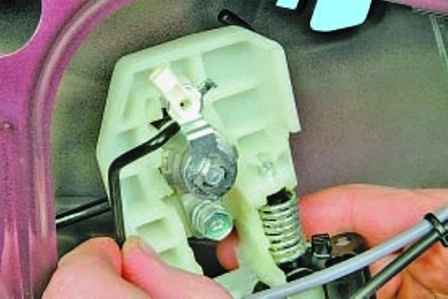
Disconnect from front door lock switch
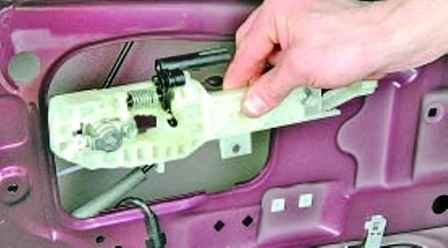
Remove the outer handle mounting bracket from the door cavity assembly with the front door lock switch
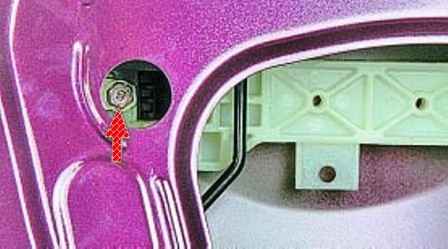
To remove the front door lock switch, unscrew the bolt securing the switch to the outer handle bracket
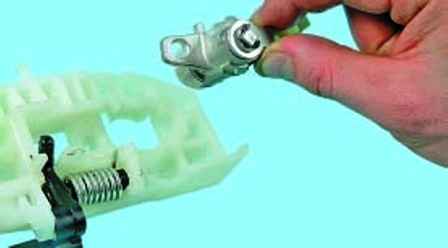
Remove the switch
Install all parts in reverse order
Replacing the front door lock
You will need a wrench for 10, a Torx t30 wrench, screwdrivers
Raise the door glass to the upper position
Remove the door lining as described above in this article
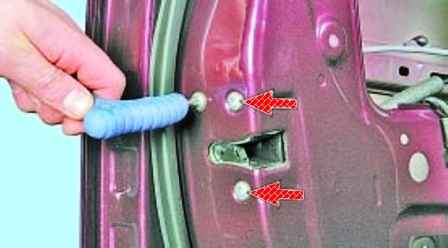
We unscrew the three screws securing the front door lock to the door body
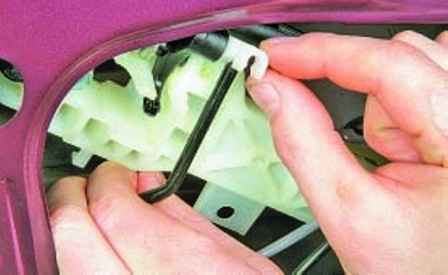
We press the lock of the door lock drive rod
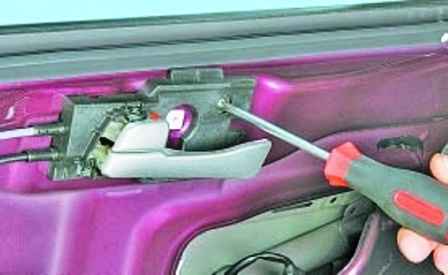
We unscrew the screw securing the inner handle of the lock drive to the front door
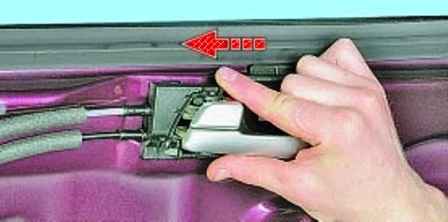
Move the handle back as shown in the photo
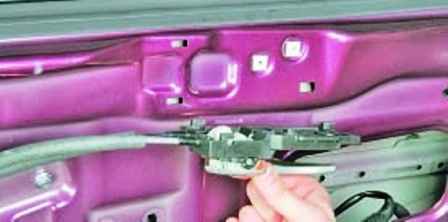
Remove the handle from the door
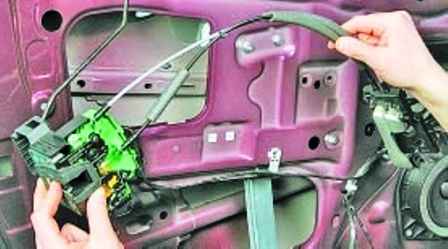
Remove the lock from the cavity of the door
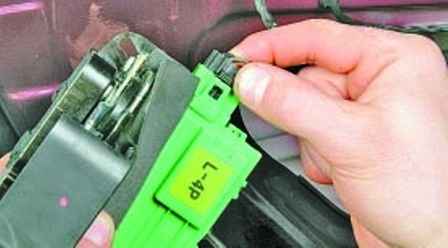
We press the retainer of the front door lock wire block
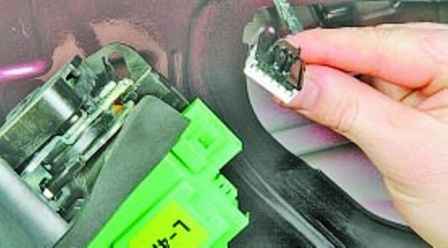
Remove the block from the lock
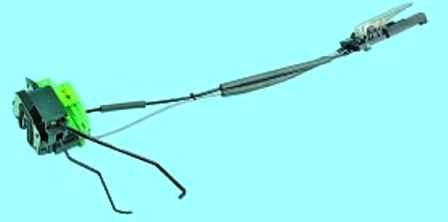
Install the front door lock and all parts in reverse order
Removing the door opening limiter
Remove the cladding and protective film as described above
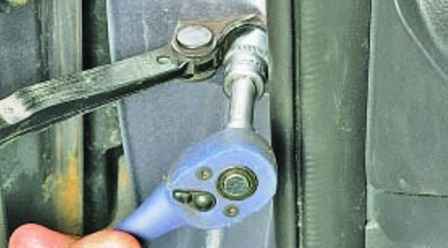
We unscrew the bolt securing the door opening limiter to the A-pillar
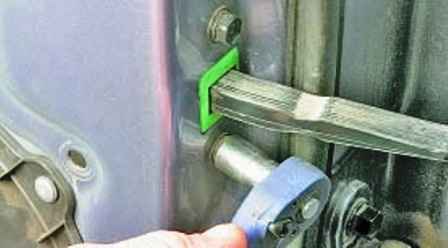
Holding the door, unscrew the two bolts securing the door stop
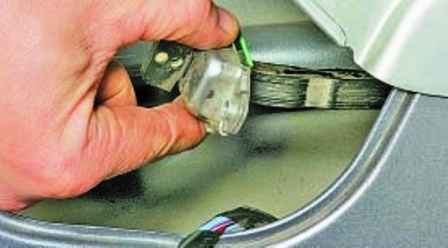
We push the limiter inside the door and take it out through the technological hole
Install the limiter in reverse order
Removing and installing the door
Unscrew the bolt securing the door stop to the A-pillar
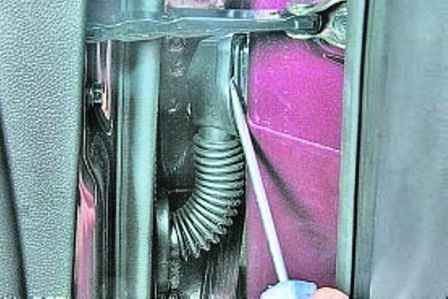
Pry off the dirt cover with a screwdriver
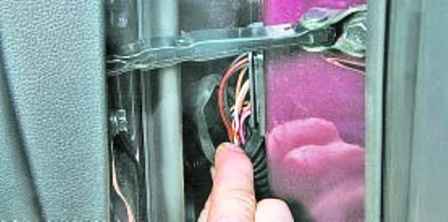
Remove the protective cover of the door wiring harness block
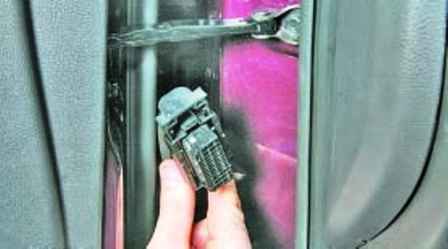
Disconnect the block from the connector on the front pillar
Mark the position of the hinges on the door with a marker
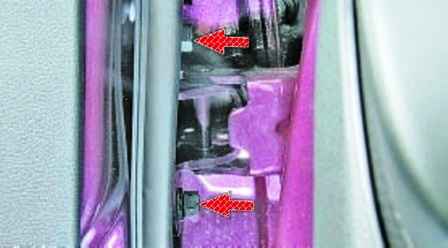
Holding the door, unscrew the two bolts securing the upper hinge to the door
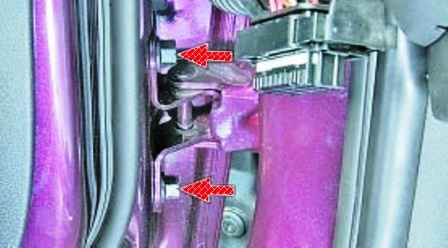
Also, unscrew the two bolts securing the lower hinge to the door, and then remove the front door
Install the door in reverse order.


