Remove the gearbox for replacement or repair
Faults that require gearbox repair:
- - oil leakage through seals and gaskets;
- - difficult gear shifting;
- - increased noise;
- - spontaneous disengagement or poor engagement of gears.
We also remove the gearbox to replace the clutch, flywheel and crankshaft rear oil seal.
The work of removing and installing the gearbox is very laborious, so be sure to first make sure that its malfunctions are not caused by other reasons (insufficient oil level, defects in the clutch release drive, loosening of the gearbox, etc.).
The gearbox is quite heavy and has an awkward shape to hold, so we recommend removing it with an assistant.
Install the car on a lift or viewing hole
Disconnect the negative battery terminal
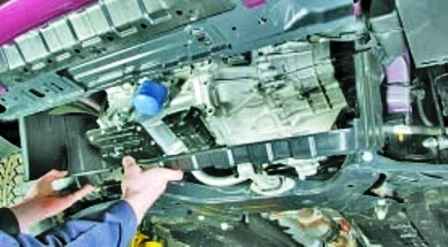
Removing the engine mudguard, described in the article - Removing and installing the Hyundai engine mudguard Solaris
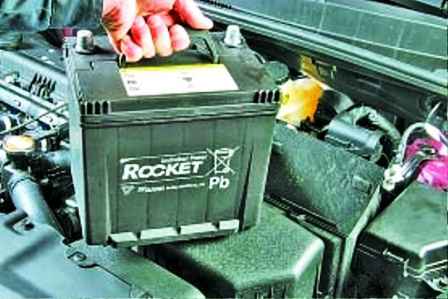
Remove the battery
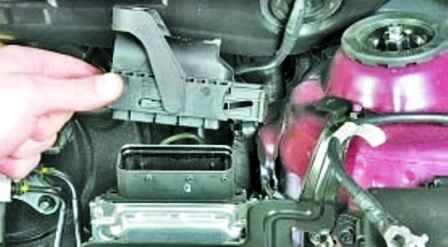
Disconnect the wiring harness from the computer
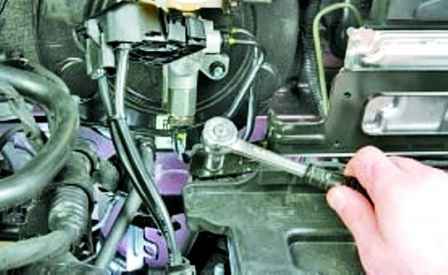
We unscrew the bolts securing the electronic unit bracket to the battery shelf
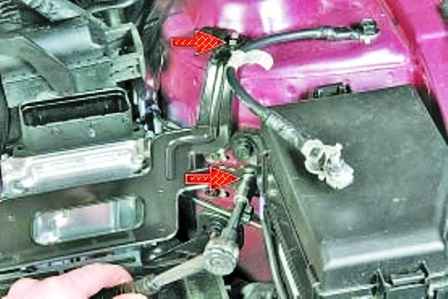
We unscrew the bolts of fastening to the body
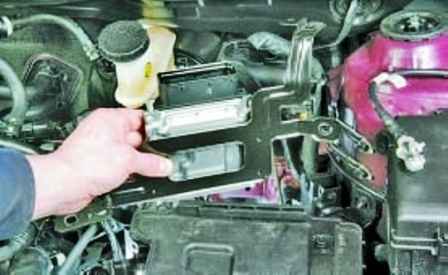
Remove the engine control unit
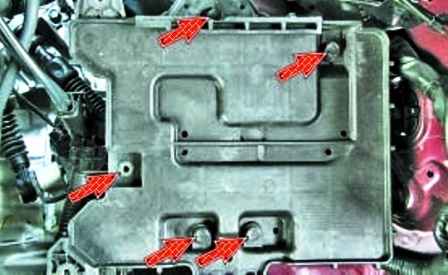
We unscrew the five bolts securing the battery shelf
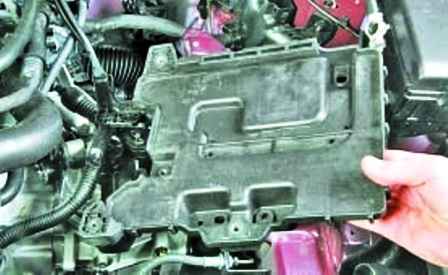
Removing the shelf
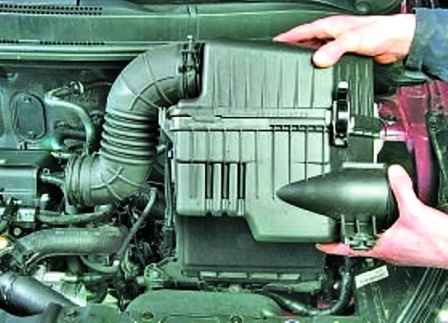
Remove the air filter housing with the air supply sleeve
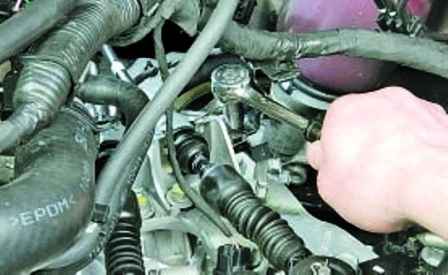
We unscrew the bolt of the wiring harness bracket
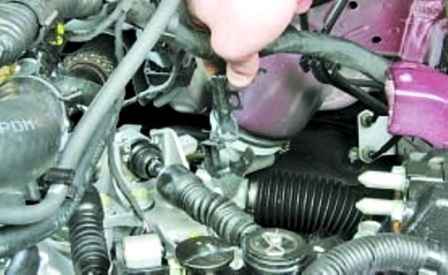
Remove the bracket with wires to the side y
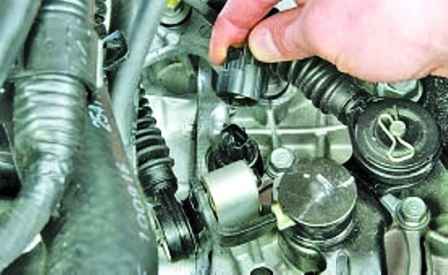
We press the retainer of the block of wires of the reverse light switch and disconnect the block from the switch
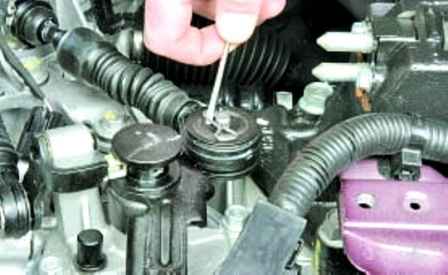
We pry off the cotter pin of the cable end with a screwdriver
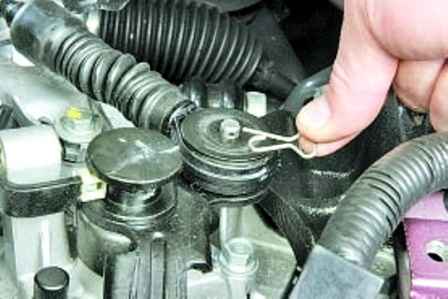
We take it out of the hole of the axle of the gear lever
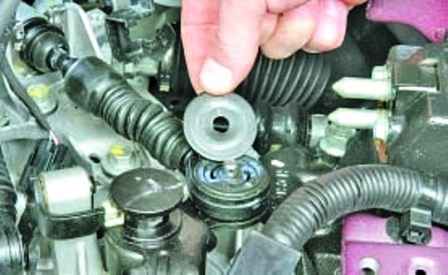
Remove the washer
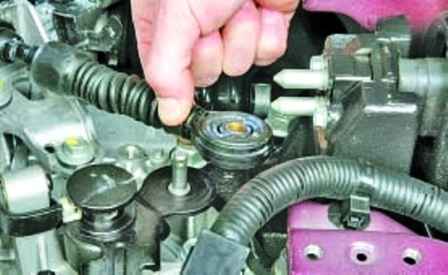
Remove the tip of the cable from the axis of the gear lever
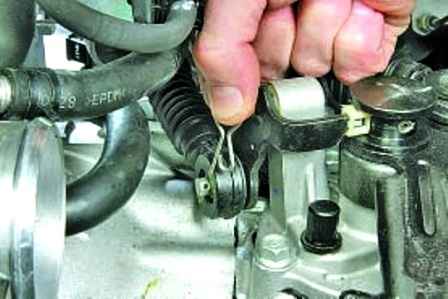
Remove the cotter pin of the cable end from the hole in the gear selector lever
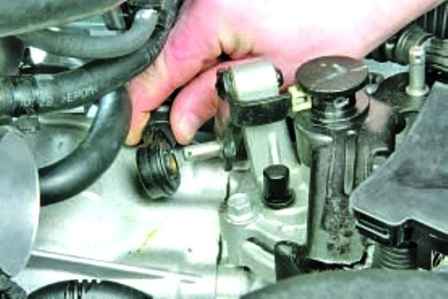
Remove the tip of the cable from the axis of the gear lever
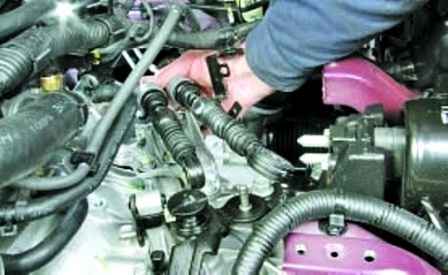
Remove the tips of the cable sheaths from the sockets of the bracket on the gearbox and take the cables to the side
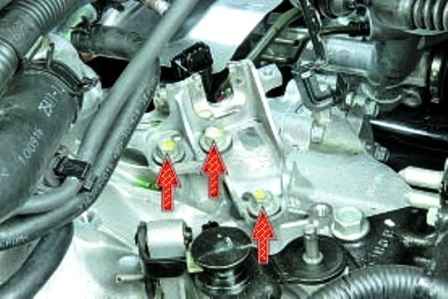
We unscrew the three bolts of the gearbox control cable bracket
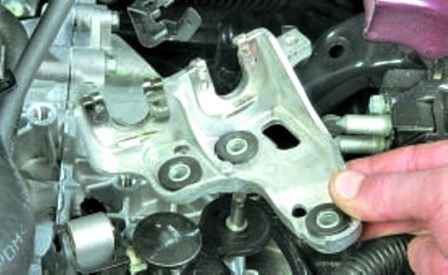
Remove the bracket
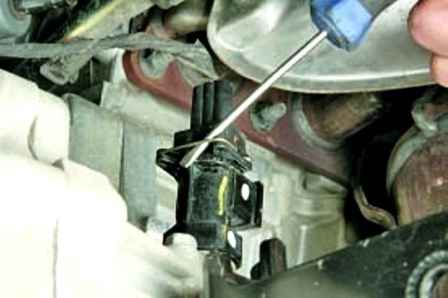
Pry off with a screwdriver and remove the latch
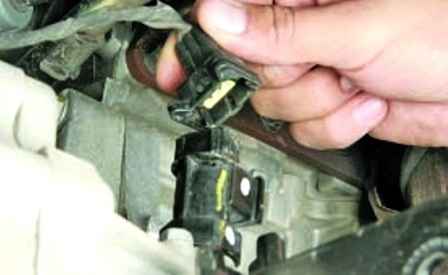
Disconnect the wiring harness from the speed sensor
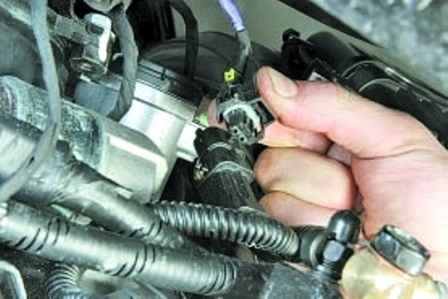
We press the latch and disconnect the wire block from the crankshaft position sensor
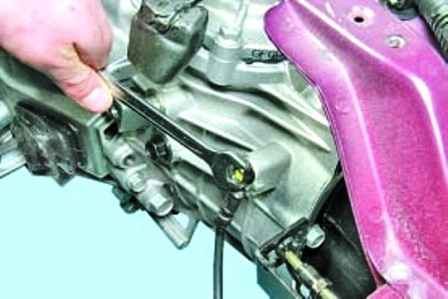
We unscrew the bolt of the ground wire tip
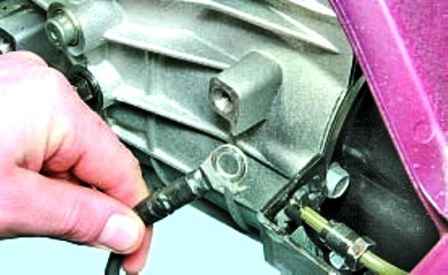
Leave the wire aside
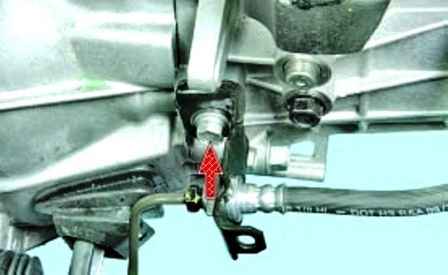
We unscrew the bolt that secures the clutch pipeline bracket to the gearbox housing
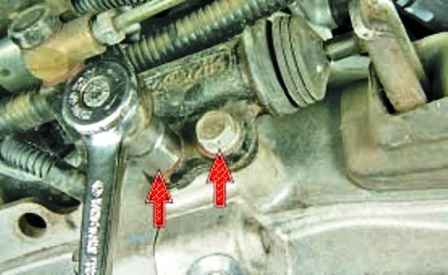
We unscrew the two bolts of the clutch slave cylinder
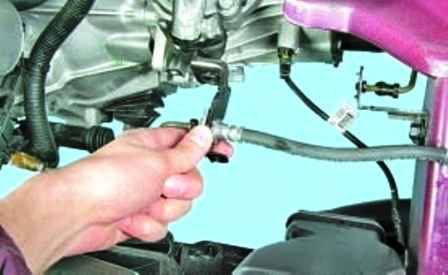
We take the working cylinder with the bracket and pipeline to the side and fix it with wire on the body
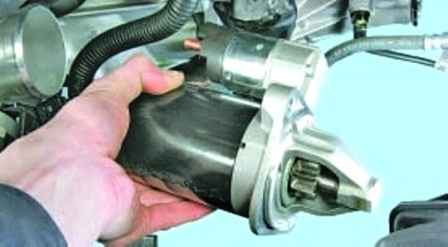
Remove the starter
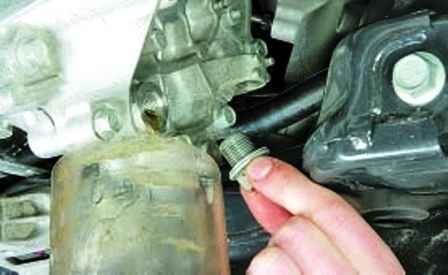
Drain the oil from the gearbox, described in the article - Design feature of the Hyundai Solaris gearbox
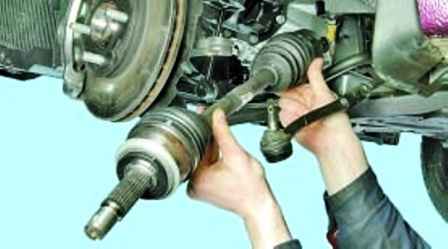
Remove the front wheel drives
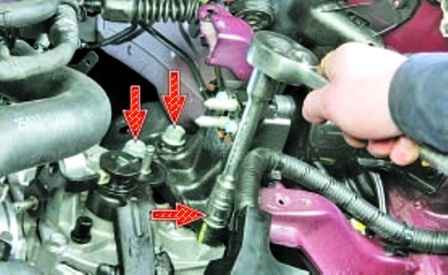
We unscrew the three bolts securing the gearbox to the power unit suspension support bracket
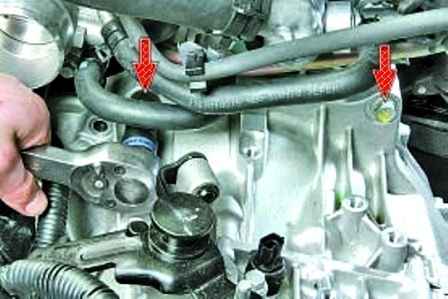
We unscrew the two bolts of the upper gearbox mount
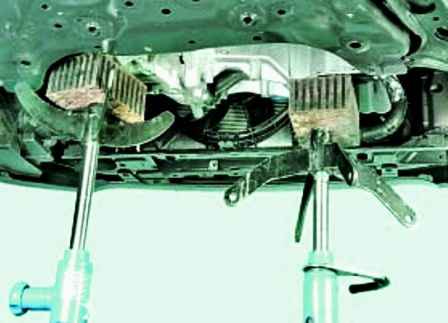
We install reliable stops for the gearbox and engine
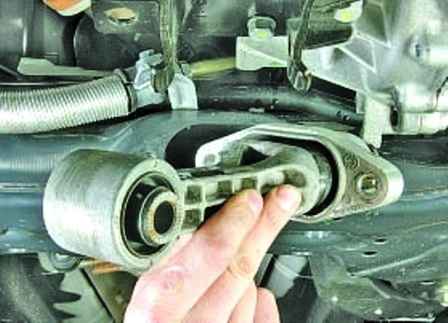
Removing the rear power plant suspension mount, described in the article - How to replace Hyundai Solaris power plant mounts since 2011
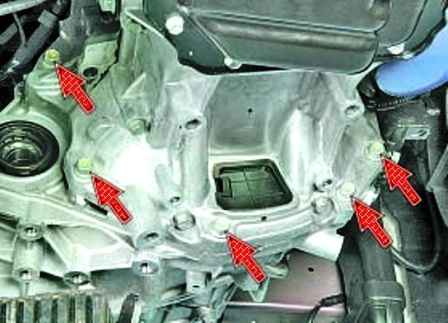
We unscrew the five bolts of the lower gearbox mounting
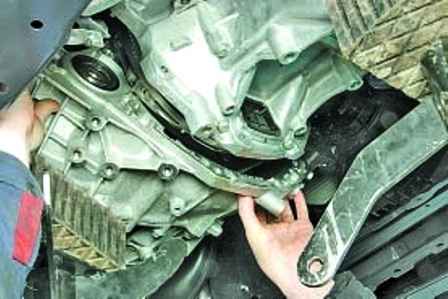
Supporting the gearbox, remove the support from under it
We shift the gearbox back until the input shaft leaves the hub of the clutch disc
Carefully remove the gearbox from the car
Install the gearbox in reverse order


