We remove the elements of the rear door when replacing the door and the malfunctions of the rear door parts.
Removing the rear door trim was discussed in the article - "How to remove the rear door trim Renault Duster»
Removing the rear door glass
Remove the door upholstery
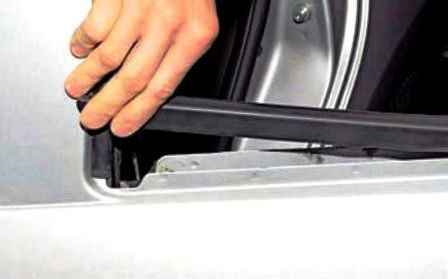
Pry off the front edge of the outer door glass seal and remove it from the outer door panel
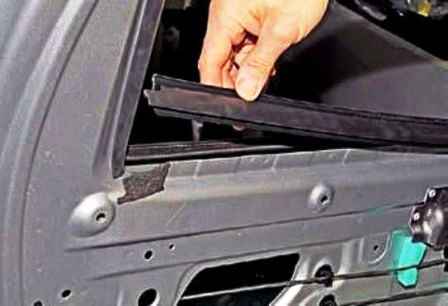
Pry off the rear edge of the inner door seal and remove it from the inner door panel
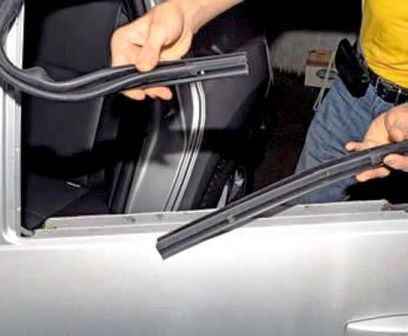
Pull the sides of the glass seal out of the door
Do not touch the upper part of the seal.
Having connected the wiring harness block to the power window switch, turn on the switch and raise the glass so that there is access to the screws securing the glass holders to the power window slider.
In this position, the self-tapping screws securing the glass holders to the power window slider will align with the holes in the inner door panel.
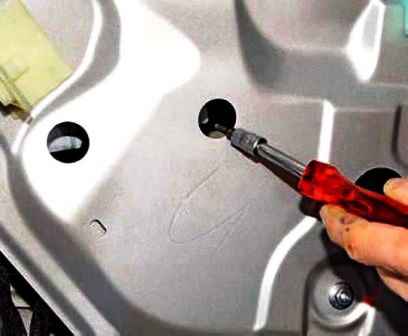
Using a Torx T20 wrench, unscrew the two screws securing the glass holders to the power window slider
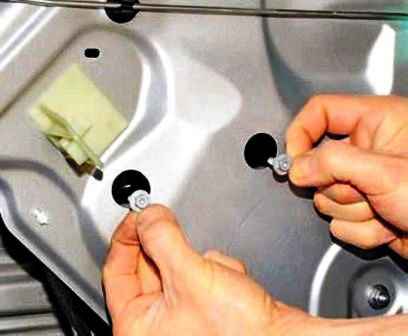
Take out the screws
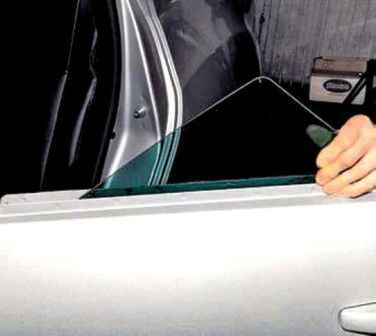
Rotate the glass as shown in the photo
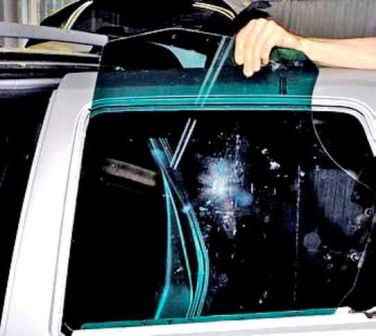
Remove the glass from the door
Install glass in reverse order
Removing the rear power window mechanism
Removing the door trim (article - How to remove the Renault Duster rear door trim)
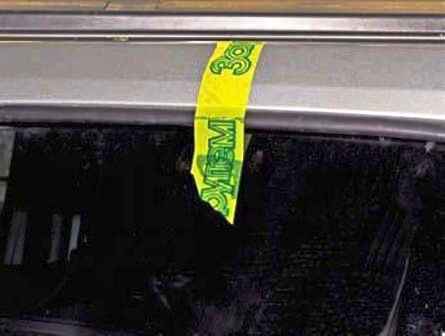
Raise the glass with your hands and fix it with electrical tape or tape
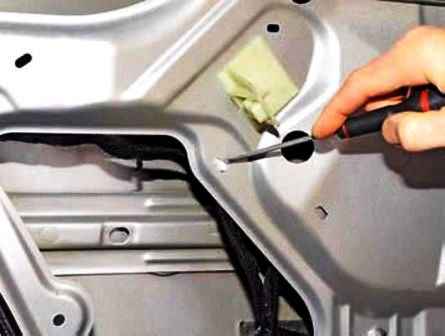
Use a screwdriver to tighten the latches of the upper plastic wire holder
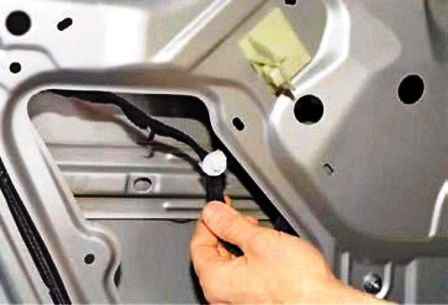
We remove the holder from the hole in the inner panel of the door
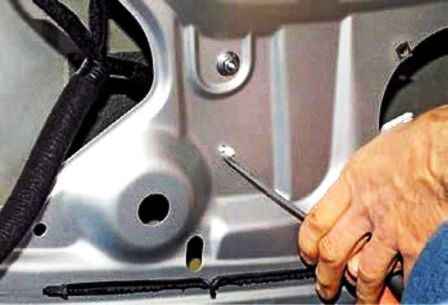
We also remove the lower wire holder from the hole in the inner door panel
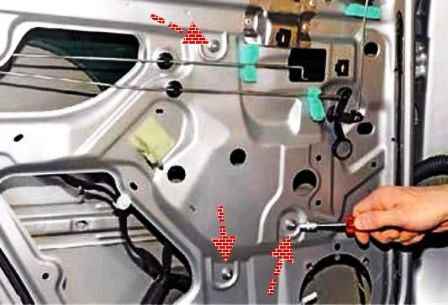
Using a 10 socket, unscrew the three nuts securing the power window mechanism to the inner door panel
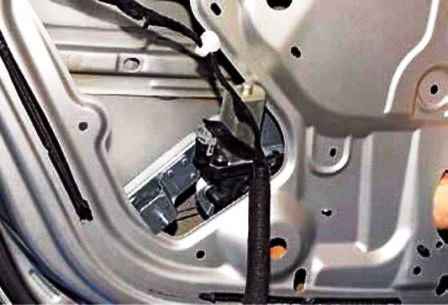
Move the mechanism to a large technological hole in the inner panel of the door
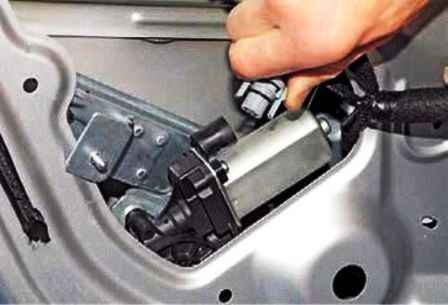
Squeeze the clamps of the wire block and disconnect the block from the power window motor
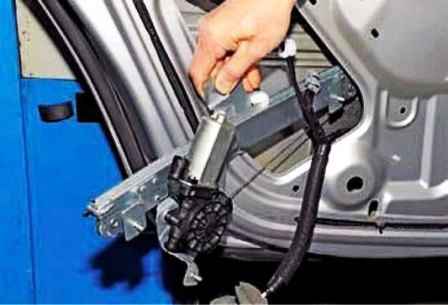
We take out the power window mechanism through the technological hole in the inner door panel
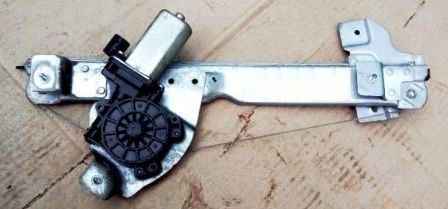
Install the power window mechanism in reverse order.
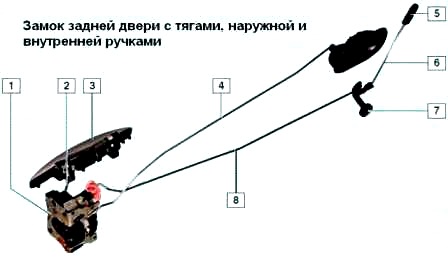
Removing the lock and outside handle of the rear door
Remove the door upholstery
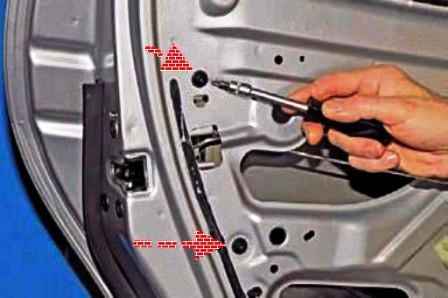
Using a Torx T30 wrench, unscrew the two screws securing the glass guide
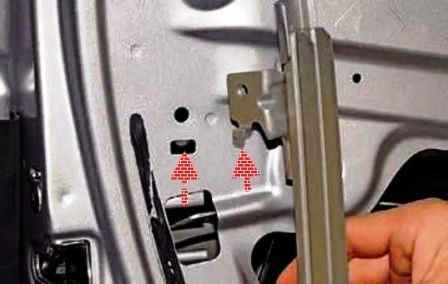
We remove the antenna of the glass guide from the hole in the inner panel of the door (shown on the removed glass guide)
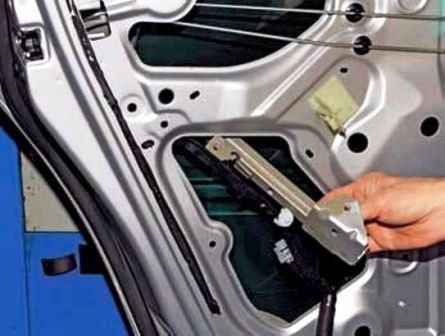
We take out the glass guide through the technological hole in the inner panel of the door
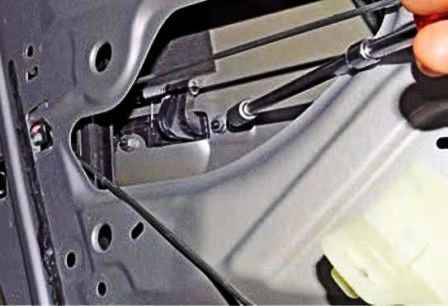
Using a 10-head with an extension, unscrew the nut securing the outer door handle
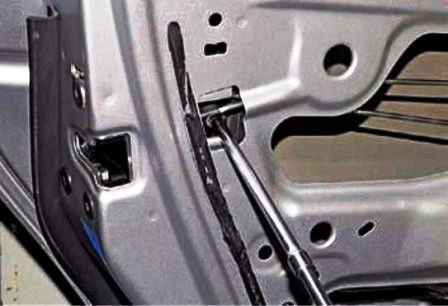
With the same tool, unscrew the other nut securing the outer door handle
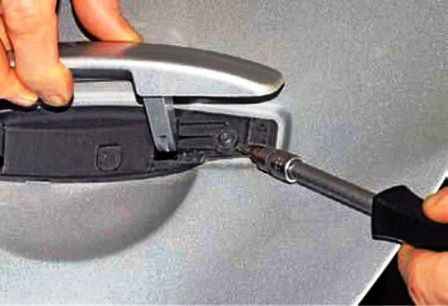
Outside the door with a Torx T20 key, unscrew the handle fastening screw
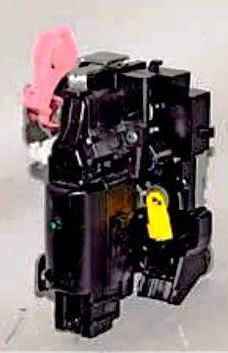
We press the plastic retainer (yellow), the outer handle rods, turn it around the axis and disconnect the rod from the lock lever (shown on the removed lock)
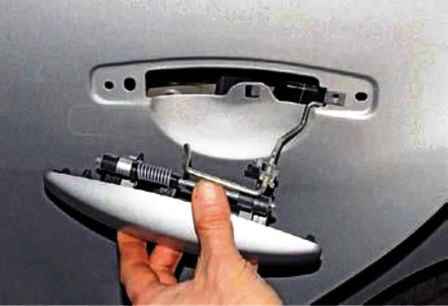
Remove the outer rear door handle along with the rod
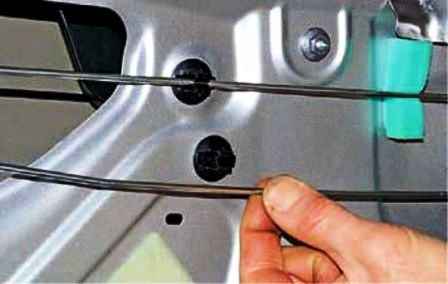
We remove the door lock rod from the plastic holder
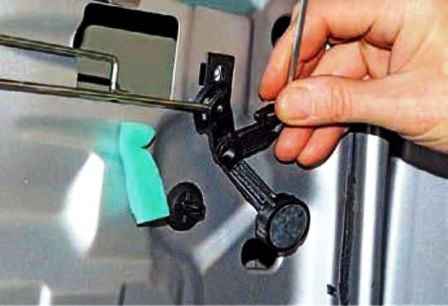
Having removed the intermediate lever of the locking rods from the axis, turn it so that the rod comes out of the groove of the lever
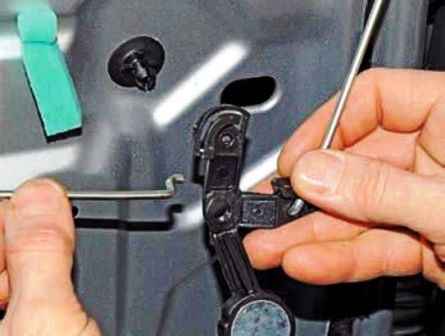
Remove the rod from the lever hole
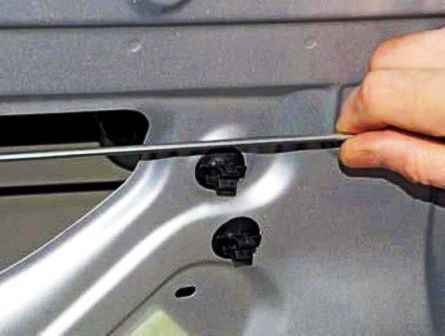
We remove the rod from the inner door handle from the plastic holder
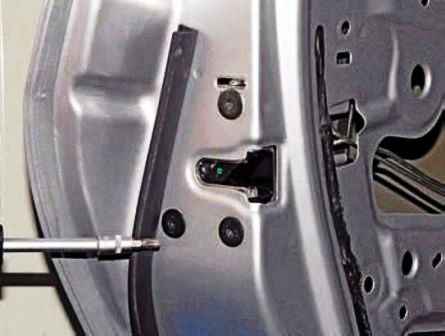
Using a Torx T30 key, unscrew the three screws securing the lock to the end of the door
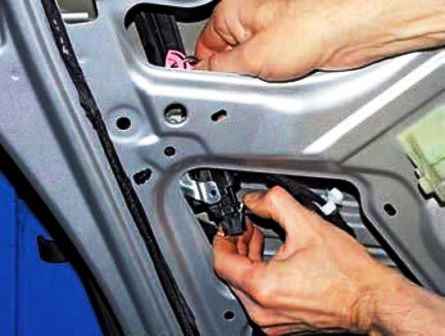
Sliding the lock towards the technological hole in the door, we squeeze the lock of the wiring harness block.
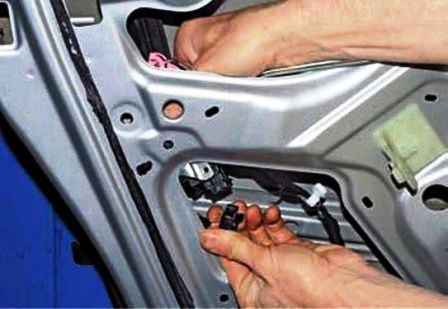
Disconnect it from the lock connector
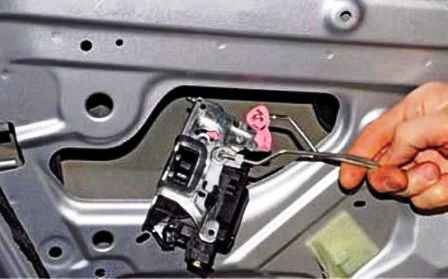
We take out the lock assembly with the electric drive and rods through the technological hole in the inner panel
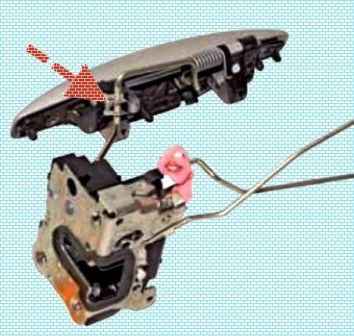
Install the lock and the outer door handle in reverse order.
The length of the rod can be changed due to the turns rolled on it
After installing the outer handle and lock, the handle rod is locked in the required position with a metal lock, while the lock and handle levers must be in a free position.


