


We remove the powertrain protection to gain access to the parts and assemblies of the engine and gearbox.
We remove the wheel arch liners and mudflaps to gain access to the assemblies of the chassis and brake system, as well as during anti-corrosion treatment of body parts.
Removal of the powertrain protection
We prepare the vehicle to carry out the task.
We place the vehicle on an inspection pit or a lift.
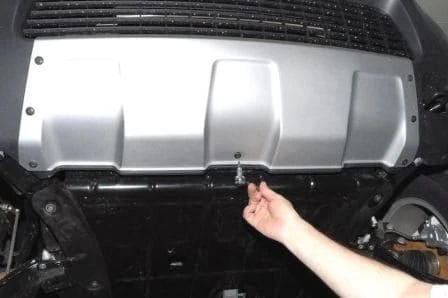
Using a Torx T30 key, we undo the centre screw securing the bumper to the protection.
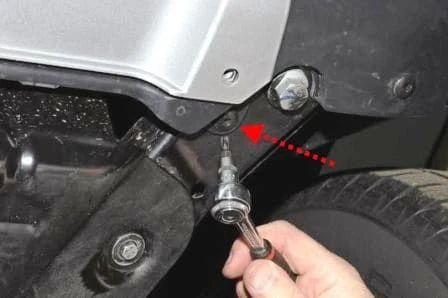
On the left side, we undo the lower screw securing the bumper to the subframe.
We also undo the screw on the other side.
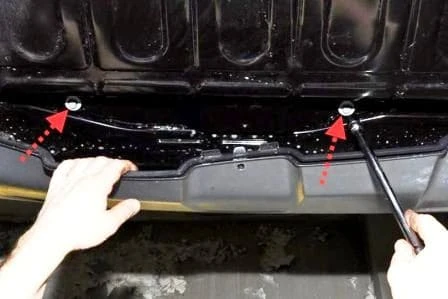
Under the lower edge of the front bumper, using a 10 mm socket, we undo the two front mounting bolts of the protection.
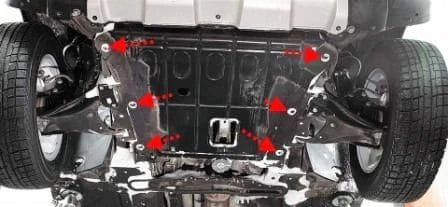
Using a 10 mm socket, we undo the six bolts securing the powertrain protection to the subframe.
We remove the protection.
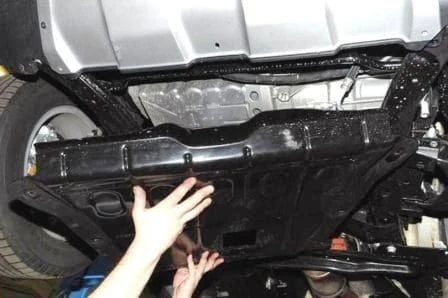
We install the powertrain protection in the reverse order.
Before installing the screws and bolts, we lubricate the threaded part with consistent grease.
Removal of the engine compartment mud shields
We prepare the vehicle to carry out the task.
We place chocks under the rear wheels of the vehicle.
We apply the parking brake.
We loosen the bolts of the front wheels.
We raise the front of the vehicle and place it on reliable supports.
We remove the front wheel.
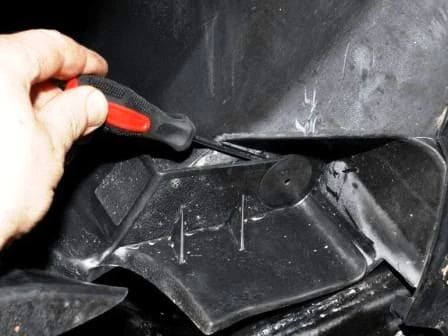
Using a screwdriver, we prise up the lower fixing push rivet of the shield.
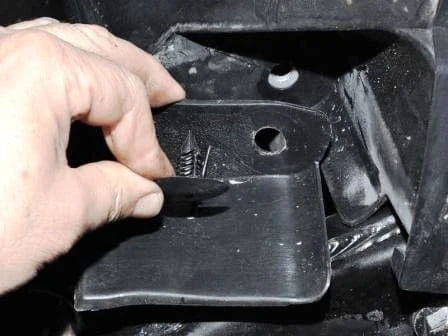
We withdraw the push rivet securing the engine compartment mud shield to the wheel arch liner and to the body.
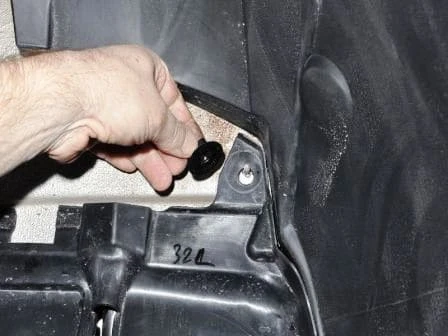
We undo the plastic nut of the upper mounting of the mud shield to the body.
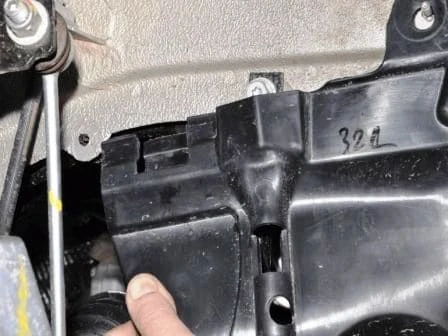
We slide the shield downwards and bring the shield fixing tab out from under the flanging of the body mudflap.
We remove the engine compartment mud shield.
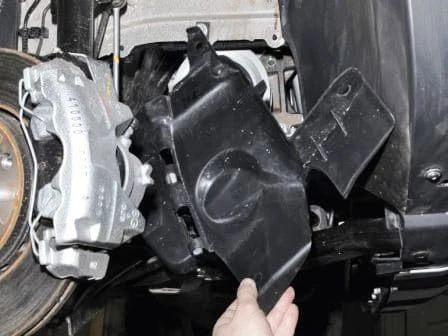
On the other side, the mud shield is removed in the same way.
We install the shields in the reverse order.
Removal of the mudflaps and wheel arch liners of the front wheels
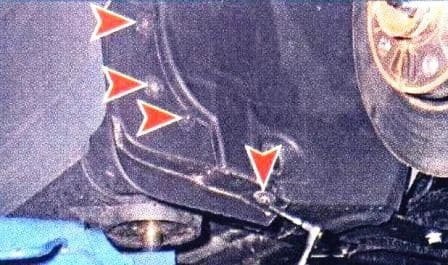
Using a 7 mm socket, we undo the three screws securing the mudflap to the wing and one to the wheel arch liner.
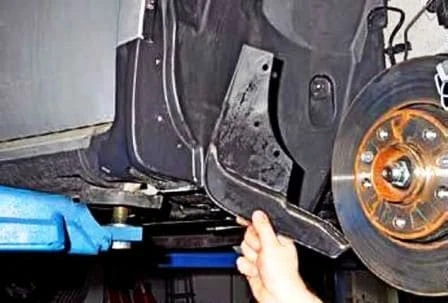
We remove the mudflap.
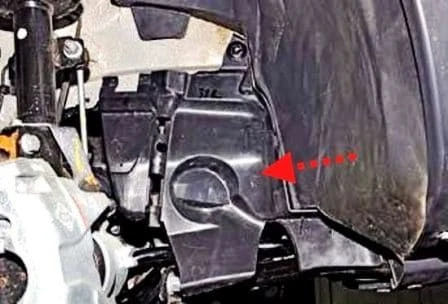
We remove the mud shield as described above.
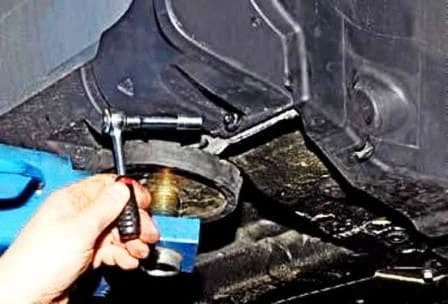
Using a 10 mm socket, we undo the lower screw of the front sill trim of the body.
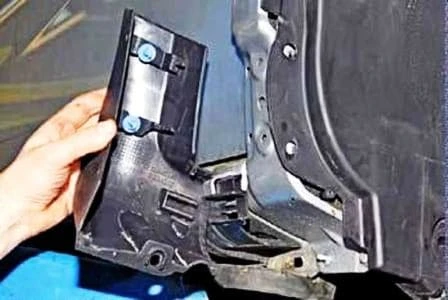
We prise up the sill trim and remove the body sill trim.
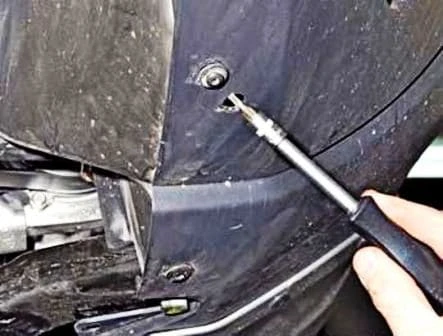
Using a Torx T20 key, we undo the two screws of the lower mounting of the wheel arch liner to the front bumper.
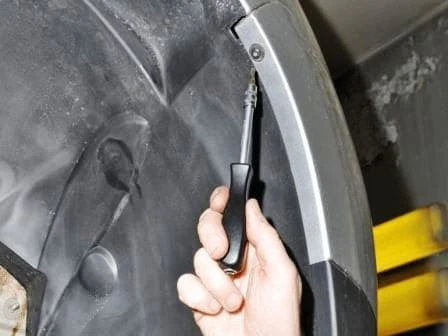
Using a Torx T20 key, in the wheel arch, we undo the screw securing the wheel arch liner to the front bumper.
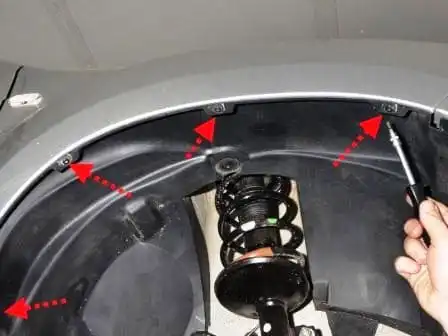
We undo the four screws securing it to the front wing.
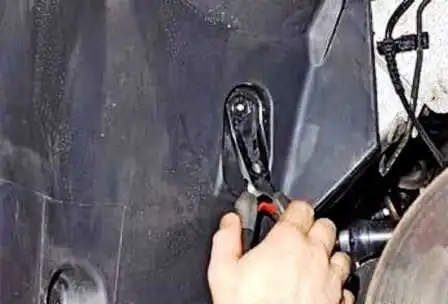
Using pliers, we undo the metal nut.
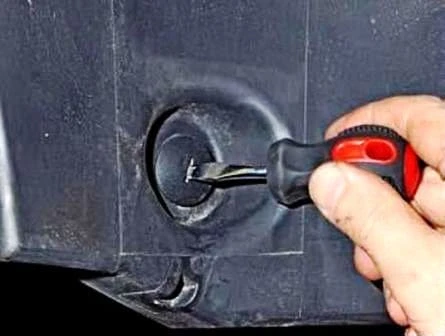
Using a flat screwdriver, we undo the lower fixing push rivet of the wheel arch liner.
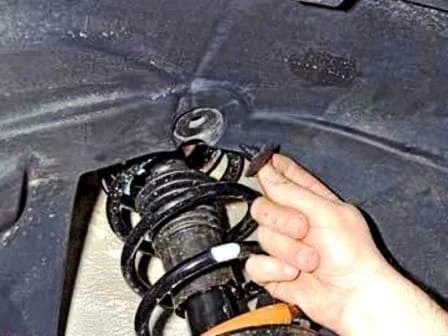
We prise it up with a screwdriver and withdraw the upper fixing push rivet of the wheel arch liner.
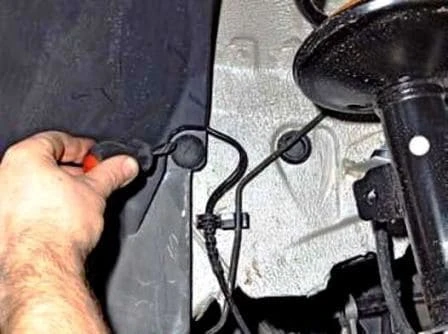
Using a flat screwdriver, we undo the middle fixing push rivet of the wheel arch liner.
We remove the front wheel arch liner.
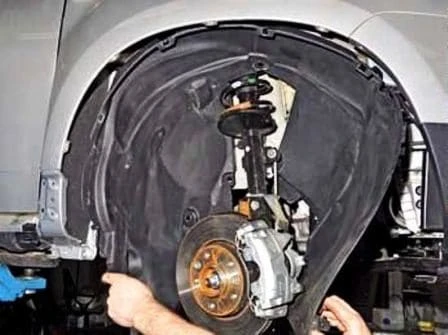
In the same way, we remove the wheel arch liner and mudflap on the other side.
We install all parts in the reverse order.


