


We replace the vacuum brake servo when it fails. If the vacuum servo is faulty, the effort on the brake pedal increases considerably.
If the effort on the brake pedal when braking has noticeably increased, the servo must be checked on a stationary car.
With the engine off, we press the brake pedal five or six times.
Holding the brake pedal pressed, we start the engine.
The brake pedal must move forward.
If this has not happened, the vacuum servo or the vacuum servo check valve is not working, and the vacuum servo hose may also not be airtight.
Replacing the vacuum servo valve
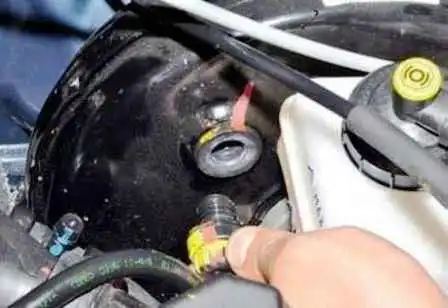
Having overcome the resistance of the fasteners, we take the check valve out of the sealing bush of the brake vacuum servo body.
To assess the serviceability of the check valve, its pipe must be disconnected from the engine receiver union.
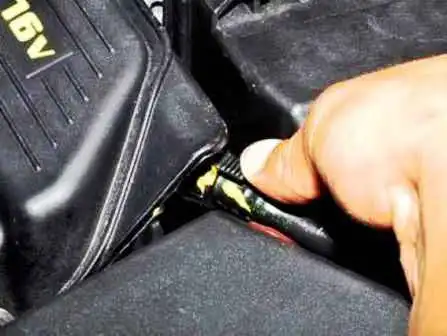
To do this we squeeze two fasteners of the valve pipe end piece.
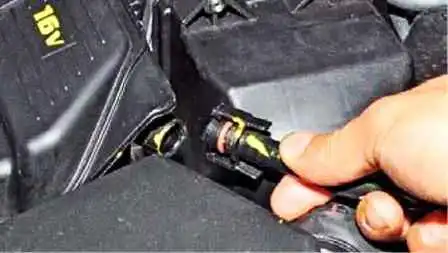
And we disconnect the pipe end piece from the receiver union.
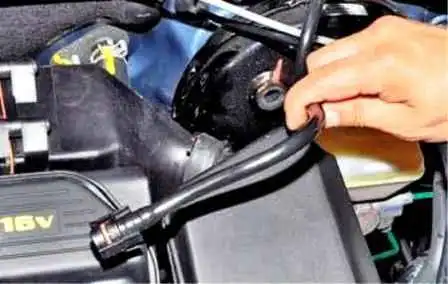
We remove the check valve with the pipe.
The serviceability of the valve can be assessed by blowing into it in both directions.
In the direction from the servo to the receiver the air must pass, in the opposite direction — not.
We replace the faulty valve.
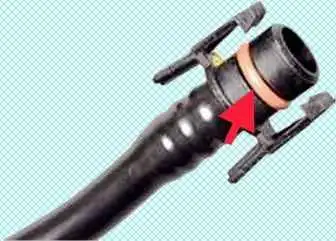
Before installing the valve we check the condition of the rubber seal of the valve pipe end piece.
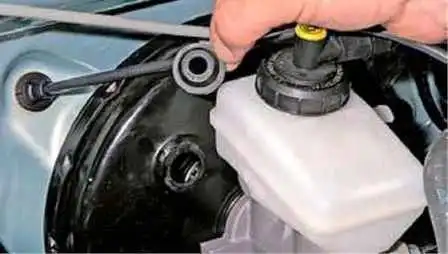
We check the condition of the rubber sealing bush of the valve, located in the opening of the vacuum servo body.
Replacing the vacuum brake servo
We take out the vacuum servo check valve, as described above.
We unscrew two nuts securing the master brake cylinder (article — Replacing the master brake cylinder Renault Duster).
To prevent air from entering the hydraulic drive of the brake system, we do not disconnect the brake pipes.
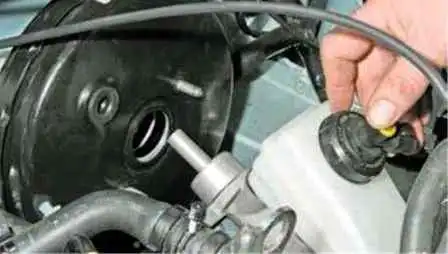
Carefully bending the brake pipes, we remove the master brake cylinder from the vacuum servo studs and move it aside.
The connection of the master brake cylinder with the vacuum brake servo is sealed with a rubber ring.
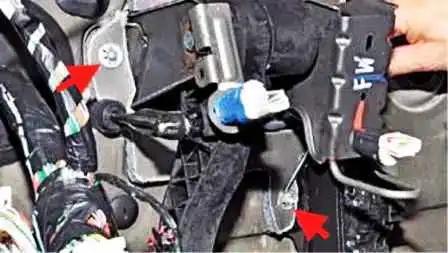
In the car interior under the instrument panel we prise with a screwdriver two sound insulation holders.
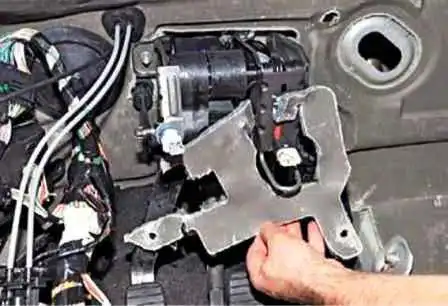
We remove the sound insulation.
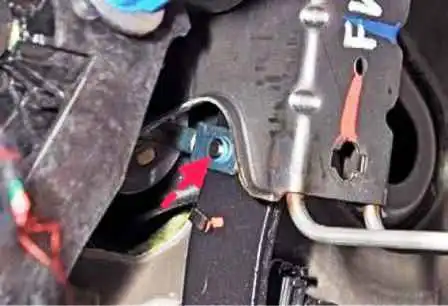
We remove the split plastic retaining ring from the pushrod securing pin to the brake pedal.
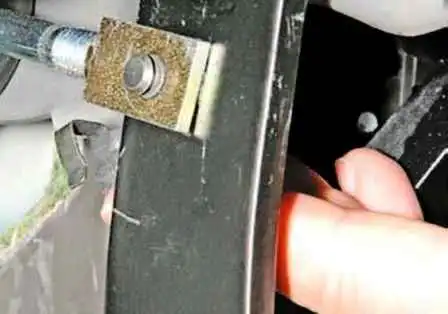
We move aside from the brake pedal the spring retainer of the pushrod securing pin of the vacuum servo to the pedal.
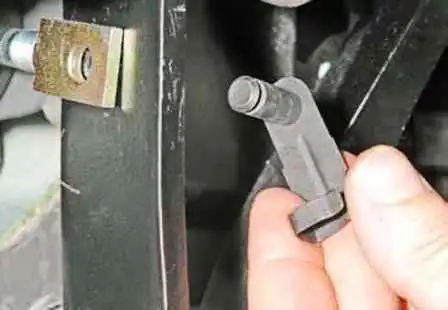
We take the pin out of the openings of the pedal and the pushrod eye.
With a 13 mm socket we unscrew four nuts securing the vacuum servo to the front panel.
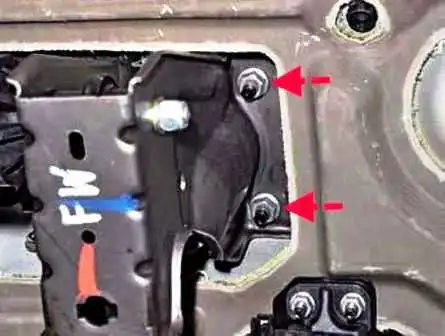
Two on the right side of the pedal bracket.
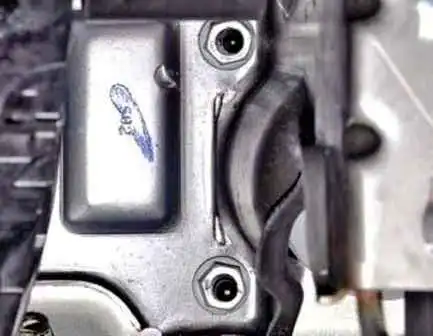
And two on the left side.
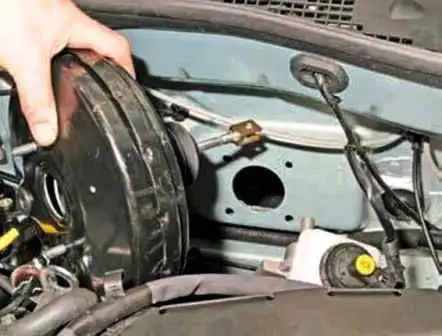
We bring the servo pushrod out of the opening in the front panel and take the vacuum servo out of the engine compartment.
We install the vacuum servo in the reverse order.


