


The engine oil and oil filter, according to this vehicle's maintenance schedule, should be replaced every 15,000 km.
On some vehicle configurations, an indicator is fitted that warns of the oil replacement interval.
Of course, this interval assumes that the engine will be operated in normal conditions, with branded, serviceable oil being filled.
In aggressive environments and dusty operating conditions, this interval must be shortened, regardless of "very high-quality oils".
One should at least determine, by the colour of the oil film on the dipstick and by smell, the difference in colour and smell between the oil in the engine sump and that in the can, as well as the viscosity of the oil.
K4M 1.6 L engine — oil system oil quantity 4.8 litres.
F4R 2.0 L engine — oil system oil quantity 5.4 litres.
Oils used — engine oils with API quality class: SM; SL and SAE viscosity grade: 5W30; 5W40; 5W50; 0W30; 0W40.
The oil level should be checked daily or, on a long journey, every 300–400 km of vehicle mileage.
Oil to be topped up should be of the same brand as that filled.
Oils must not be mixed, especially synthetic oils with mineral oils.
If the vehicle has the F4R 2.0 L engine fitted
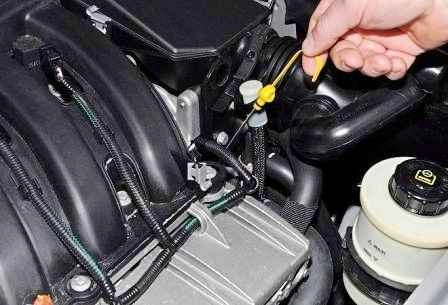
We open the bonnet and withdraw the oil dipstick.
We wipe the dipstick with a clean cloth and insert it into the guide tube as far as it will go.
We withdraw the dipstick again and determine the oil level in the engine sump by the edge of the oil film on the dipstick.
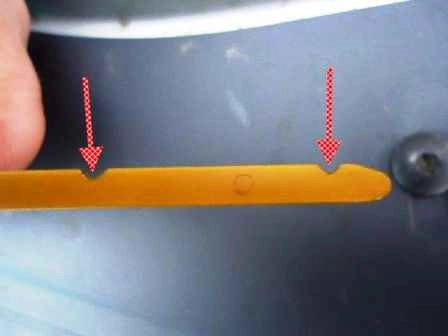
The oil level should be between the depressions on the dipstick, approximately in the middle.
If the vehicle has the K4M 1.6 L engine fitted
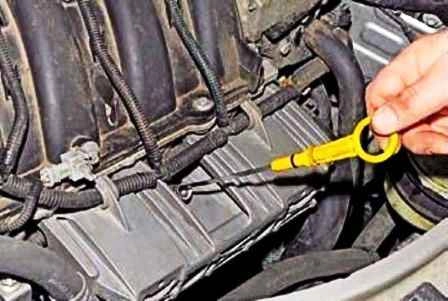
In the K4M engine, the oil level should be between the upper and lower limits of the shaded area.

If the level is insufficient, then:
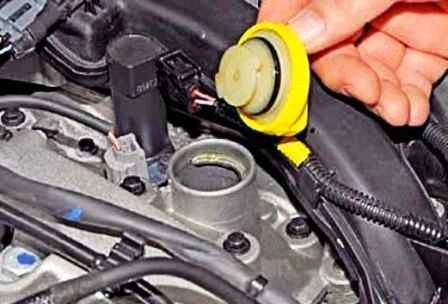
We turn and remove the oil filler cap.
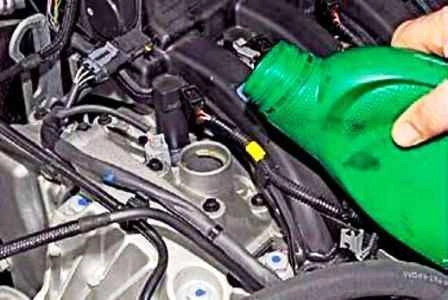
We top up with oil in small portions.
After waiting a little for the oil to drain into the engine sump, we check the oil level again.
Engine oil and filter replacement
We prepare the vehicle to carry out the work.
The following tools will be required: an 8 mm square drive, an oil filter remover, a container for the drained oil and rags.
We remove the powertrain undertray (article — Removal of engine protection, wheel arch liners and mudflaps Renault Duster).
Of course, the powertrain undertray need not be removed, as an access hole is provided for this operation.
But here it should be borne in mind that some of the oil may get onto the undertray, especially when removing the oil filter.
And this may affect the determination of the lubrication system's tightness.
We remove the oil filler cap.
We place a container for draining the oil.
We undo the drain plug and drain the oil into the container.
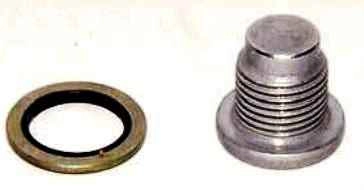
A sealing washer is fitted to the drain plug; if it is damaged, it can be replaced with a copper gasket.
We remove oil traces and screw in the drain plug.
To gain access to the filter, we remove the fuel rail guard, for this:
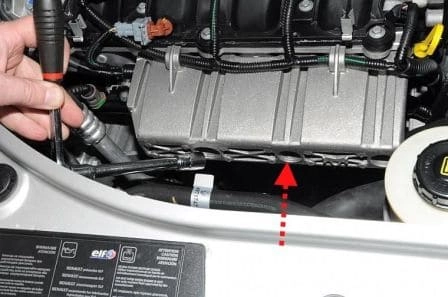
On the F4R engine, through the channels, using a 13 mm socket, we undo the two nuts of the studs securing the rail guard.
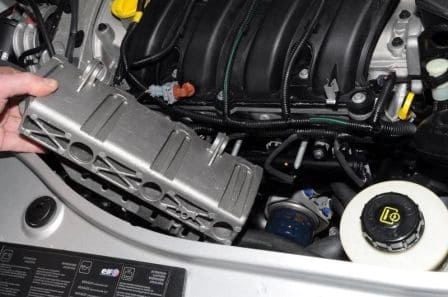
We take it out of the engine compartment.
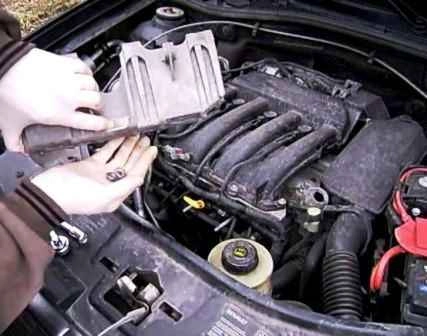
In the same way, we take out the rail guard on the K4M engine.
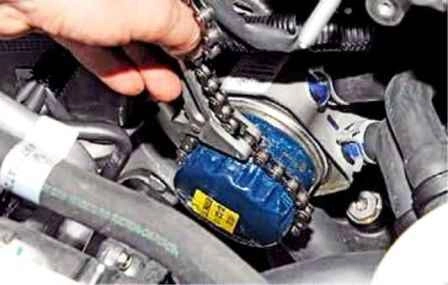
We loosen the filter with a remover.
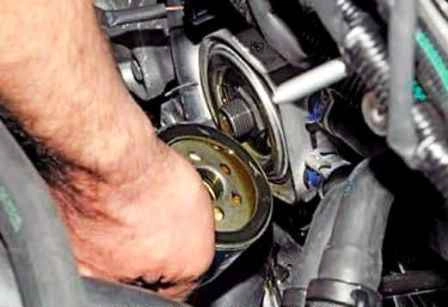
By hand, we unscrew and remove the oil filter.
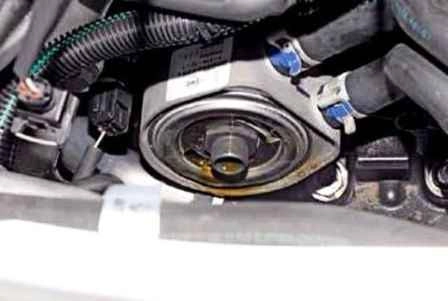
We clean the filter seat of dirt and oil traces.
We lubricate the rubber gasket of the new filter with a thin layer of oil and screw the filter in until it contacts the seating surface.
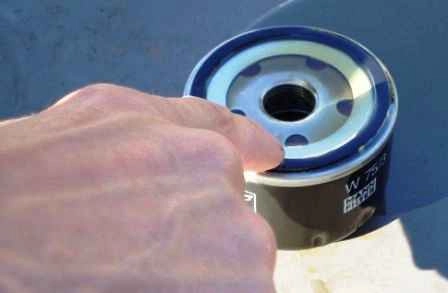
We turn the filter a further 2/3 of a turn.
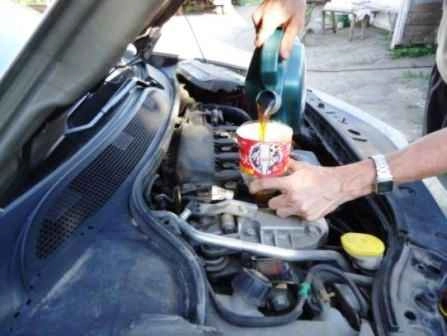
Through the oil filler neck, we pour oil into the engine.
We close the oil filler cap. We run the engine for 2–3 minutes.
We make sure that the low oil pressure warning indicator in the instrument cluster has gone out.
We check the tightness of the oil filter and drain plug connections.
We stop the engine and, after a short interval, check the oil level.
If necessary, we tighten the oil filter and drain plug.
We install all parts in the reverse order.
If the vehicle has a system warning of the oil replacement interval every 15,000 km, the system must be initialised.
It is necessary to switch on the ignition and, within 10 seconds, after pressing the accelerator pedal, hold it pressed, press the brake pedal three times.
After this, the indicator should go out.
If the indicator does not go out, we repeat the system initialisation.
If we carry out the oil change before the indicator has lit up, then, so that the indicator does not light up on reaching 15,000 km, the system must also be initialised.
In this case, the indicator should light up for approximately five seconds.


