


In this article, we will consider the replacement of steering tie rod ends, the tie rods themselves, and their protective boots on the GAZelle Next vehicle.
Preparatory work and required materials
We install the vehicle on a lift or in an inspection pit.
Applied materials:
- Penetrating oil (e.g., WD-40) for seized threads;
- Anaerobic threadlocker (e.g., Loctite 577);
- Silicone grease for rubber boots and rack teeth;
- Plastic grease (Litol-24 or CV joint grease) for splined connections.
Required tools: 15, 22, 24 spanners, 6mm hex key, wheel brace, ball joint separator, hammer, pry bar.
Important: Observe safety precautions, wear safety glasses, and securely support the vehicle on axle stands.
Replacement of the outer tie rod end
Important: The thread of the left-hand end is right-handed, and the right-hand end is left-handed.
We place wheel chocks under the rear wheels.
We apply the parking brake.
We loosen the front wheel nuts.
We lift and support the front part of the vehicle on the side being worked on.
We remove the wheel.
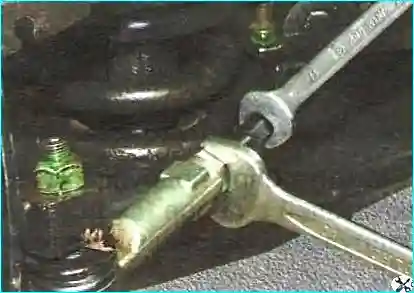
We loosen the lock nut of the steering tie rod end.
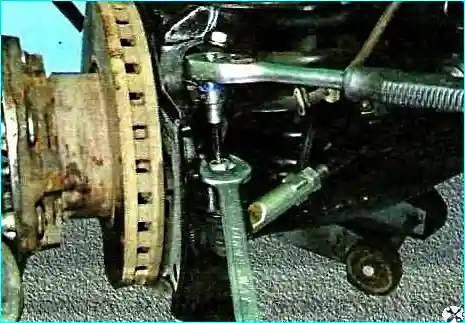
We unscrew the nut securing the joint pin to the swivel arm, holding the pin to prevent it from turning.
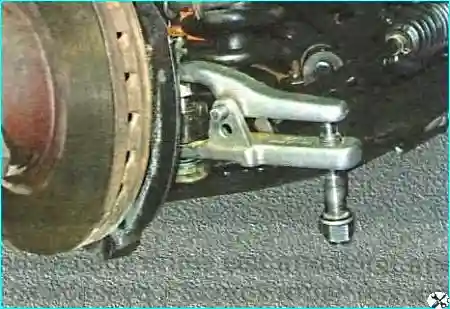
We install the ball joint separator and press the pin out of the boss of the steering arm.
We remove the pin from the boss of the steering arm.
We unscrew the end from the tie rod, counting the number of turns.
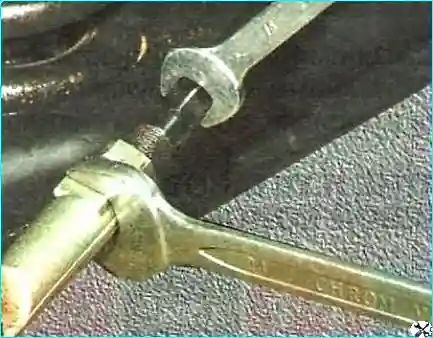
Note: if a separator is not available, the ball joint pin can be knocked out with sharp hammer blows on the end of the steering arm boss, striking along the axis of the arm.
We fit the new end in reverse order, screwing it onto the tie rod by the counted number of turns.
Tightening torques:
- — end lock nut — 50 Nm;
- — ball joint pin nut — 37 Nm.
If necessary, we adjust the front wheel alignment angles (article – Front wheel alignment adjustment).
Replacement of the steering tie rod protective boot
We remove the steering tie rod end as described above.
We unscrew the end lock nut from the rod.
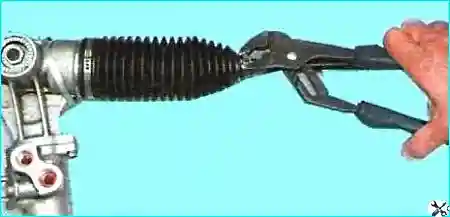
Using jointing pliers, we compress the ears of the small clamp and remove it.
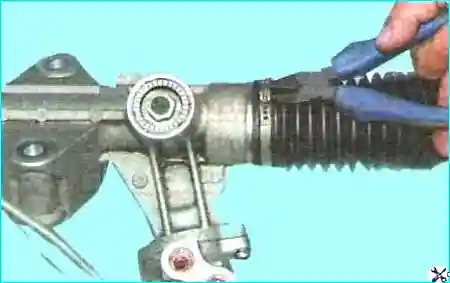
Using side cutters, we cut through the large boot clamp and remove it.
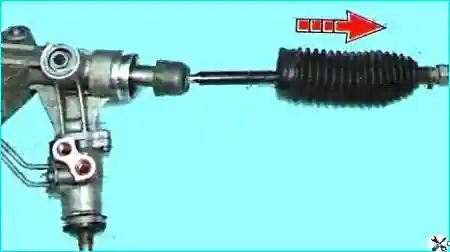
We slide the boot off the steering gear housing and remove it from the rod.
We fit the boot in reverse order.
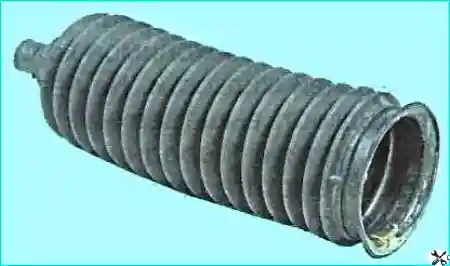
Important: Before installing the boot, apply silicone grease to the teeth of the steering rack and the working surface of the rod joint.
We check and, if necessary, adjust the front wheel alignment angles.
Replacement of the steering tie rod
We prepare the vehicle as described at the beginning of the article.
We remove the steering tie rod end.
We remove the protective boot from the tie rod.
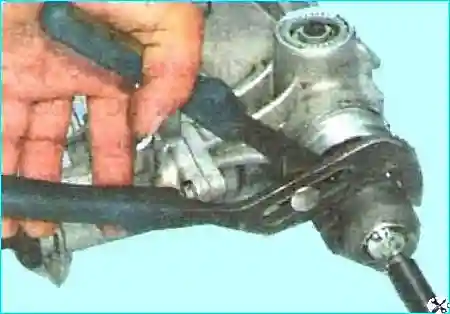
Gripping the joint housing with jointing pliers, we unscrew the rod joint from the steering gear rack.
Note: to make unscrewing easier, when removing the left-hand rod, turn the steering wheel to the right, and when removing the right-hand rod, to the left accordingly.
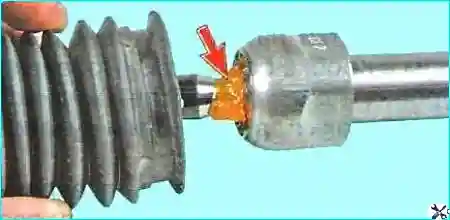
Important: We apply anaerobic threadlocker to the threaded part of the inner joint housing.
We fit the rod in reverse order. Tightening torque of the tie rod joint to the rack — 80 Nm.
Before fitting the boot, we apply silicone grease to the teeth of the steering rack and the working surface of the rod joint.
We check and adjust the front wheel alignment angles of the vehicle.