Preparing the car for the task.
Disconnect the negative terminal of the battery.
Removing the heater electric fan
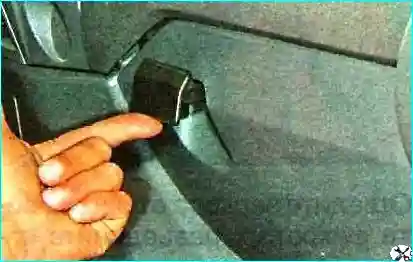
To remove the heater electric fan...
Pull up the handle of the lower glove compartment lock
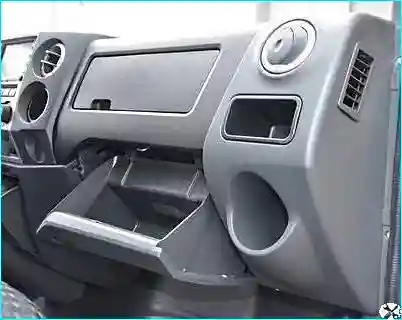
Open the drawer
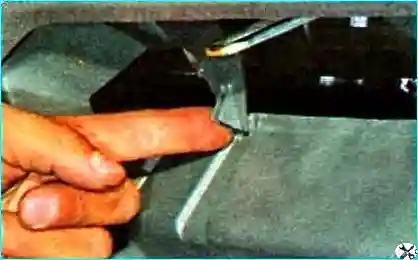
Press down the two limiters
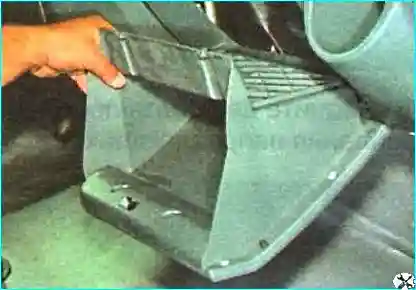
Remove the storage box
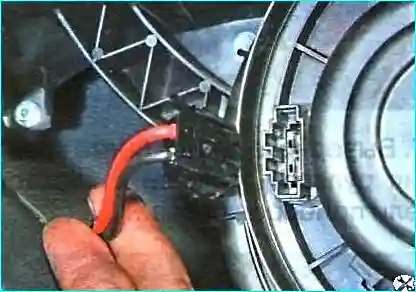
Disconnect the wiring block from the heater electric fan
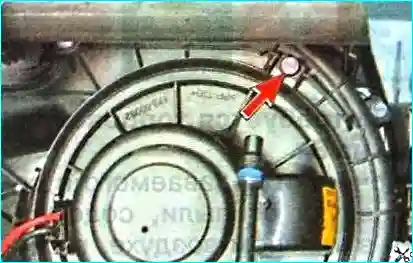
Unscrew the screw securing the electric fan to the heater module housing
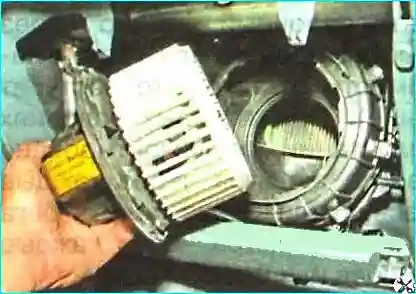
Turn the electric fan clockwise and remove the electric fan from the hole in the flange
Install the electric fan in the reverse order.
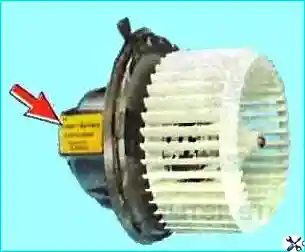
Pay attention to the markings on the sticker. You need to install the same
Removing and installing an additional resistor for the heater electric fan

Removing the glove compartment
Disconnect the wiring block from the additional resistor.
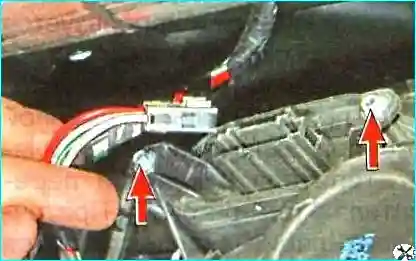
Unscrew the two bolts that secure it
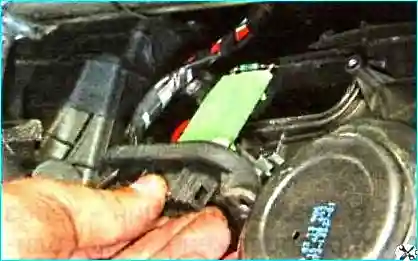
Removing the additional resistor from the heater module housing
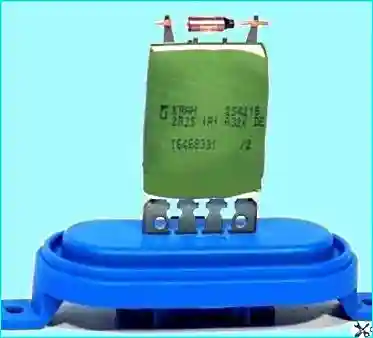
Install the additional resistor in reverse order
Removing and installing the heating system control unit
Disconnect the negative battery terminal
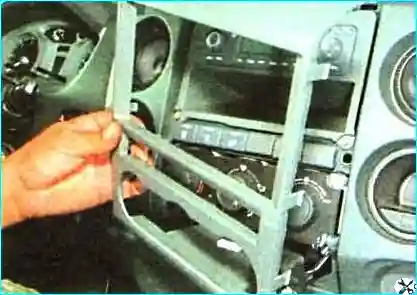
Removing the decorative trim of the instrument panel console
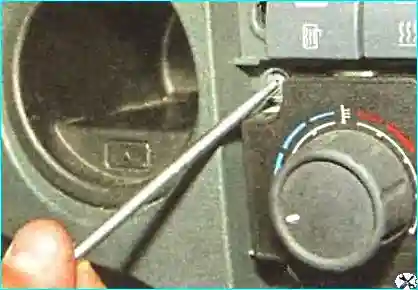
Unscrew the four screws securing the heater control unit
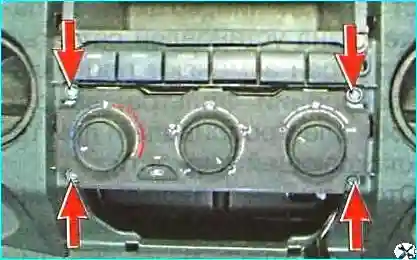
This is how the screws securing the heating and ventilation control unit are located
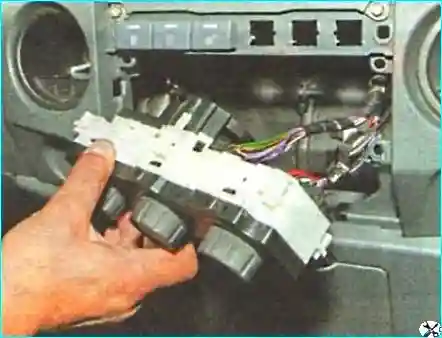
Move the unit away from the instrument panel by the length of the wires and cables
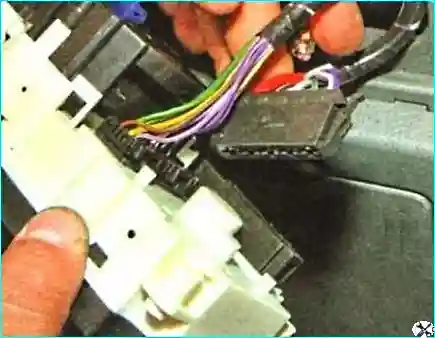
Pressing the clamps, disconnect one block of wires from the unit
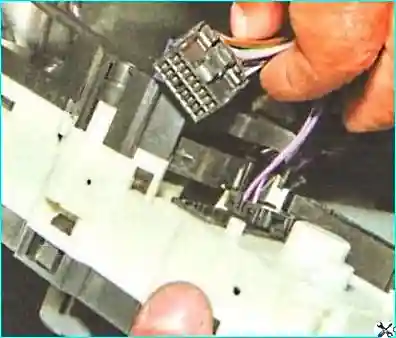
Disconnect the second block of wires from the unit
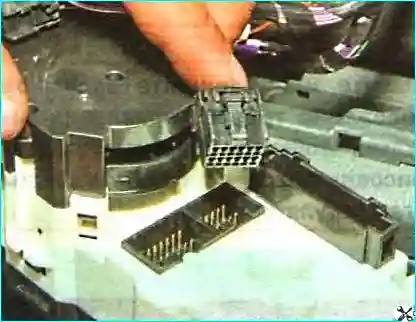
Disconnect the third block of wires
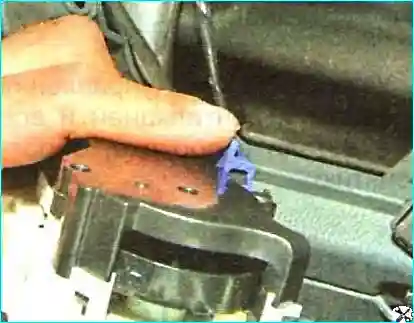
Press the lock of the tip of the sheath of the blue heater flap control cable
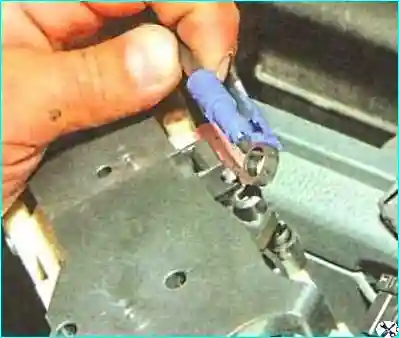
Remove the cable tip from the regulator lever pin
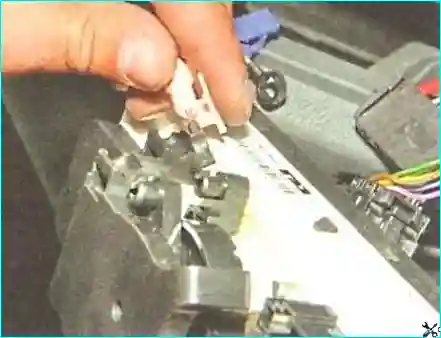
Also disconnect the heater flap control cable with a white tip from the regulator and remove the control unit
Remember or write down the relative positions of the flap control cables.
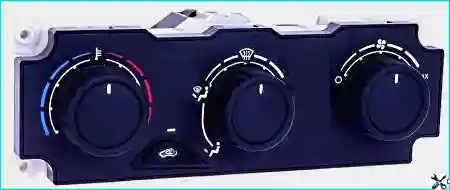
We install the heater and ventilation control unit and all the removed parts in the reverse order.
Removing and installing the heater tap
The car is equipped with a heater control tap with an electromagnetic drive.
A mesh filter is installed in the tap inlet pipe.
The tap is replaced if the filter is heavily clogged, the electric drive fails, or if there is a coolant leak.
Disconnect the negative terminal of the battery.
Drain the coolant from the cooling system (article – Replacing the coolant)
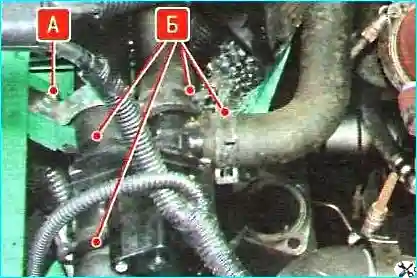
Disconnect the wiring block from the tap terminals.
Unscrew the bolt "A" securing the clamp of the tap and remove the clamp.
Move the tap away from the cabin amplifier, loosen the four clamps "B" securing the hoses to the tap by squeezing their bent ears, disconnect the hoses from the tap pipes, and remove the tap.
Install the heater tap in the reverse order.


