


Replacement of the Intake Pipe Gasket during Engine Repair
We replace the intake pipe gasket during engine repair, as well as when the gasket is worn and the air leak cannot be eliminated by tightening the bolts. A loss of tightness in the high-pressure circuit of the intake system leads to a reduction in the amount of air supplied to the cylinders during engine operation and to a deterioration in its characteristics.
Necessary Tools and Preparation
To replace the intake pipe gasket, you will need: an 8 mm socket, 10, 13 and 17 mm spanners, and a flat-blade screwdriver.
We prepare the vehicle. We disconnect the negative battery terminal. We drain the coolant from the cooling system.
Disconnection of Electrical Connectors and Pipes
We slide the protective cap off the air heater terminal in the intake pipe.
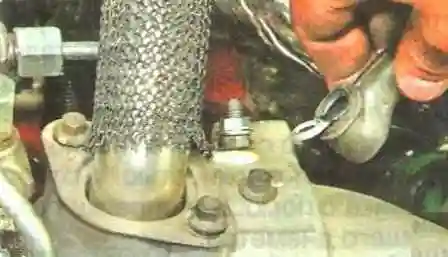
We unscrew the nut securing the power cable terminal, holding the terminal nut from turning with a second spanner, and disconnect the terminal from the post.
We press the retainer and disconnect the wiring connector from the boost pressure and intake air temperature sensor.
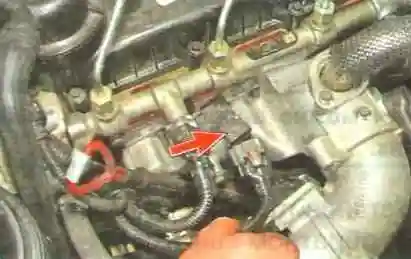
We remove the bypass pipe.
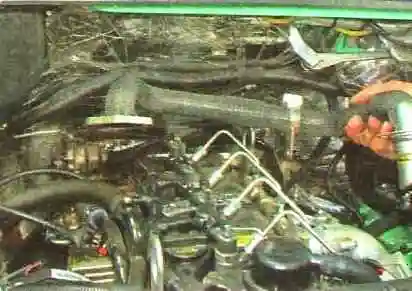
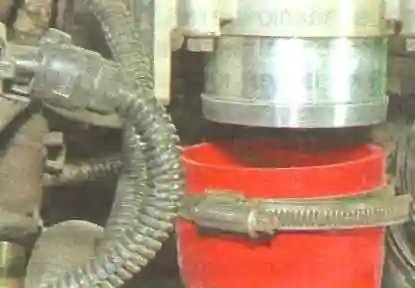
We loosen the clamp securing the pipe from the cooler to the intake pipe, disconnect the pipe and move it aside.
Removal of Attached Components
We unscrew the bolt of the oil dipstick guide holder and detach the guide from the intake pipe.
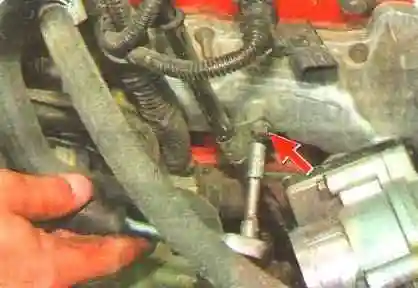
We compress the retainer and disconnect the wiring connector from the air throttle actuator assembly.
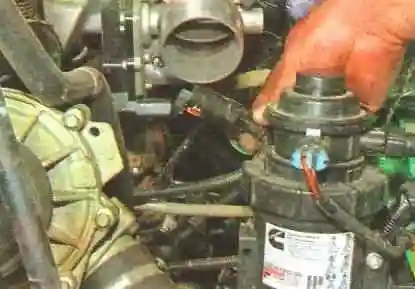
We unscrew three bolts and remove the air throttle assembly.
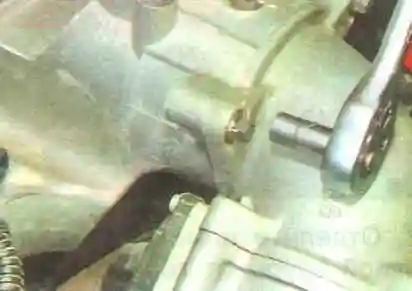
Disconnection of the Fuel Pipes
We unscrew the nut securing the fuel supply pipe to the fuel rail.
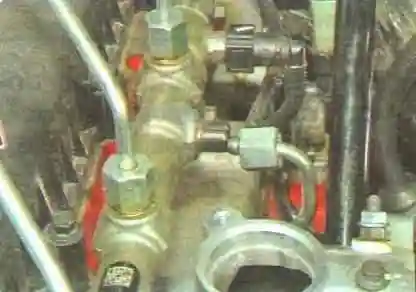
Before disconnecting the high-pressure pipe, the unions must be cleaned. We unscrew bolt « А » of the intake pipe, which also secures the fuel pipe and wiring harness bracket, then loosen bolt « Б » of the fuel pipe retainer by a few turns.
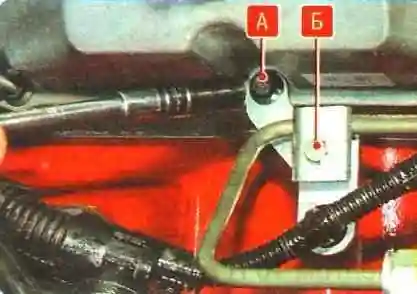
We bring the pipe out from under the retainer on the intake pipe.
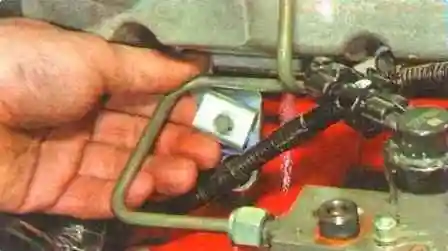
We unscrew the nut securing the fuel supply pipe to the rail while holding the union from turning.
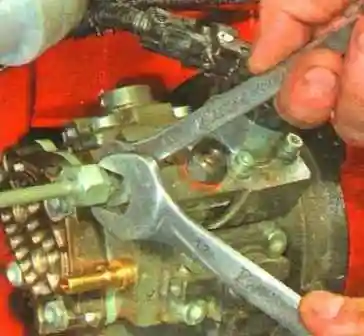
We disconnect the pipe from the pump union.
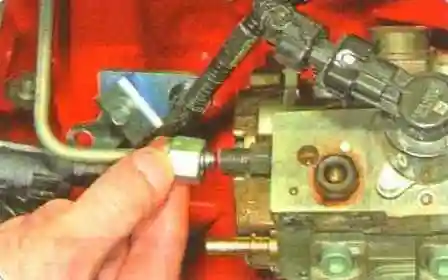
We remove the pipe.
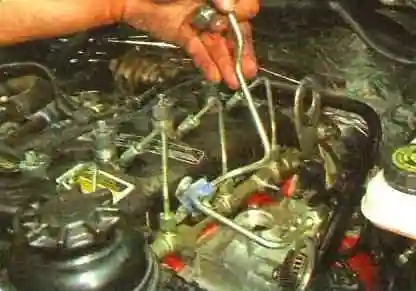
Removal of the Thermostat Housing and Harness
We remove the thermostat housing (it covers the lower front bolt of the intake pipe).
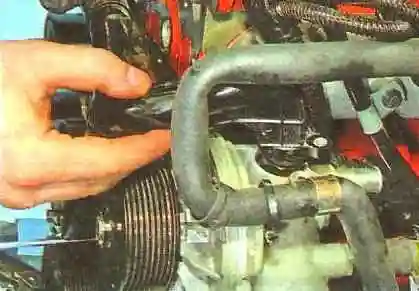
We pry off the harness holder.
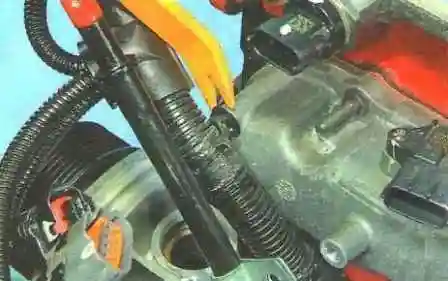
We detach the harness from the intake pipe.
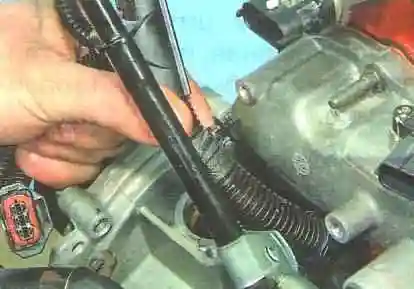
Removal of the Intake Pipe and Gasket Replacement
We unscrew the threaded stud.
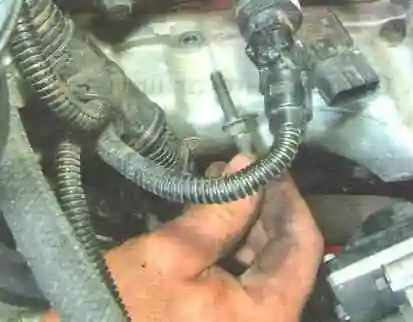
We unscrew the eight bolts securing the intake pipe.
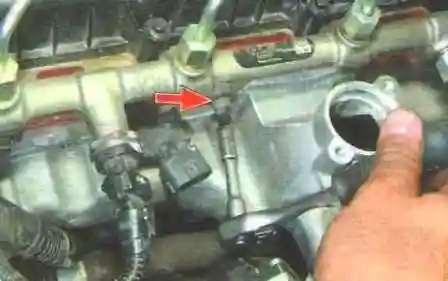
We remove the pipe.
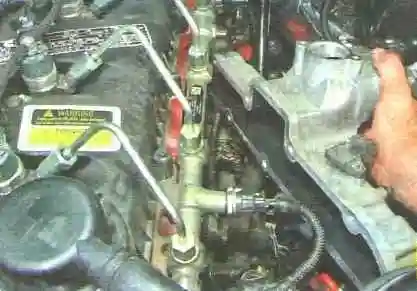
We separate the intake pipe gasket from the cylinder head with a knife and remove it. We clean the mating surfaces of the cylinder head and the intake pipe from gasket remnants and wash them with solvent.
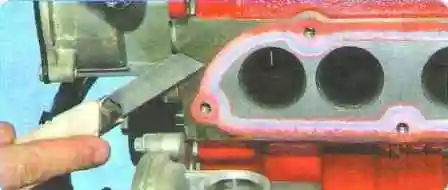
We install a new gasket. The sealing bead on the gasket must face the intake pipe.
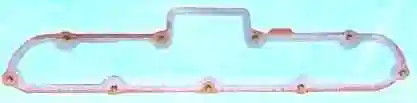
We install the intake pipe and all the parts in the reverse order.
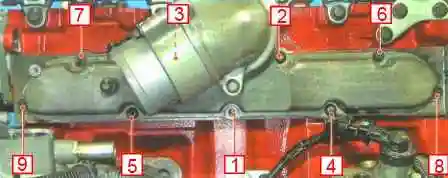
We apply anaerobic threadlocker to the threads of the bolts and the stud. We tighten the bolts and the threaded stud of the intake pipe to a torque of 10 N·m, in the order shown in figure 22.
Materials and Parameters Used
Solvent (for example, white spirit or degreaser) is used to clean the mating surfaces. A medium-strength anaerobic threadlocker is used to secure the threads. The tightening torque of the intake pipe bolts and threaded stud is 10 N·m. When disconnecting the high-pressure fuel pipes, it is recommended to replace their O-rings and to clean the unions before disconnection.