Disassembling the engine to replace worn parts
It is advisable to disassemble the engine on a special turntable
We remove the engine from the car, as indicated in the previous article
Remove the starter
Remove the generator
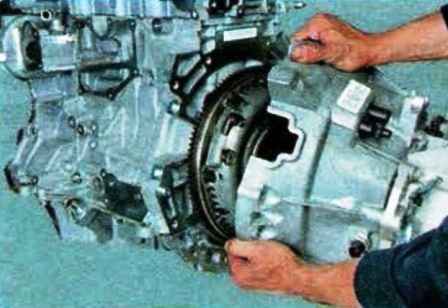
We disconnect the gearbox from the engine by unscrewing the bolts of its fastening to the engine
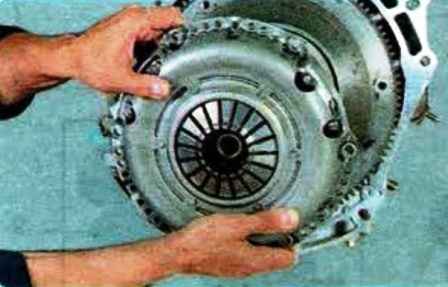
Remove the clutch from the flywheel
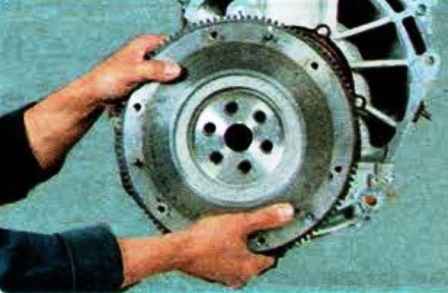
Remove the flywheel
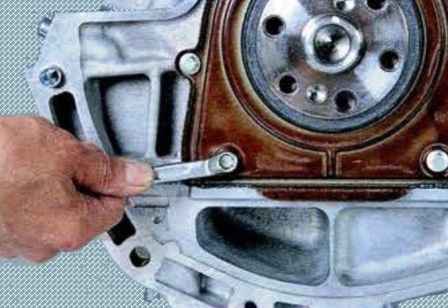
We unscrew the six bolts securing the oil seal holder to the cylinder block
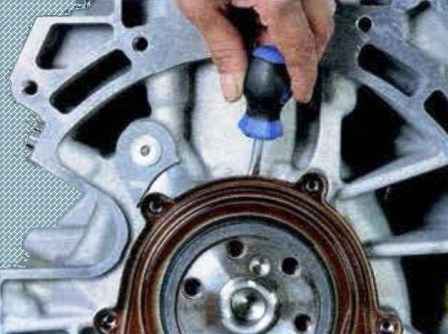
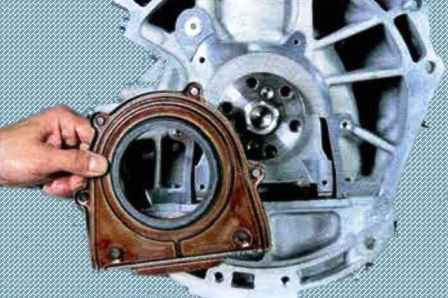
Pry off the gland holder with a screwdriver and remove the holder assembly with the gland
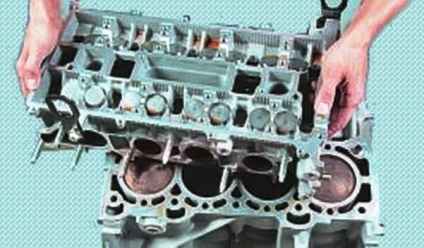
We unscrew and remove the cylinder head, as indicated in the article "How to replace the cover and cylinder head gasket Mazda 6"
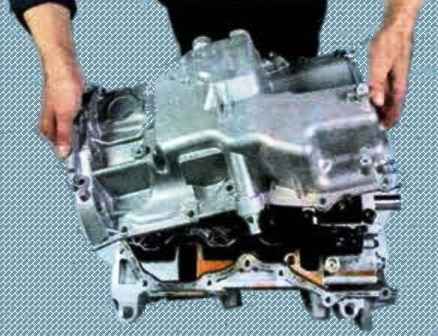
Removing the pallet
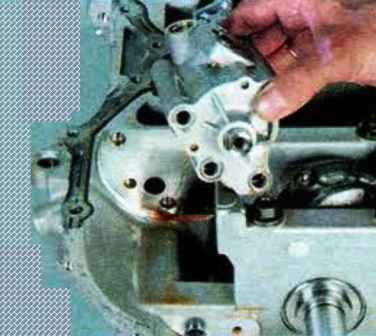
We unscrew the four mounting bolts and remove the oil pump
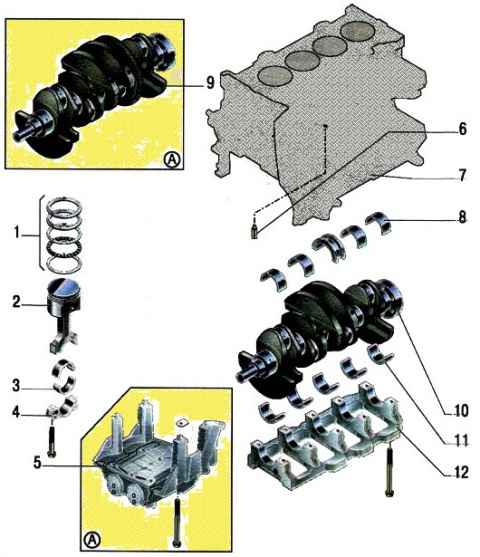
When disassembling the connecting rod and piston group, you need to mark all the parts in order to install them in their places
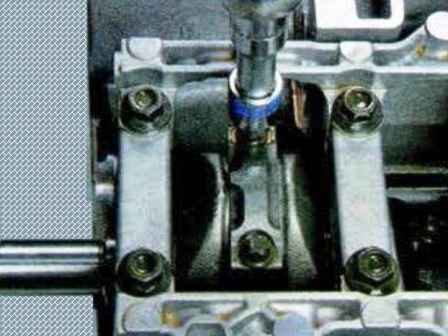
We unscrew the two bolts securing the cover 4 (Fig. 1) of the connecting rod of any cylinder, move the connecting rod cover from the seat with light hammer blows through a wooden spacer
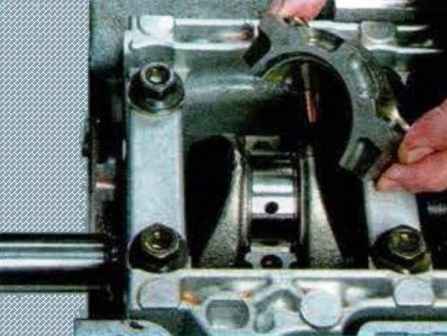
Remove the cover with the insert
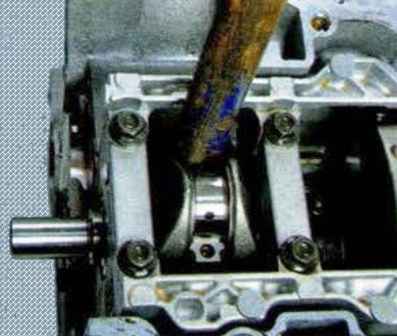
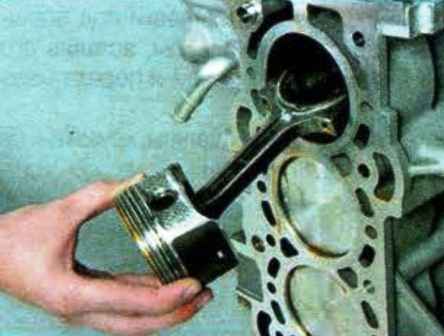
Push the connecting rod inside the cylinder with a hammer handle and carefully remove the piston with the connecting rod from the cylinder
You need to make sure that the bottom the connecting rod head did not touch the cylinder walls, otherwise the surface of the cylinder may be damaged
Turn the crankshaft to access the bolts of the connecting rod caps, and remove the remaining pistons with connecting rods
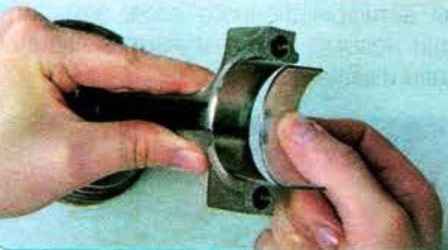
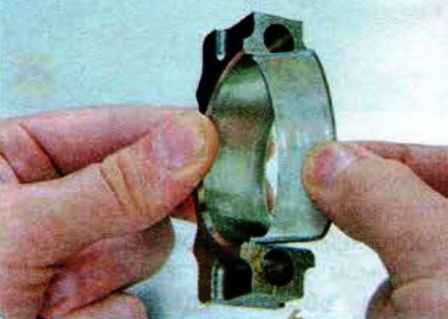
Remove the liners from all connecting rods and from their caps
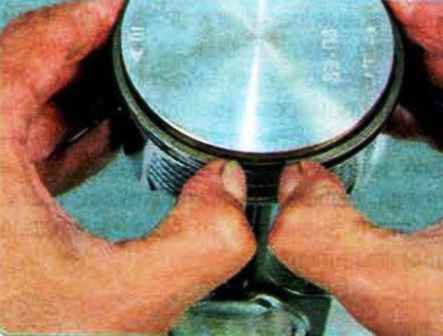
Open the top compression ring and remove it
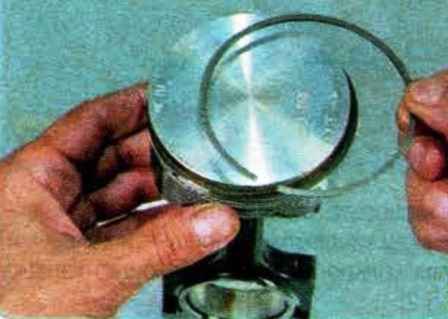
Also remove the second compression ring
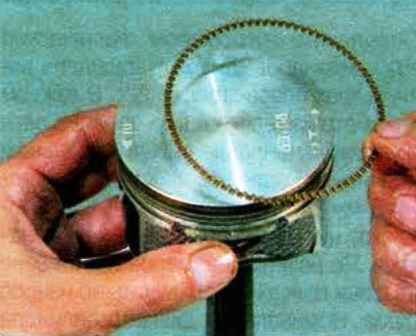
Open and remove the upper expander ring and the lower ring of the compound oil scraper ring
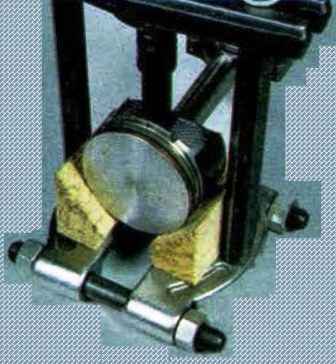
We press the pin out of the piston and the upper head of the connecting rod
It is not necessary to heat the connecting rod before pressing out the pin
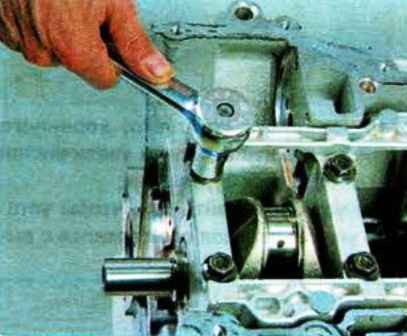
We unscrew the ten bolts securing the frame of the main bearing caps
We separate the frame from the seat with light hammer blows through a wooden spacer
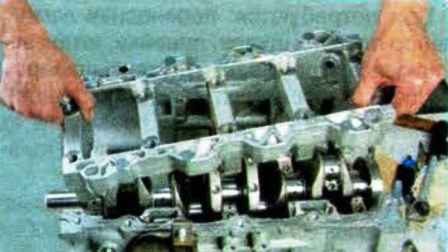
Remove the frame with the bottom liners
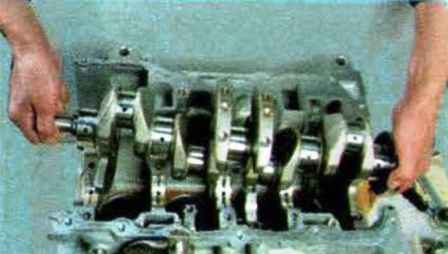
Remove the crankshaft
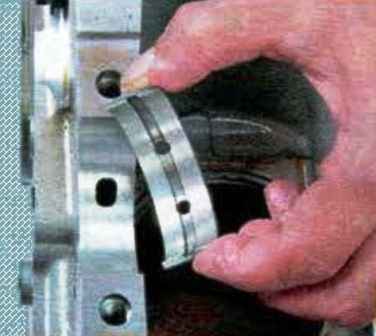
We remove the main bearing shells from the frame of the main bearing caps and the beds of the cylinder block
When building:
In the bed of the middle (third) main bearing we put an insert of increased thickness with support beads
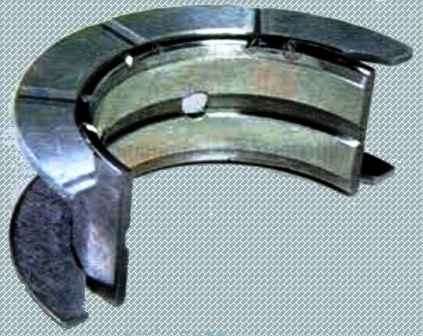
Installing the inserts so that the mounting tab of the insert is aligned with the notch on the bed


