We remove the engine for repair or replacement
It is recommended to remove the engine assembly with the gearbox forward, removing it from the engine compartment
We prepare the car and install it on a lift or a viewing ditch
Remove the hood to make it easier to work
We reduce the fuel pressure in the engine power system, as described in the article "compression test"
Disconnect the wires from the battery and remove the battery
Remove the air filter and air supply sleeve
Remove the pipeline of the crankcase ventilation system
Remove the mudguard and crankcase protection
Drain the liquid from the engine cooling system
If you have to repair the engine, then drain the oil from the engine
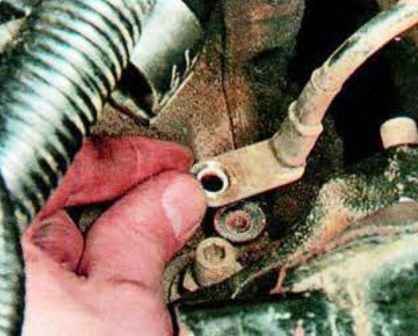
Disconnect the ground wire from the engine by unscrewing the fastening bolt
Remove the air filter mounting shelf
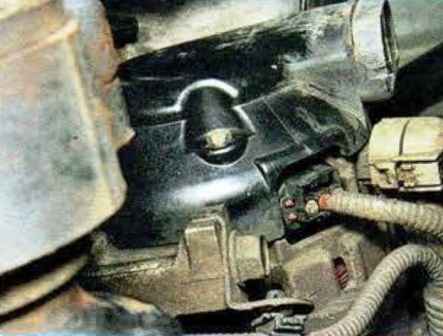
Disconnect the wiring harness from the generator
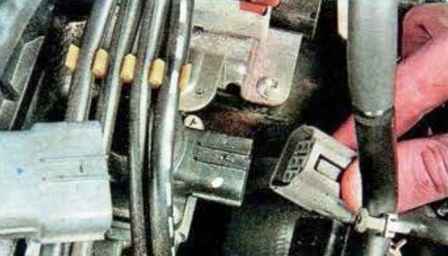
Disconnect the block from the EGR solenoid valve
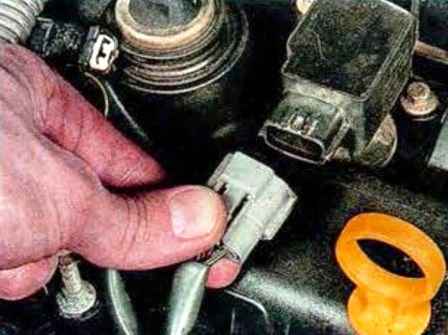
Disconnect the pads from the ignition coils
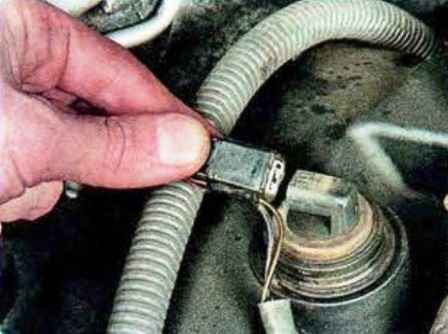
Disconnect the block from the solenoid valve of the phase regulator
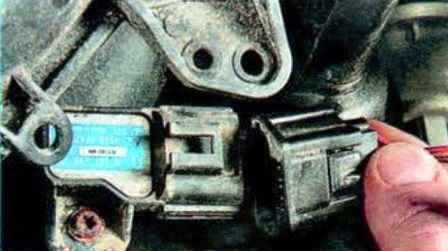
Disconnect the block from the absolute pressure sensor
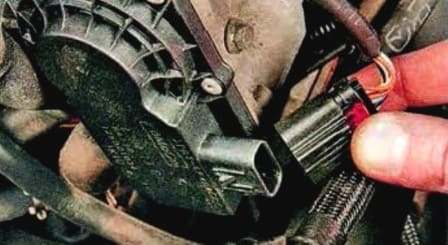
Disconnect the block from the cover of the throttle assembly
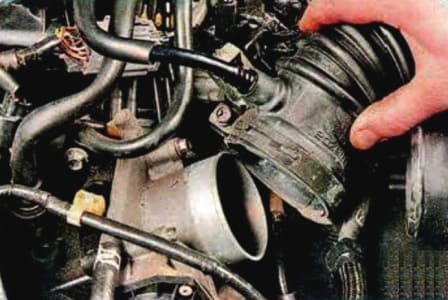
Remove the air supply sleeve
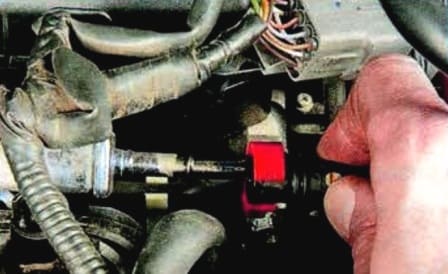
Disconnect the fuel line from the fuel rail
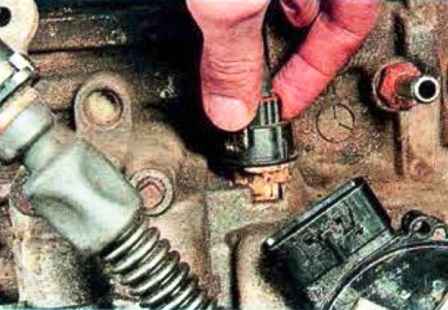
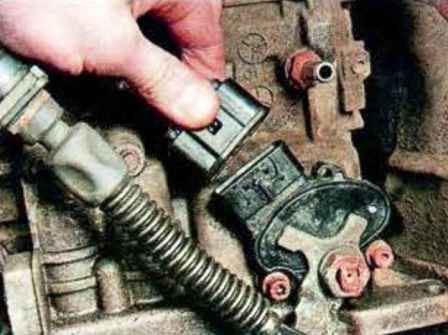
On a car with automatic transmission, disconnect the wire blocks from the valve block and from the gearbox range switch
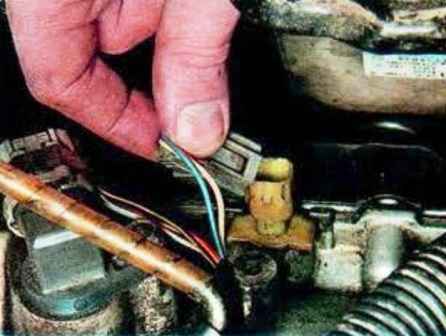
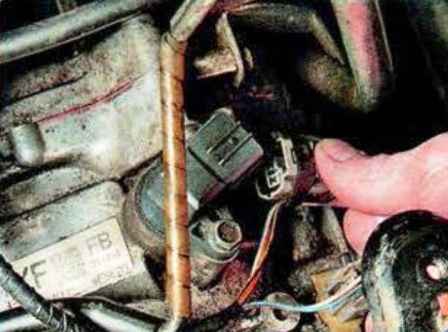
Disconnect the block from the pressure sensor
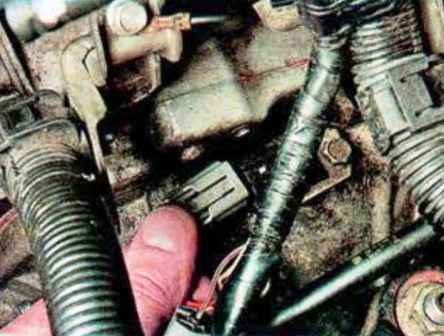
Disconnect the block from the output shaft speed sensor and the input shaft speed sensor
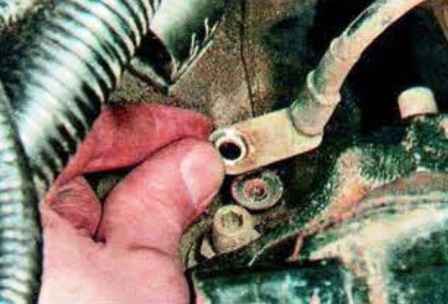
Unscrew the mounting bolt and disconnect the ground wire from the gearbox
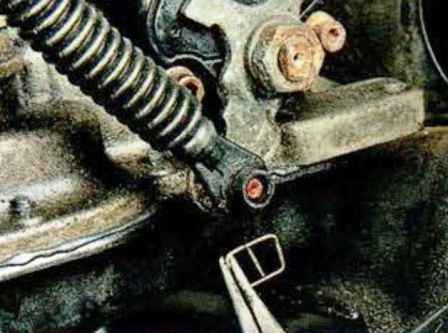
Pry off the spring retainer and remove it
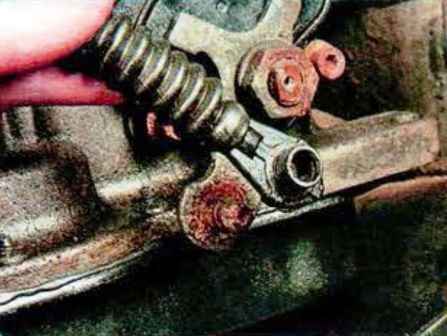
Disconnect the tip of the transmission control cable from the gearshift lever
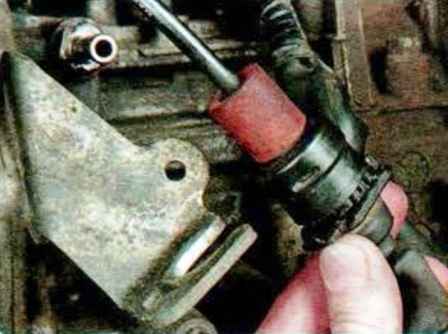
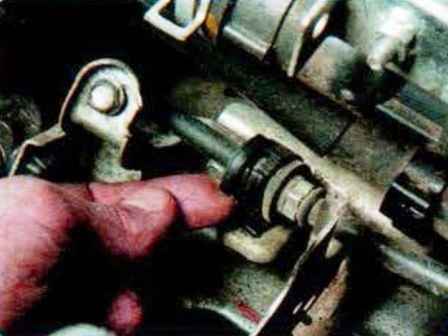
Remove the drive cable braid holder from the side bracket
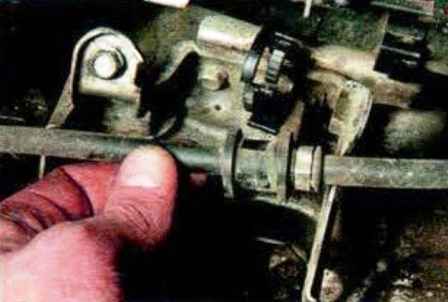
We pry off the latch, disconnect the clamp and remove the drive cable from the upper mount
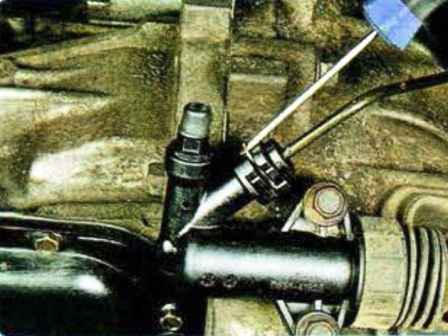
On a car with a manual transmission, disconnect the tube from the hydraulic drive.
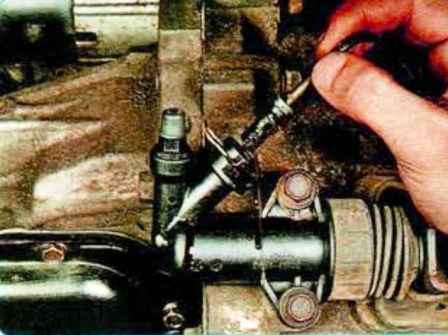
Pry off the edge of the spring clip with a screwdriver, remove it
Disconnect the tip of the tube from the working cylinder
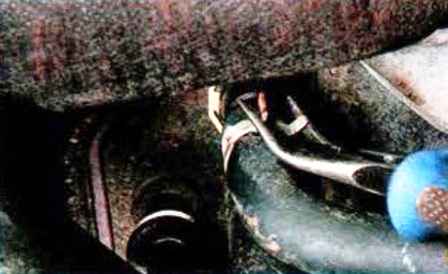
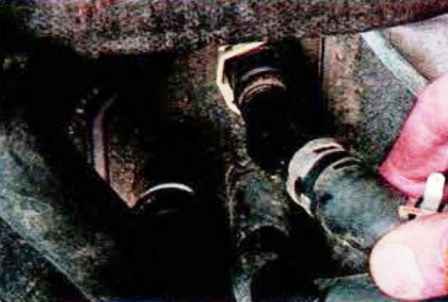
Loosen the heater hose clamps and disconnect the hoses from the passenger compartment heater pipes
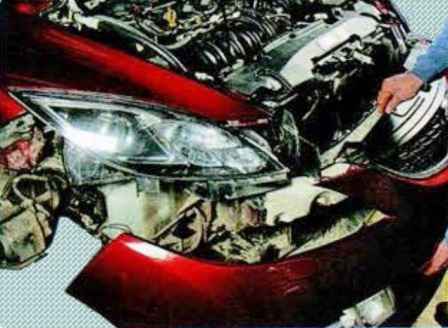
Remove the front bumper
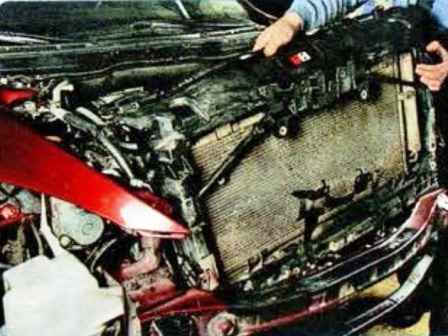
Remove the cooling system radiator assembly with the mounting frame
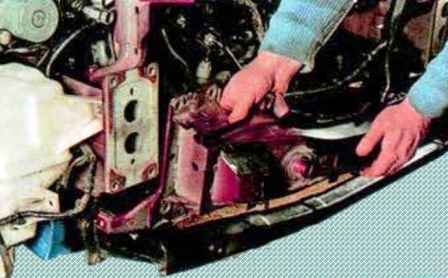
Removing the front bumper amplifier
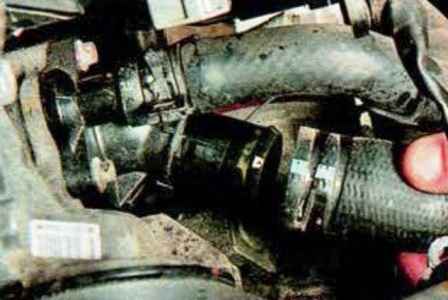
Disconnect the outlet and inlet hose of the engine cooling system from the cylinder block
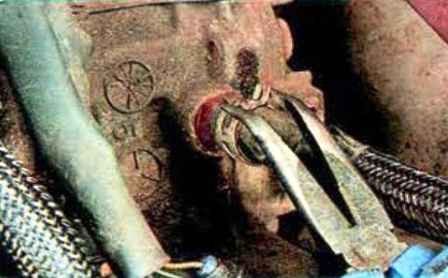
On a car with an automatic transmission, we loosen the fastening of the supply hose, the working fluid of the automatic transmission, squeezing the bent ears of the clamp with pliers, and slide the clamp along the hose
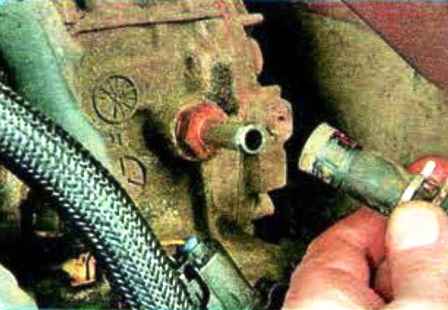
Remove the hydraulic fluid supply hose from the gearbox fitting
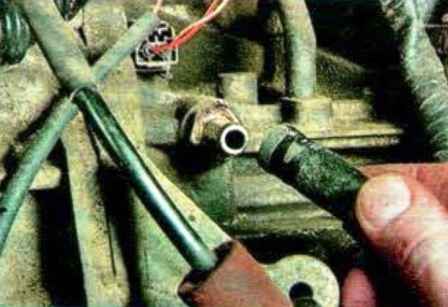
We also remove the outlet hose
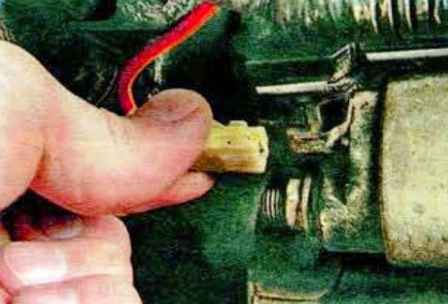
Disconnect the wiring harness pads from the starter leads
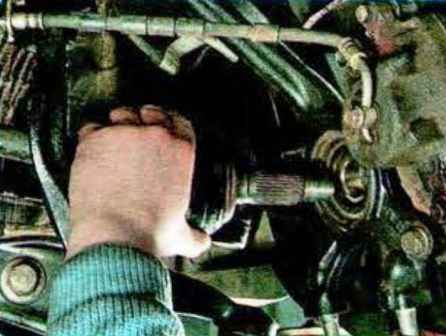
Disconnect the wheel drives from the gearbox
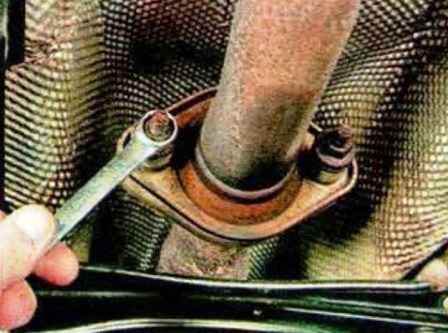
We unscrew the two fastening nuts and disconnect the flanges of the exhaust manifold and the exhaust pipe
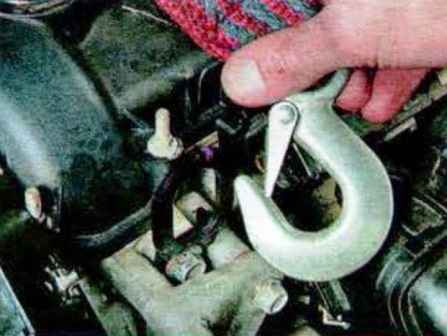
We fix the slings of the lifting mechanism for the front and rear transport eyes and tighten the slings
We check once again that all wires, hoses and attachments are disconnected from the power plant
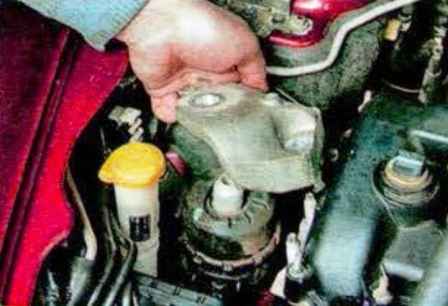
Disconnect the power plant mounts as described in the article "How to replace the Mazda 6 power plant mounts"
Carefully remove the power plant from the engine compartment, moving it forward
We install the engine, as well as all the removed components and parts in the reverse order of removal, taking into account the following:
- - before installing the power unit, clean the threaded holes for fastening its supports with a tap from rust;
- - when connecting wires and pipelines, carefully monitor the correct location of them in the engine compartment, avoiding contact with heating and moving elements of the power unit.
After installing the motor, do the following
Fill engine oil
Fill gearbox with oil
Fill coolant
Adjust the transmission control actuator
Bleed the hydraulic clutch release
Start the engine and check for fuel, oil and coolant leaks
Check oil pressure
Listen to the engine; it should work smoothly, without extraneous noise and knocks


