In the article, we will consider the disassembly and assembly of the generator, as well as the replacement of generator parts
We remove the generator from the car, as described in the previous article
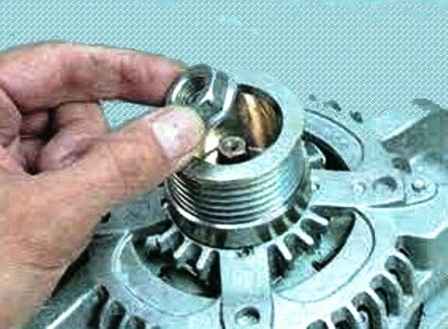
Unscrew the nut securing the alternator pulley, keeping the pulley from turning
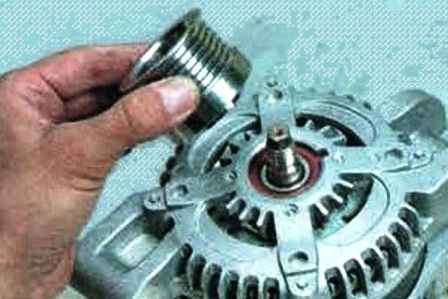
Remove the pulley from the shaft
Apply marks on the generator body
We unscrew the bolts and, gently prying with a screwdriver, remove the cover of the diode bridge of the generator
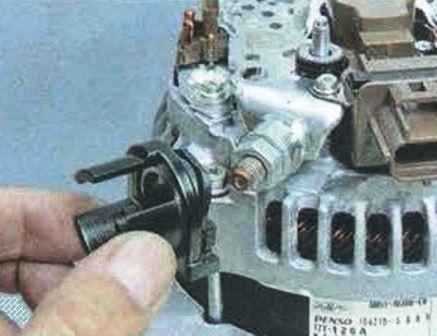
Remove the insulator
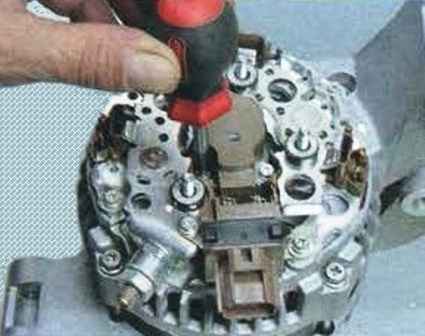
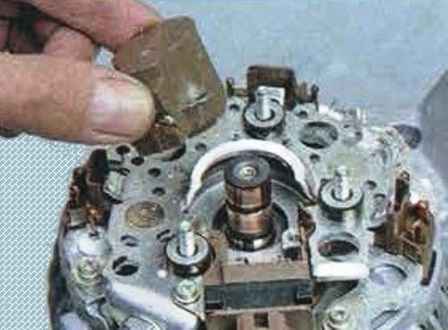
Unscrew the mounting bolts and remove the brush holder with brushes
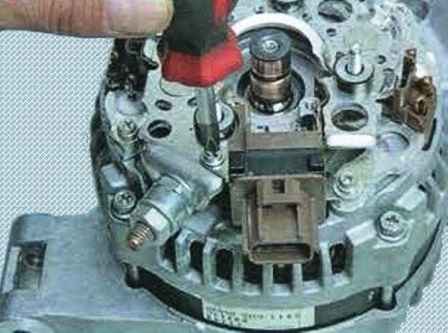
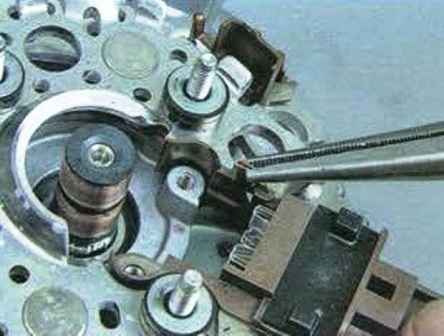
We unscrew the screw, bend the contact and remove the voltage regulator
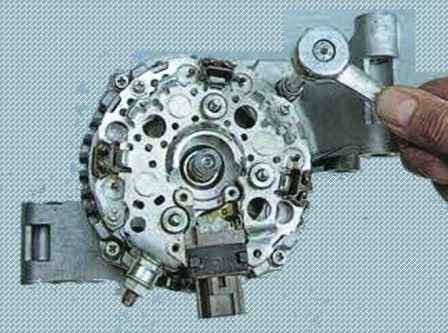
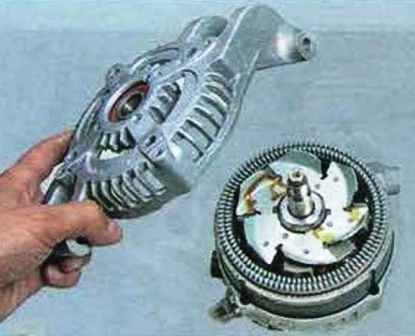
We unscrew the fastening bolts and, prying with a screwdriver, remove the cover from the generator drive side
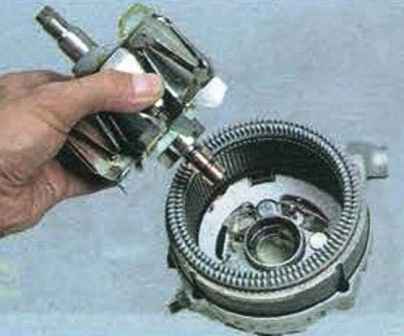
Remove the rotor
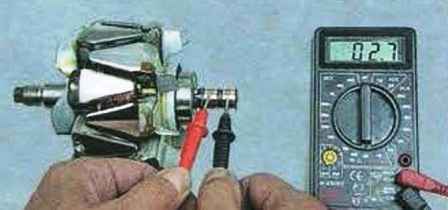
Check the resistance on the rotor windings by connecting the tester to slip rings
Resistance should be 3-5 ohms.
If the ohmmeter readings tend to infinity, there is a break in the windings. In this case, you need to replace the rotor
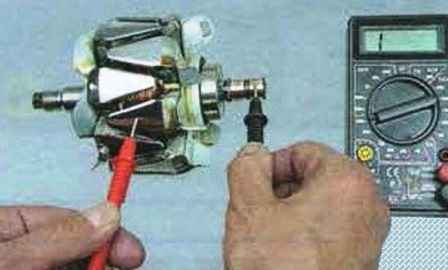
Checking the short circuit of the rotor winding to ground
We connect one probe of the tester to the pole piece of the rotor, and the other in turn to the slip rings
The measured resistance must be infinite, otherwise we replace the rotor
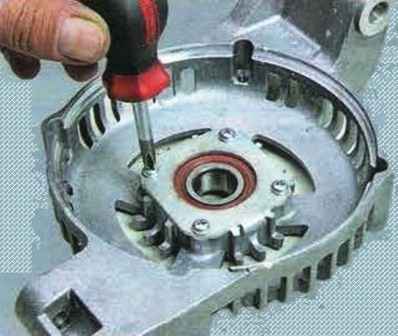
To replace the front bearing of the rotor, unscrew the screws securing the pressure plate
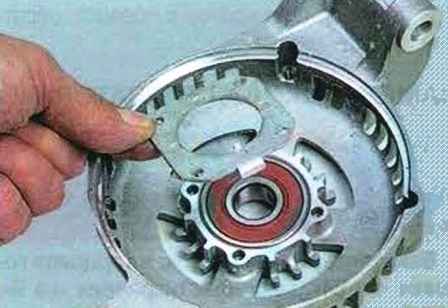
Remove the plate
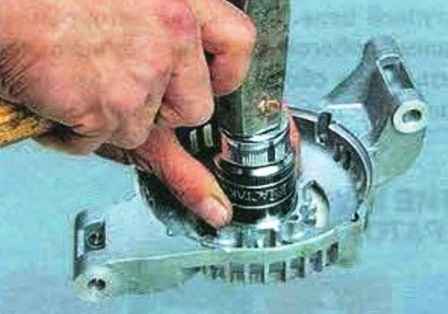
Press the bearing out of the cover
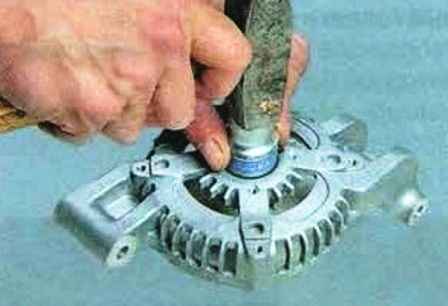
Using a mandrel of a suitable size, we press in the bearing
Install all parts in reverse order


