We remove the engine flywheel to repair the engine, as well as to replace the crankshaft rear oil seal and to grind the surface of the flywheel, to replace the ring gear
We install the car on a lift or a viewing ditch
Remove the gearbox
Remove the clutch discs
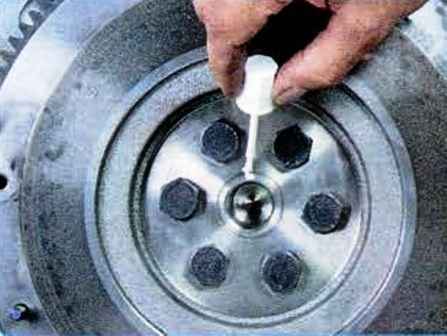
If the flywheel does not need to be replaced, mark the position of the flywheel
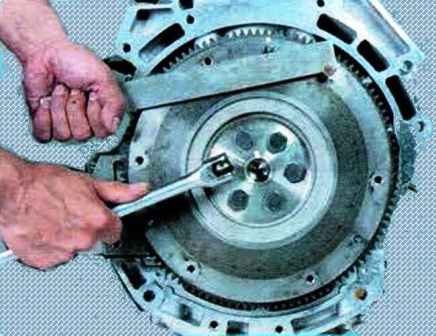
We unscrew the six bolts securing the flywheel, keeping it from turning with a mounting spatula
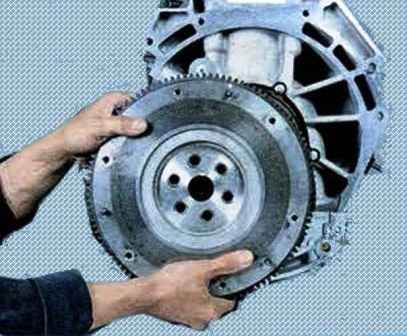
Remove the flywheel
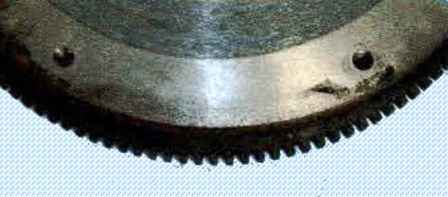
Check the condition of the teeth of the flywheel rim, if they are damaged, replace the flywheel
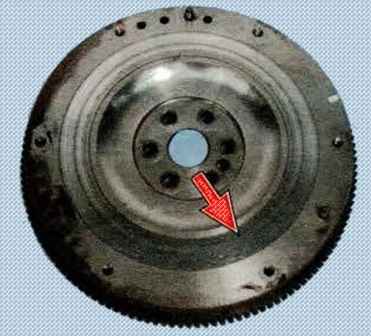
We replace or repair the flywheel if there are risks and scuffs on the contact surfaces of the clutch disc
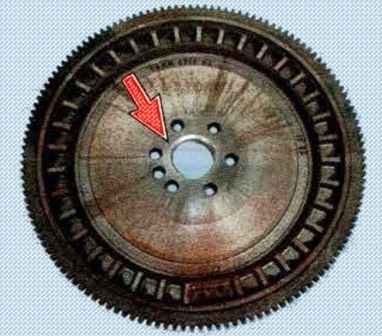
We also replace the flywheel if there are scratches and risks on the crankshaft flange
Flywheel runout, measured on the ring gear, should not exceed 0.5 mm
To remove deep scratches and scuffs, the contact surface of the driven disk can be ground, and the thickness of the layer of metal being removed should not exceed 0.3 mm
Install the flywheel and all components in reverse order
We lubricate the threads of the flywheel mounting bolts with an anaerobic thread locker, having previously degreased the bolts and the threaded holes for them.
Tighten the bolts evenly crosswise in two steps:
- First stage - tighten with a torque of 30 Nm (3 kgf.m)
- Second stage - twisting to an angle of 80º
If possible, replace the flywheel mounting bolts


