We remove the main brake cylinder for repair, as well as for replacing the vacuum booster.
As practice shows, repairing the brake master cylinder does not give the desired result, so it is better to replace it.
Defects of the main brake cylinder, in which it should be repaired or replaced:
- - contamination of the main cylinder or heavy wear of its mirror;
- - wear or damage to the master cylinder piston cuff;
- - cuff swelling;
- - compensation holes are clogged (the car brakes spontaneously)
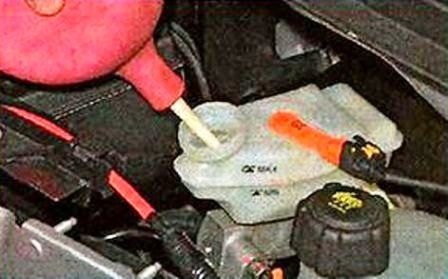
Having unscrewed the tank lid, we select the liquid from the tank with a rubber pear and wrap the lid.
Sliding the holder of the yellow latch, press the latch and disconnect the block from the liquid level sensor connector
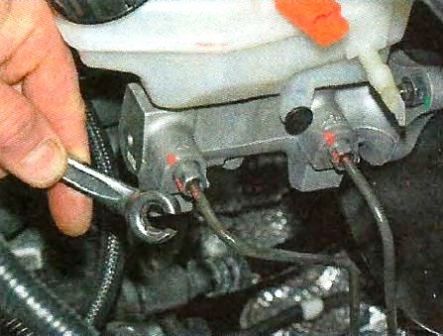
With a special key for 11 for brake pipes, we unscrew the fittings of two pipes
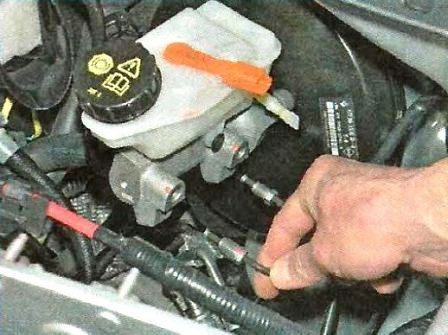
Remove the tips of the tubes from the holes of the master brake cylinder
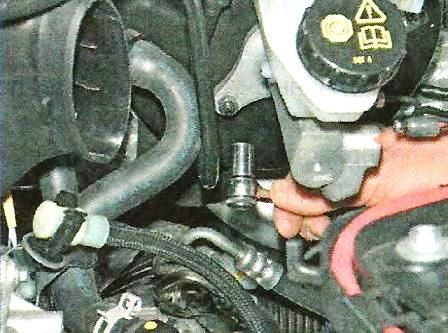
With a 13 head, unscrew the two nuts securing the cylinder to the vacuum brake booster
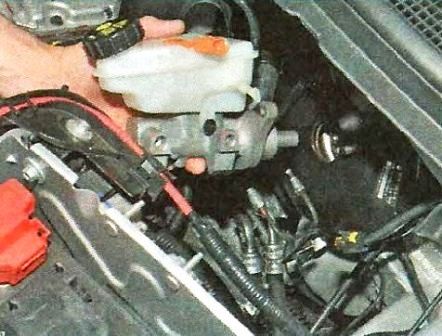
Remove the master brake cylinder assembly with the hydraulic brake reservoir
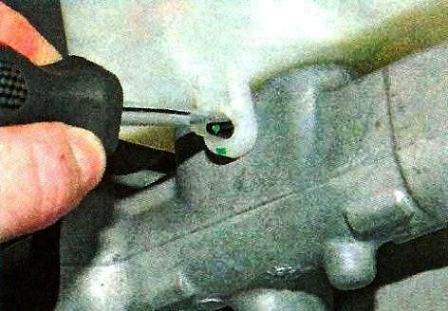
Using a screwdriver, we press the retainer of the pin securing the reservoir to the body of the master brake cylinder
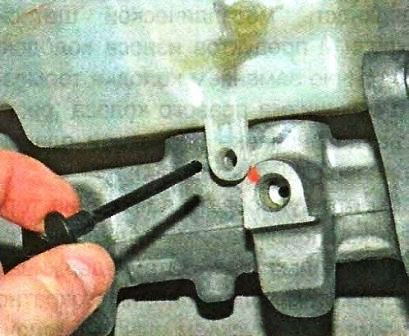
Removing the pin
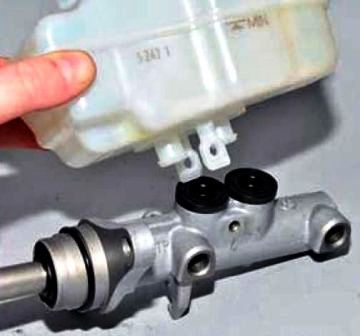
Remove the reservoir from the brake master cylinder
We take out the sealing bushings of the reservoir fittings from the holes of the main brake cylinder.
Check the condition of the rubber sealing bushings and the ring.
If they are damaged (tears, cracks) or have lost their elasticity, we replace them with new ones.
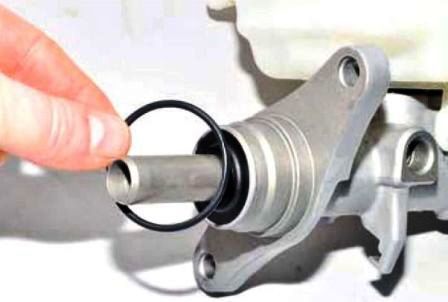
We assemble the main brake cylinder with a reservoir in reverse order.
Pumping hydraulic brakes and clutches.
Replacing the vacuum booster and brake check valve
We replace the vacuum brake booster when it fails.
If the vacuum booster is faulty, the force on the brake pedal increases significantly.
If the force on the brake pedal increases noticeably during braking, you need to check the booster on a stationary car.
With the engine off, press the brake pedal five or six times on the brake pedal.
Holding the brake pedal down, start the engine.
The brake pedal should move forward.
If this does not happen, then the vacuum booster or the check valve of the vacuum booster does not work, and the hose of the vacuum booster may also not be tight.
Vacuum valve replacement amplifier
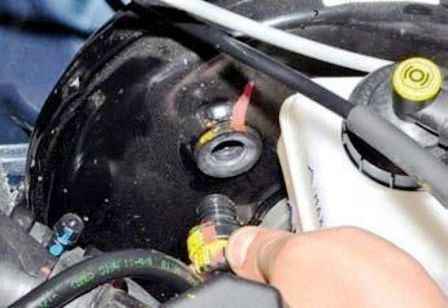
Having overcome the resistance of the clamps, we remove the check valve from the sealing sleeve of the brake booster housing.
To assess the serviceability of the check valve, its tube must be disconnected from the fitting of the engine receiver.
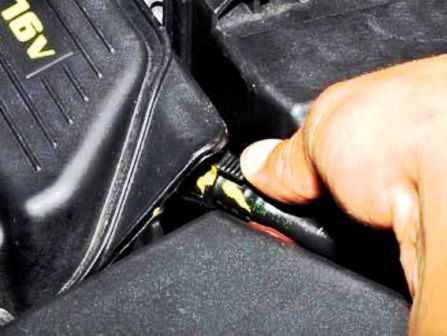
To do this, we compress the two retainers of the valve tube tip
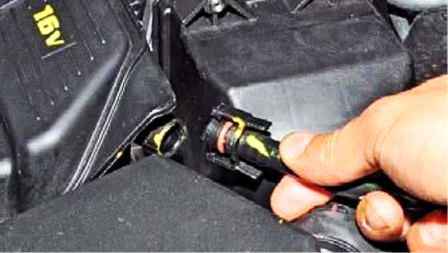
And disconnect the tip of the tube from the receiver fitting
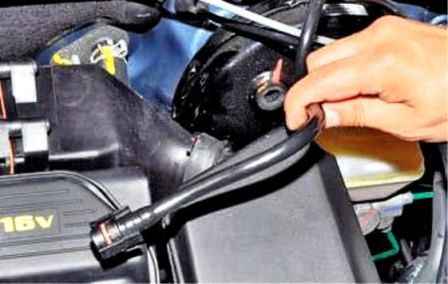
Remove the check valve with the tube.
The health of the valve can be assessed by blowing into it (for example, with your mouth) in both directions.
In the direction from the amplifier to the receiver, air must pass, in the opposite direction - no.
We replace the defective valve.
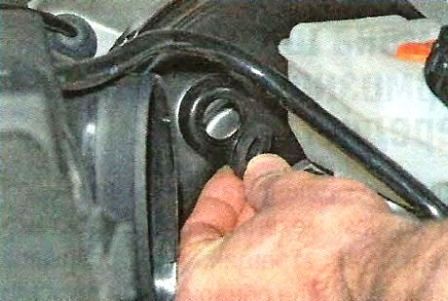
Before installing the valve, check the condition of the rubber seal of the valve tube tip
Check the condition of the rubber sealing sleeve of the valve located in the opening of the vacuum booster housing.
Replacing the vacuum brake booster
Remove the vacuum booster check valve as described above
We unscrew the two nuts securing the brake master cylinder
To prevent air from entering the hydraulic drive of the brake system, we do not disconnect the brake pipes.
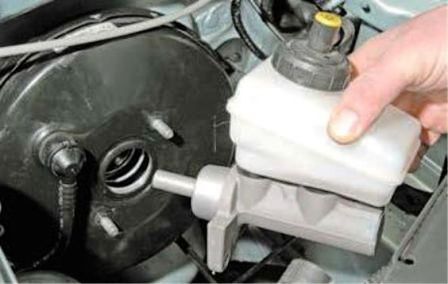
Carefully bending the brake pipes, remove the main brake cylinder from the vacuum booster studs and set aside.
The connection between the master brake cylinder and the vacuum brake booster is sealed with a rubber ring.
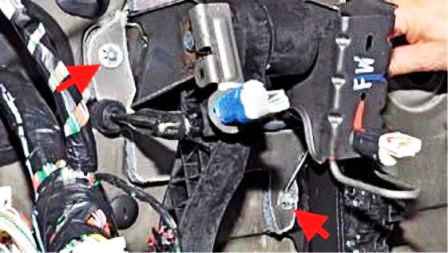
In the passenger compartment, under the instrument panel, pry off two noise insulation holders with a screwdriver
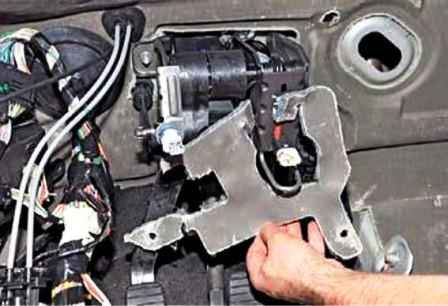
Removing soundproofing
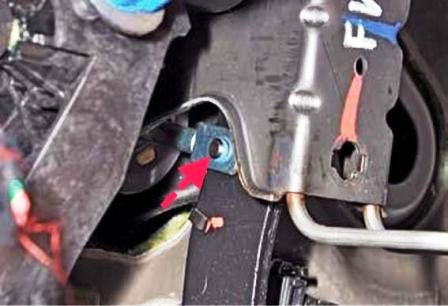
Remove the split plastic retaining ring from the pusher pin to the brake pedal
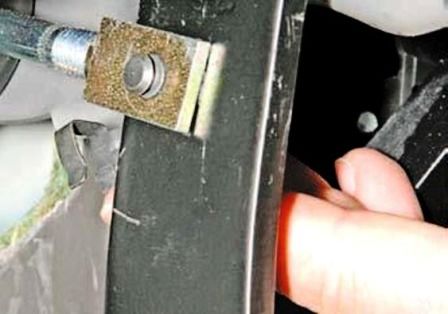
Remove from the brake pedal the spring retainer of the finger of the pusher of the vacuum booster to the pedal
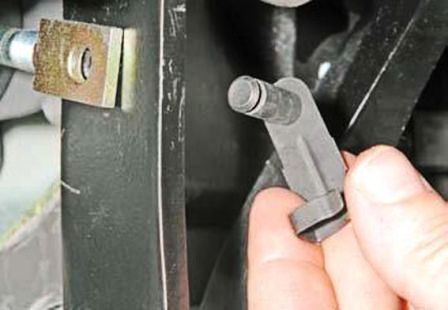
We remove the finger from the holes of the pedal and the pusher eye
With a 13 head, unscrew the four nuts securing the vacuum booster to the bulkhead
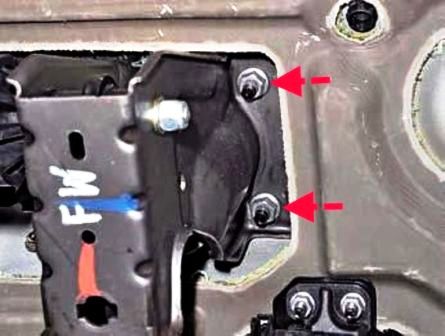
Two on the right side of the pedal bracket and two on the left side
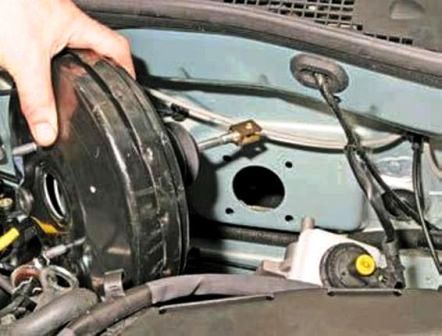
We remove the booster pusher from the hole in the bulkhead and remove the vacuum booster from the engine compartment.
Installation
Before installing the booster, you need to check the condition of the gasket between the vacuum booster and the bulkhead.
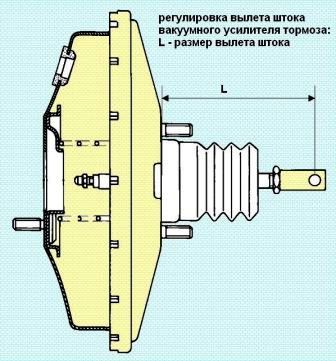
Before installing the amplifier, you need to check the dimension L = 145.8±0.5 mm, adjust if necessary.
We install the vacuum booster and tighten it with a 13 head to the front panel. Nut tightening torque 21 Nm (2.1 kgf.m).
Connect the vacuum booster to the brake pedal, to do this, install a new connecting axle into the holes of the pusher of the booster and the brake pedal and snap the axle flag onto the pusher rod.
The axis is set only by movement from right to left and from top to bottom.
Apply 1 g of Molycote 33m to the axle before mounting.
Reinstall the noise damper and secure it with two spring washers.
Reinstall the brake booster check valve.
Reinstall the brake master cylinder.
Bleed the brake system and hydraulic clutch (if the brake pipes were disconnected) article - Bleeding the brakes of a Nissan Almera car
Adjust the brake light switch.
Check the effectiveness of the service brake system


