Switches and switches are removed for replacement and testing.
Removing the reverse light switch
We install the car on a viewing ditch or a lift.
Remove the left mudguard of the engine compartment (article - Removing the protection of the Nissan Almera power unit)
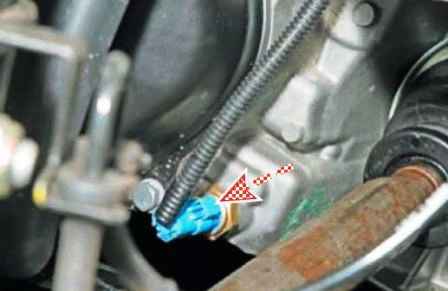
We press the lock of the wire block and disconnect the block from the reverse light switch.
Turn on the ignition and close the contacts of the switch wire block.
If the reverse light does not come on, the switch circuit is faulty.
If it lights up, you need to check the switch.
Before unscrewing the switch, drain the oil from the gearbox
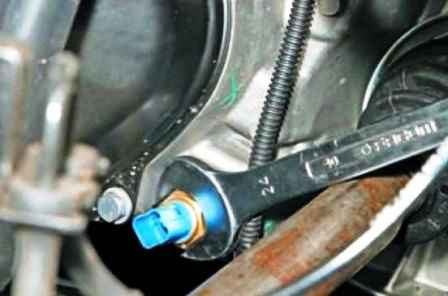
Unscrew the switch with a 24 key
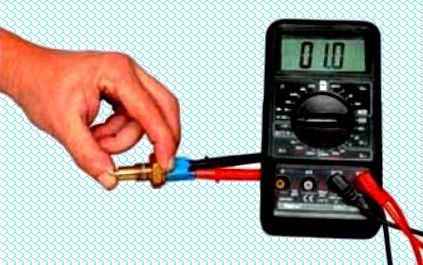
Checking the switch with a tester.
Connect the tester terminals to the switch and press the switch stem.
When the switch is pressed, the tester in ohmmeter mode should show a closed circuit.
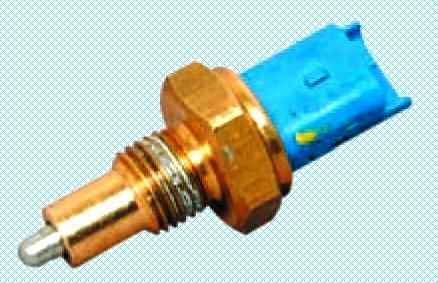
Before installing the switch, degrease the threaded part of the switch and the threaded hole in the gearbox with gasoline or solvent.
We apply a thin layer of sealant to the switch and screw it into the gearbox hole.
Tighten the reverse light switch and fill the gearbox with oil.
Removing the brake light switch
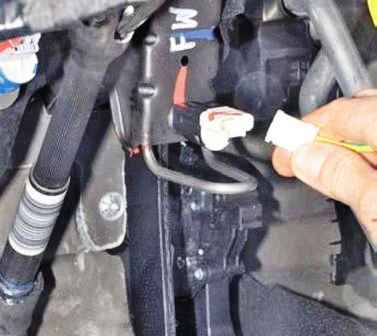
Disconnect the wiring harness from the brake light switch connector
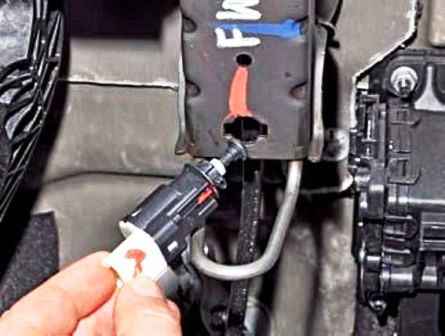
Turn the switch counterclockwise and remove it from the hole in the pedal assembly bracket
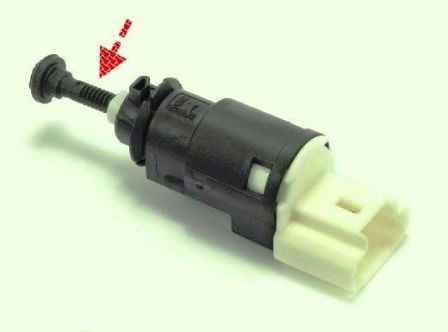
Before installing a new switch, we extend the tip from its body.
We press the brake pedal and insert the switch into the hole in the pedal assembly bracket.
Turn the switch clockwise and fix it in the bracket hole.
Slowly release the brake pedal, while the pedal buffer will sink the tip of the switch in its housing by the required amount.
Removing switches and controls in the car
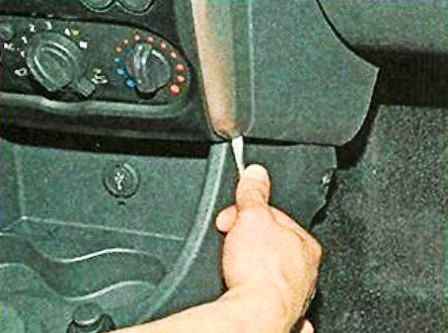
To remove the switches on the instrument panel console, pry off the lower part of the lining with a screwdriver
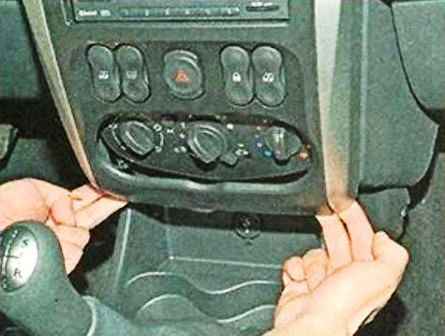
Press out the console overlay
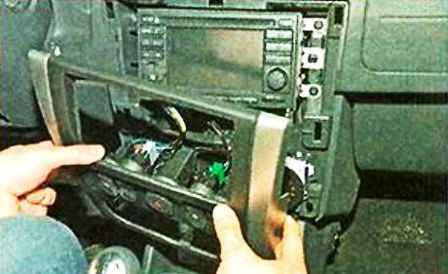
Remove the trim with switches from the instrument panel.
Before disconnecting the wire blocks from the switches, mark them with a marker.
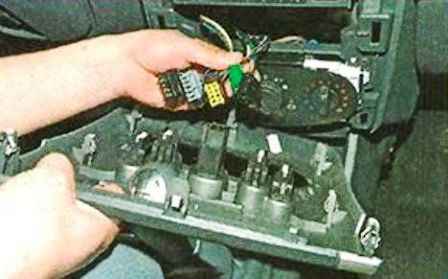
Disconnect the wire blocks from the switches
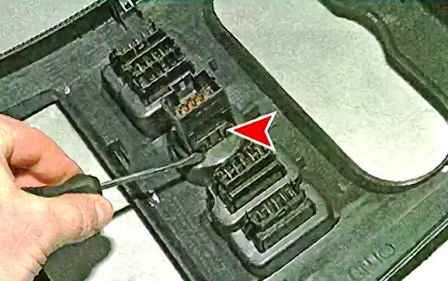
Using a screwdriver, alternately press the four latches and remove the alarm switch from the lining.
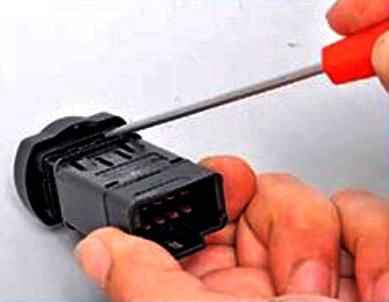
To replace the alarm switch lamp, pry off the switch button with a screwdriver
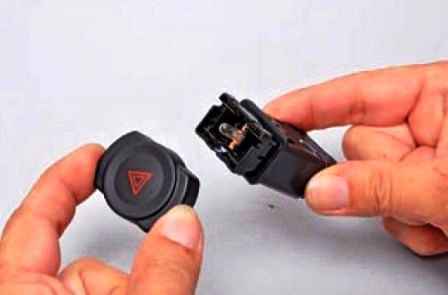
Removing the button
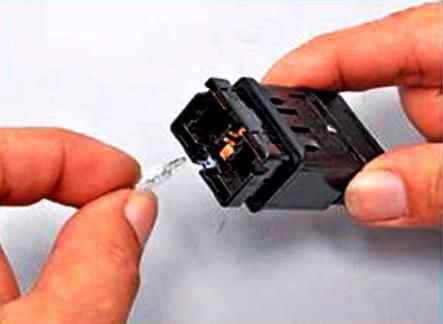
Remove the lamp from the switch and replace it with a new lamp W1,2W
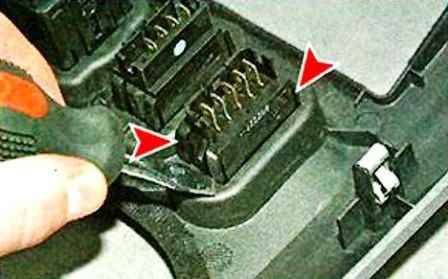
Press the screwdriver alternately on the four latches, remove the switch from the hole on the lining
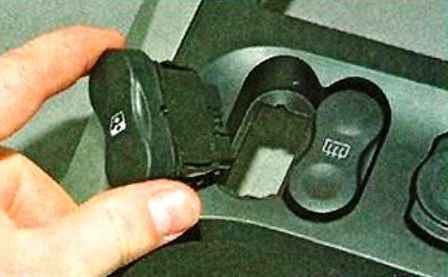
Remove the power window switch of the left front door from the lining.
We also remove the rest of the switches.
Install the switches on the instrument panel console in reverse order.
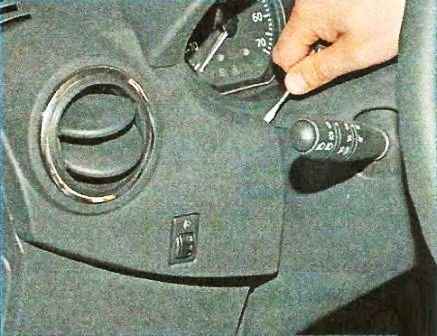
To remove the headlight beam direction regulator, use a screwdriver to pry off the left decorative trim of the instrument panel
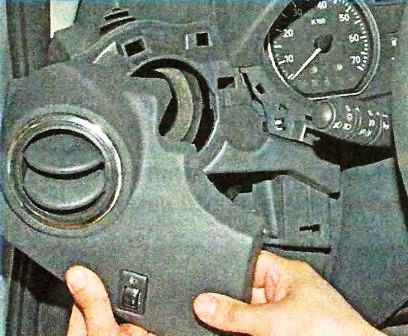
Remove the overlay from the instrument panel
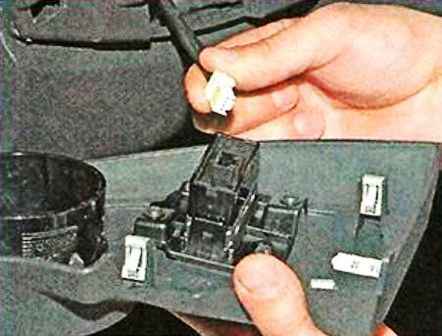
By pressing the lock of the wire block, we disconnect the block from the regulator
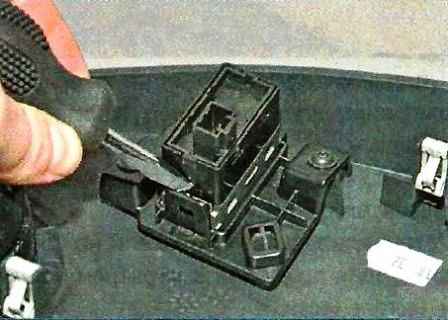
Using a screwdriver, we alternately squeeze out two latches
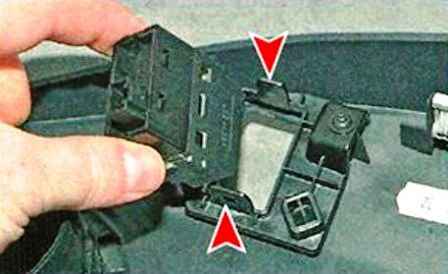
Remove the regulator from the overlay
Install the regulator in reverse order.
To remove the electric exterior mirror adjuster:
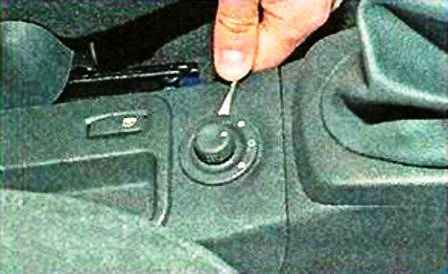
Pry off the regulator with a screwdriver
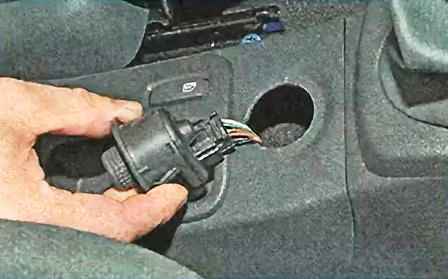
Remove the regulator from the lining of the floor tunnel, overcoming the resistance of the latches.
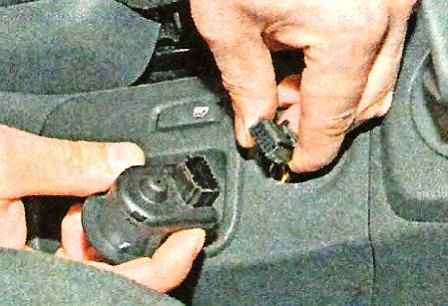
Press the lock of the wire block and disconnect the block from the regulator.
Install the regulator of the electric drives of the exterior mirrors in the form order.
To remove the rear power window lock switch:
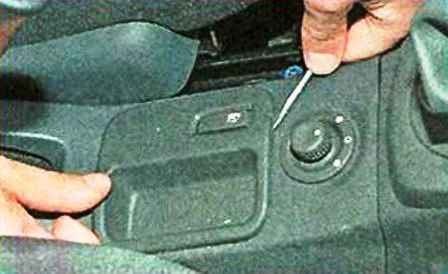
Using a screwdriver, pry off the floor tunnel cladding insert and remove the insert with the switch from the cladding.
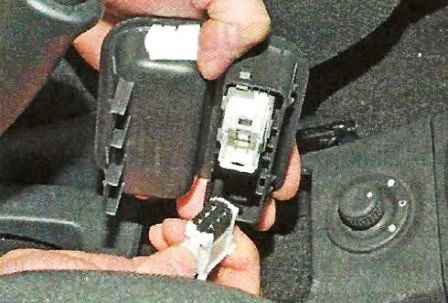
By pressing the lock of the wire block, we disconnect the block from the switch
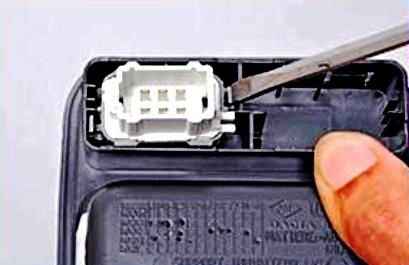
Use a screwdriver to alternately press the two latches
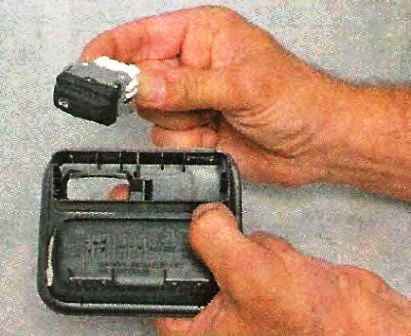
Remove the switch from the insert
Install the switch in reverse order.
To remove the rear power window switches:
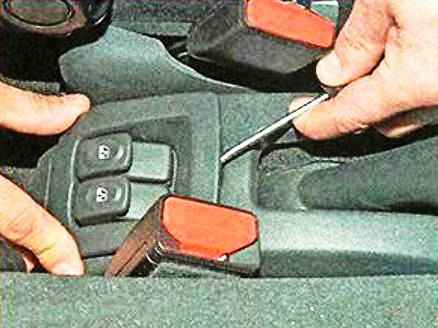
Pry off the switch block with a screwdriver
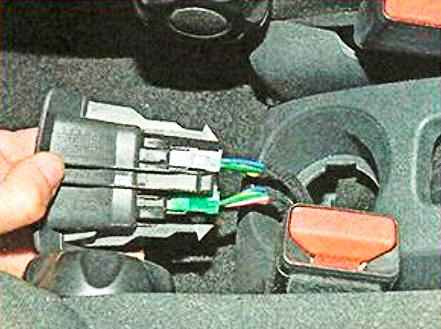
Remove the switch block from the lining of the floor tunnel
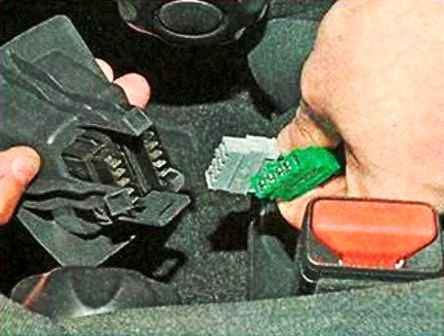
Disconnect the wire blocks from the switches
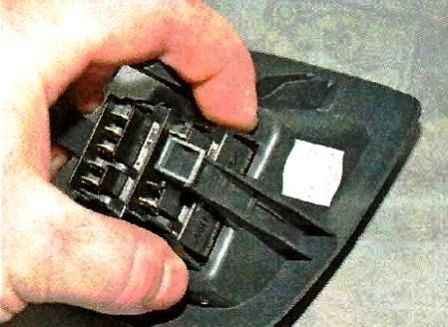
Squeeze the four switch latches
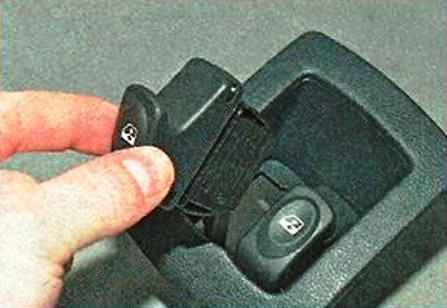
Remove the switch from the switch box.
We also take out another switch.
Install the switches in reverse order.


