We remove the bumpers to access other parts and assemblies of the car, as well as when replacing or repairing bumpers.
Removal and mounting of bumpers is desirable to be done with an assistant.
Removing the front bumper
We install the car on a lift or a viewing ditch.
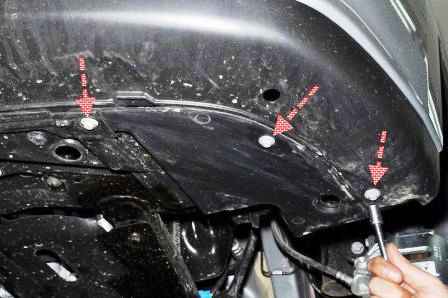
From the bottom of the car with a 10 head with an extension, unscrew the three bolts securing the fender liner to the front bumper
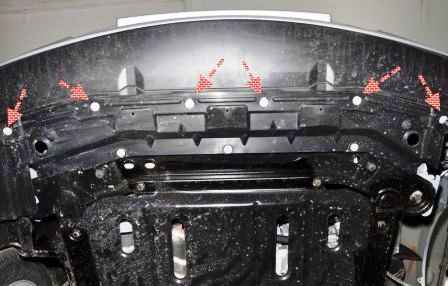
With a 10 head, unscrew the six bolts securing the shield to the front bumper
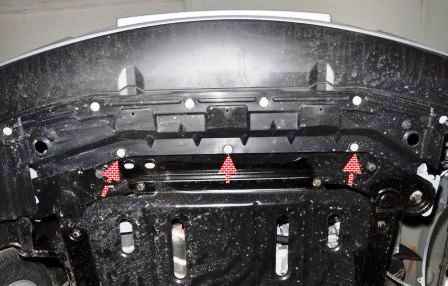
We unscrew the three screws securing the shield to the front suspension subframe
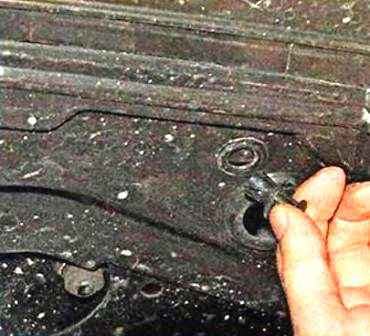
Use a flat screwdriver to move the piston lock and take out the piston of the right fastening of the shield.
We also take out the piston of the left fastening of the shield
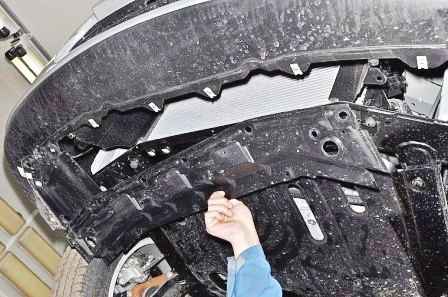
Remove the front bumper mudguard
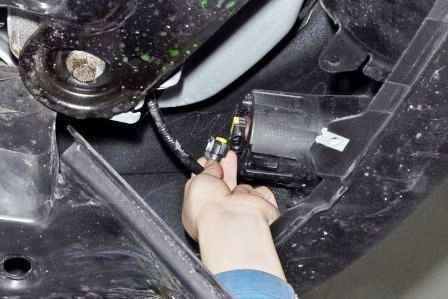
Bending the front edges of the fender liner, disconnect the wire blocks from the fog lights
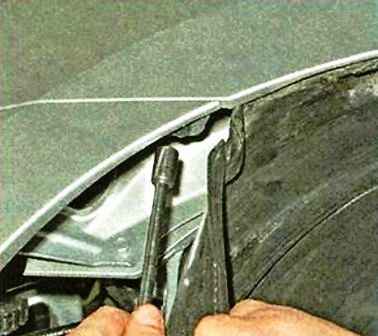
With a 10 head with an extension, we unscrew one self-tapping screw securing the bumper to the front fenders on each side
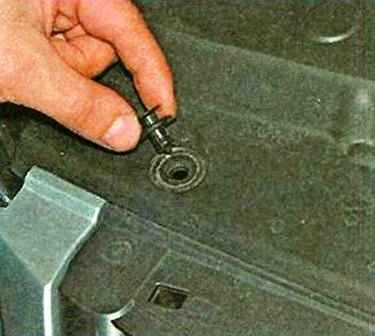
In the engine compartment, we extend the clamps of ten caps and remove the caps for fastening the radiator lining
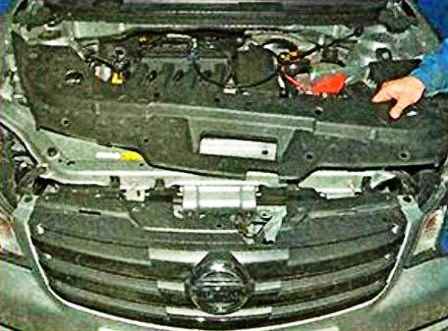
Remove the radiator trim
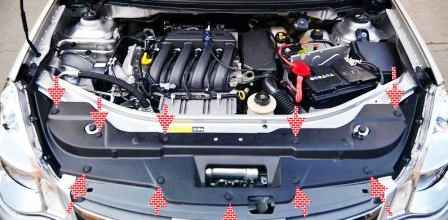
Location of the caps for fastening the radiator lining
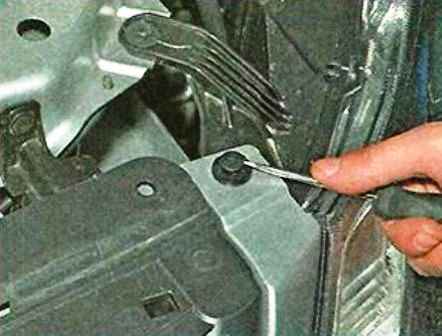
Use a screwdriver to push out the piston retainer
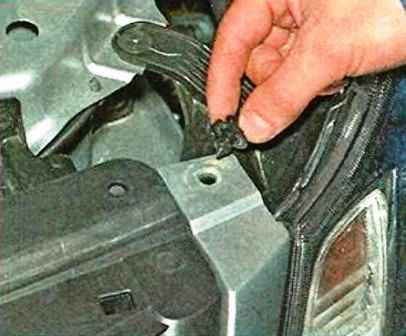
And take out the piston of the left upper fastening of the bumper to the upper cross member of the radiator frame
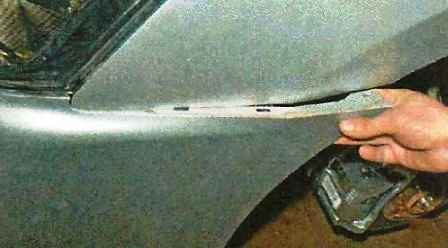
We remove the left side of the bumper from engagement with the plastic holder and take it away from the front fender.
We also take out the piston of the right upper bumper mount, squeeze and disengage the right side of the bumper from the plastic holder
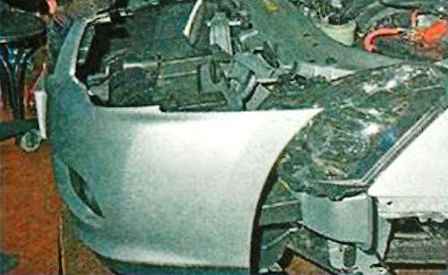
Remove the bumper
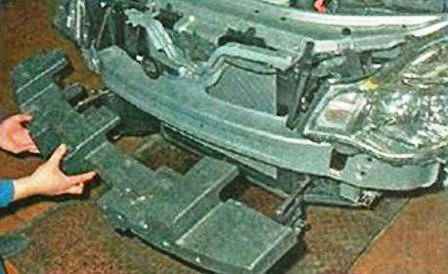
Remove the energy-absorbing element of the front bumper from the body cross member
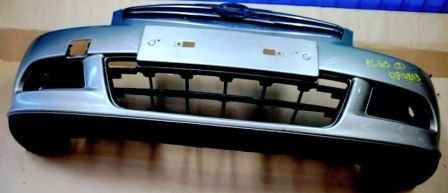
Install the front bumper in reverse order.
Removing the rear bumper
Removing the rear lights (article - Replacing the lights and lamps of a Nissan Almera car)
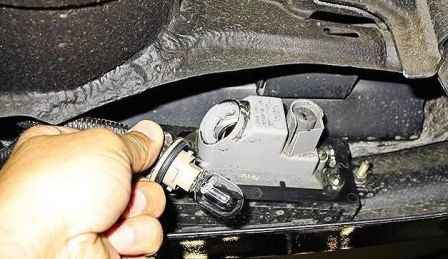
Remove the fog light bulb socket from the housing
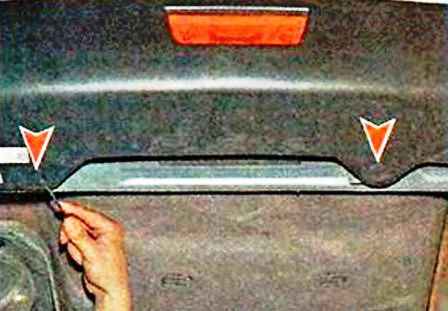
Using a flat screwdriver, pry off the clips of two plastic caps and remove the caps from the holes in the bumper and body brackets
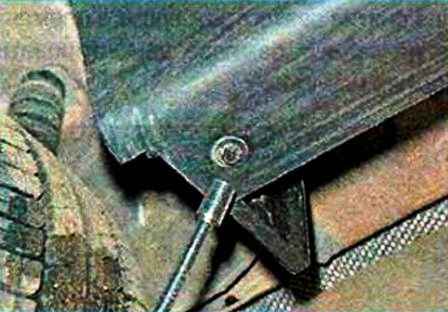
On both sides of the car with a 10 head with an extension, we unscrew one screw of the lower bumper fastening to the rear wheel arch liners
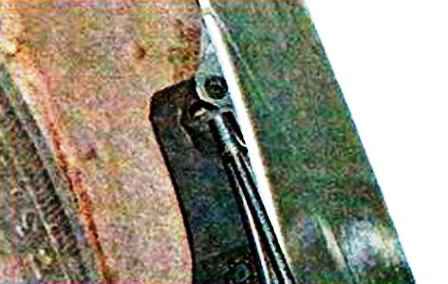
In the wheel arches with a head of 10, we unscrew one self-tapping screw securing the bumper to the body
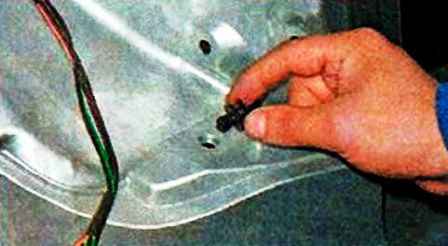
Under the left rear lamp, use a screwdriver to pry the retainer of the bumper fastening clip to the body and remove the clip.
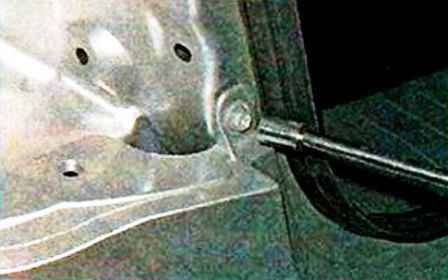
Using a 10 head with an extension, unscrew the self-tapping screw securing the bumper to the body.
We also do everything on the other side.
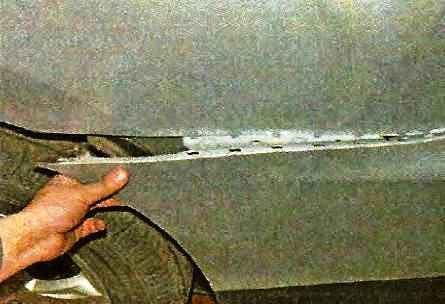
We remove the left side of the bumper from engagement with the plastic holder and take it away from the body
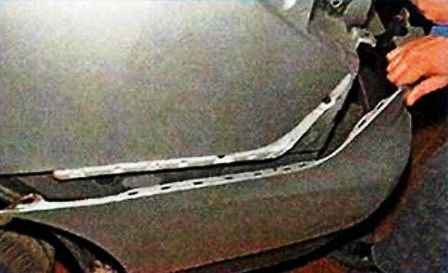
Supporting the left side of the bumper, we press and disengage the right side of the bumper from the plastic holder
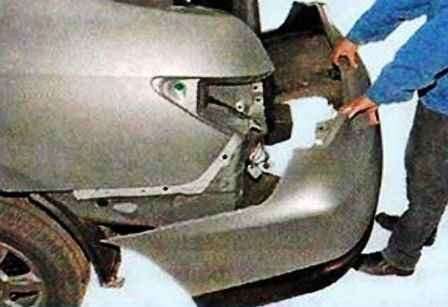
Remove the bumper.
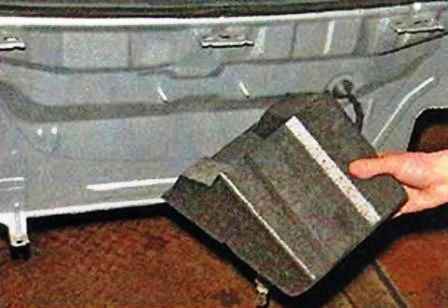
Remove the middle energy-absorbing element of the rear bumper from two pins
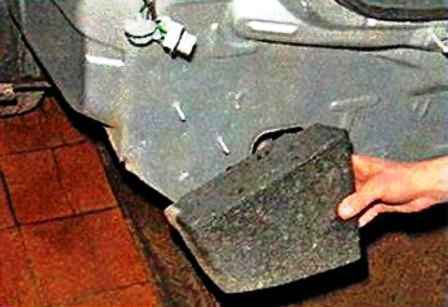
We also remove the side energy-absorbing elements of the rear bumper
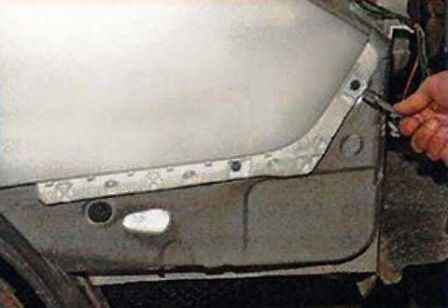
If it is necessary to replace the plastic bumper holders, with a 10 head, unscrew the two screws securing the holder to the body
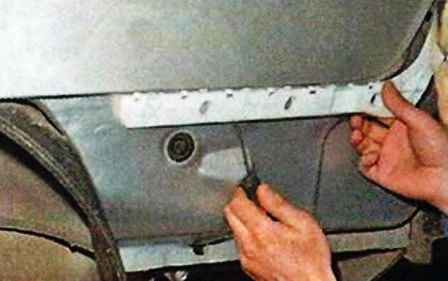
Pry it off from below with a flathead screwdriver
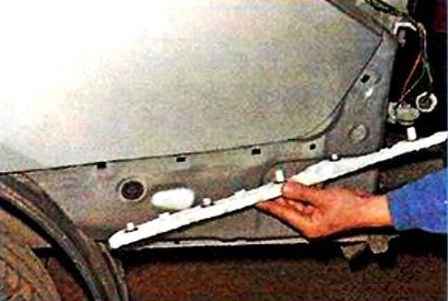
Remove the holder, removing its latches from the rectangular holes in the body.
Install the rear bumper in reverse order.
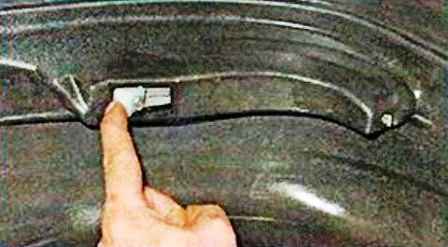
To remove the reflective element, press the latch on the inside of the bumper
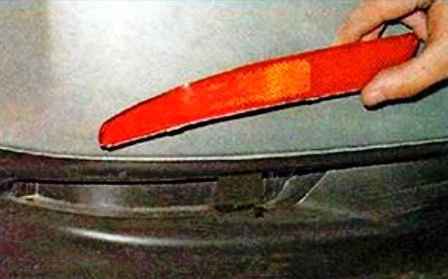
And remove the element.


