If you decide to disassemble the starter and determine its future fate, then proceed as follows
We remove the starter, as described in the previous article Removing and checking the starter of a Hyundai Solaris car
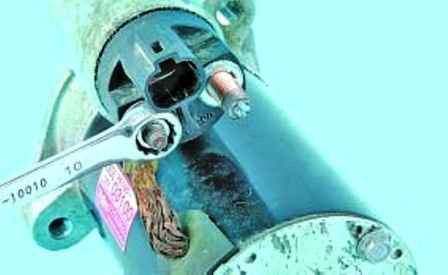
Unscrew the nut securing the power bus to the contact bolt of the traction relay
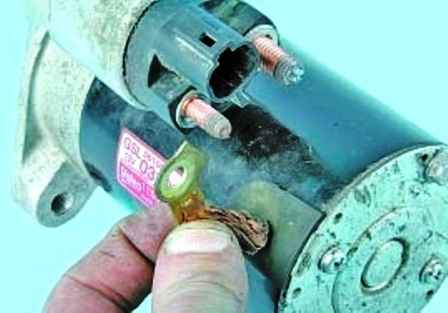
Disconnect the tire from the contact bolt
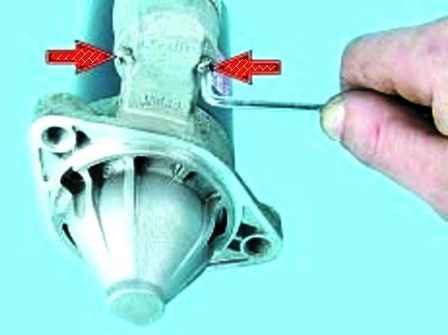
We unscrew the two screws securing the traction relay to the front cover
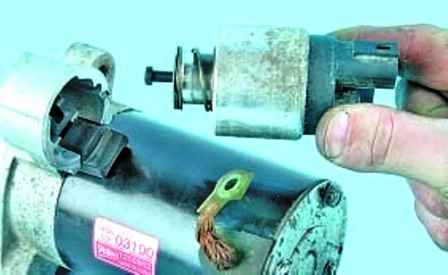
Remove the traction relay
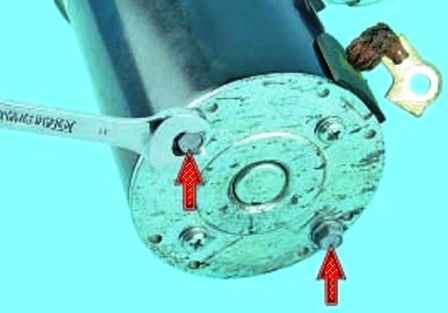
Unscrew the two tie bolts
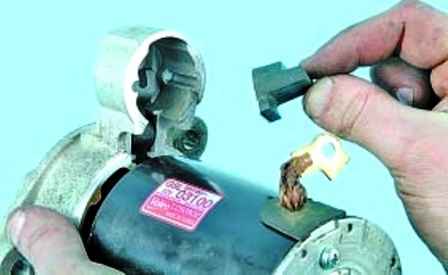
Remove the freewheel drive lever support from the cover
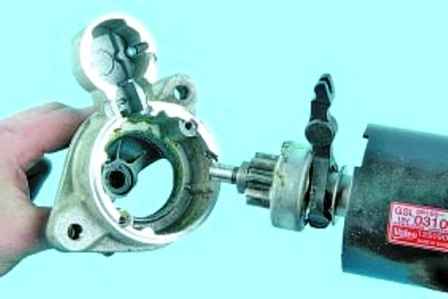
Disconnecting the stator and front cover
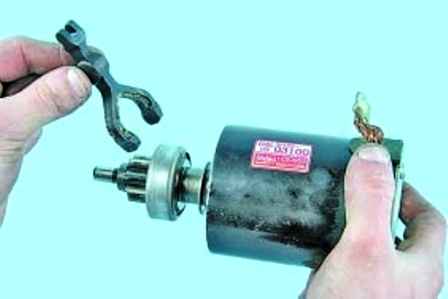
Remove the freewheel drive lever
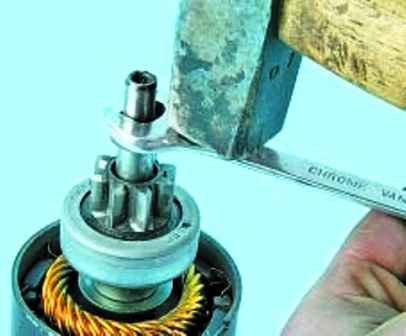
Move the restrictive ring along the rotor shaft
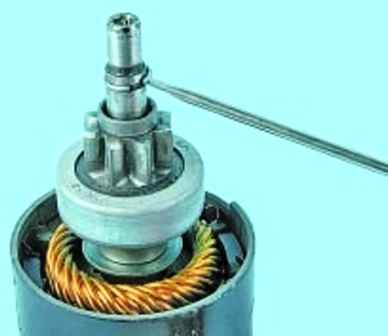
Pry off the retaining ring
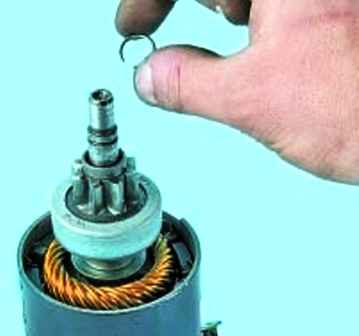
Remove the ring from the rotor shaft
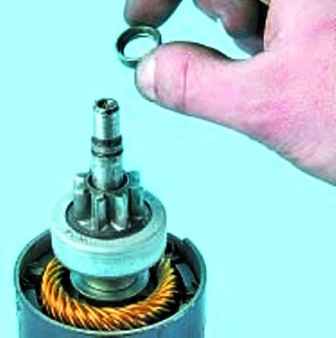
Remove the restrictive ring from the rotor shaft
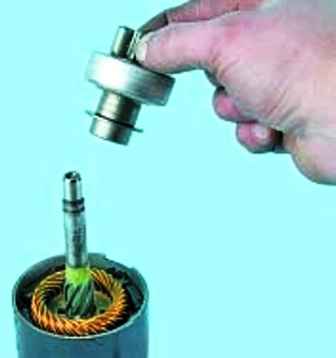
Remove the freewheel
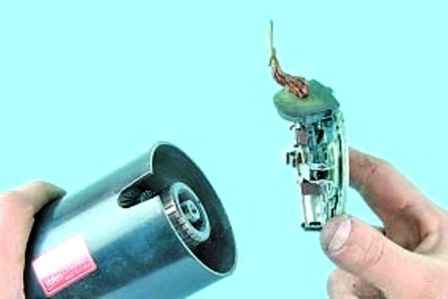
Remove the brush assembly with the back cover
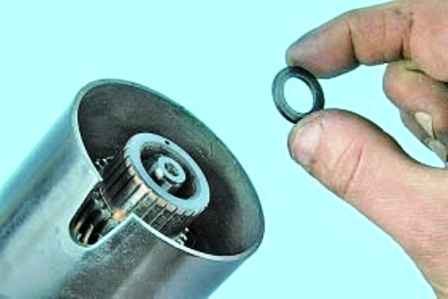
Remove the distance ring from the rotor shaft
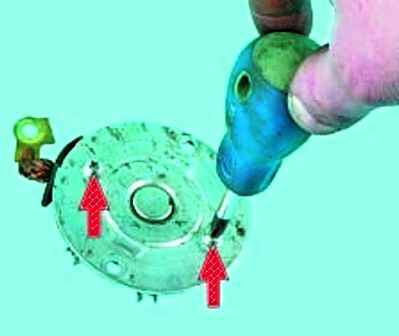
Remove two screws
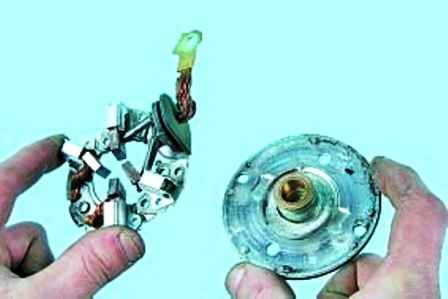
Remove the back cover from the brush assembly
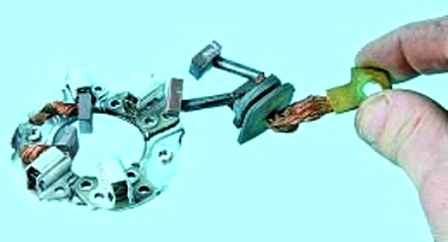
If necessary, disconnect the power bus with brushes
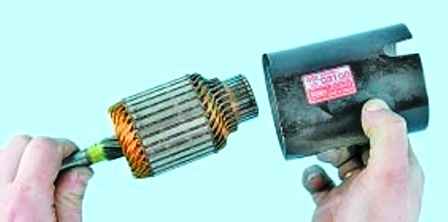
Remove the rotor from the stator
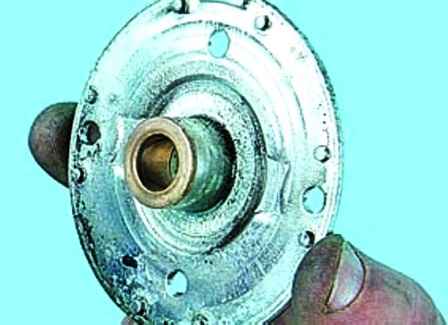
Inspecting the back cover
If the sleeve and cover are worn out, then we replace the cover and sleeve assembly

Inspecting the brush assembly
Checking the height of the brushes in the brush holder. If their height is 7 mm or less, replace the brush assembly with a new one
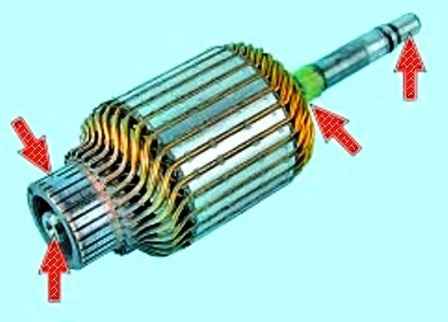
Inspecting the rotor
There must be no damage to the splined surface and trunnions of the rotor
The rotor manifold must not show signs of burning. If not a strong burn, then wipe it with a cloth soaked in gasoline and fine sandpaper
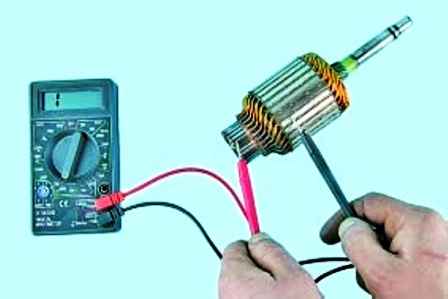
Check each rotor winding for a short circuit with an ohmmeter
Resistance should go to infinity
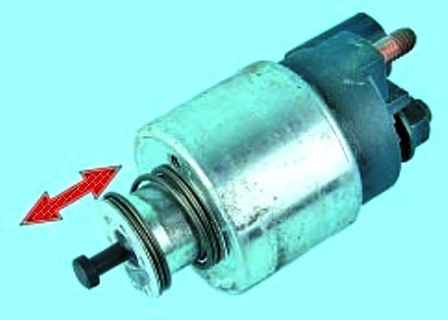
Checking the ease of movement of the armature of the starter traction relay
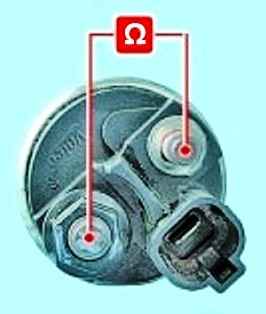
Checking if the contact bolts of the contact plate close with an ohmmeter
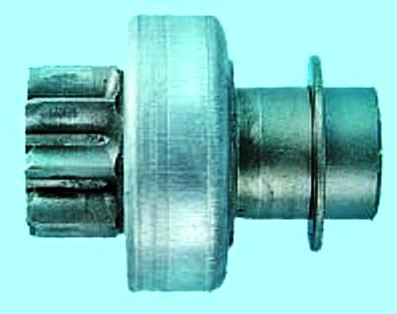
Checking the freewheel
The gear teeth should not be heavily worn.
The gear should rotate easily relative to the clutch hub in the direction of rotation of the rotor and should not rotate in the opposite direction
If the gear teeth are worn out or the gear rotates in both directions, replace the clutch
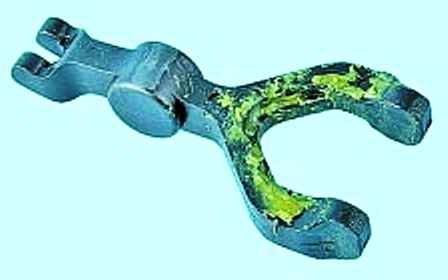
The freewheel drive lever must not have cracks and significant wear
Assemble the starter in reverse order
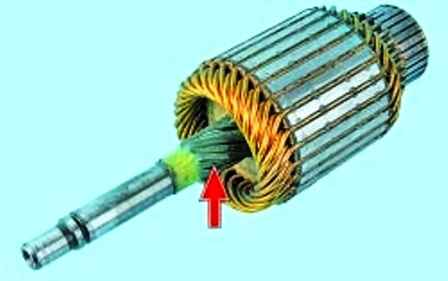
Lubricate the splined surface of the rotor shaft with silicon-containing grease
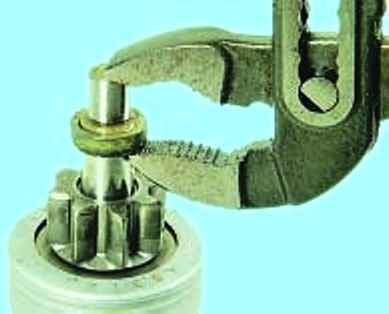
To install the restrictive ring, you can use sliding pliers
Lubricate the bushings in which the starter rotor rotates with engine oil
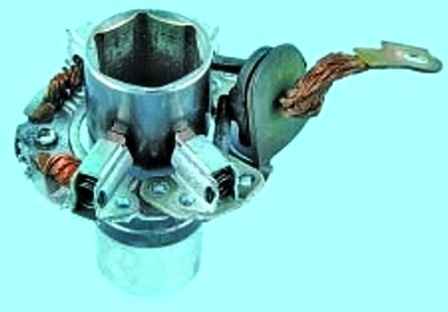
When installing the brush assembly, we separate the brushes and fix them with a socket head at 24
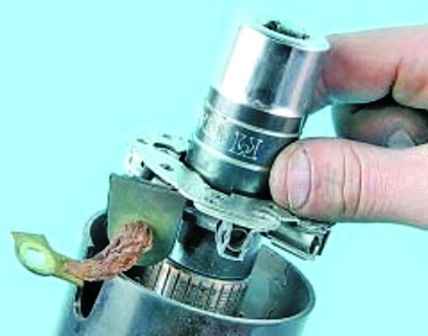
Install the brush assembly on the rotor by sliding it from the mandrel onto the rotor collector
Before installing the traction relay, apply a thin layer of sealant to the surface of the relay in contact with the starter cover.
After assembling the starter, we check its operation, as described in the previous article


