We remove the clutch discs for replacement or when repairing the engine, when you need to remove the flywheel
When replacing disks, it is recommended to replace the complete disks
We install the car on a lift or a viewing ditch
Remove the gearbox
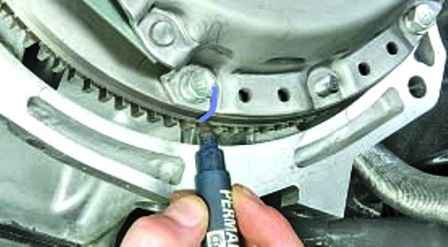
If the clutch discs are not removed for replacement, then you need to make a mark on the casing and flywheel to set the pressure plate in its original position to maintain balance.
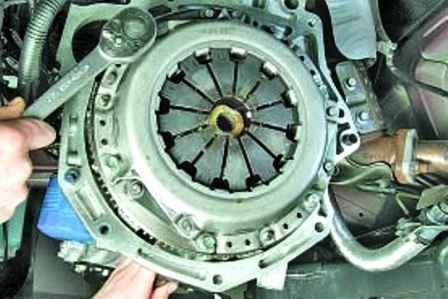
We unscrew the six bolts securing the basket to the flywheel, keeping the flywheel from turning
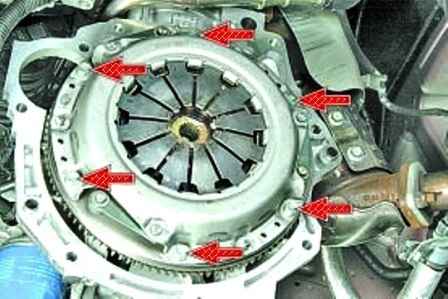
You need to unscrew evenly one or two turns of the key
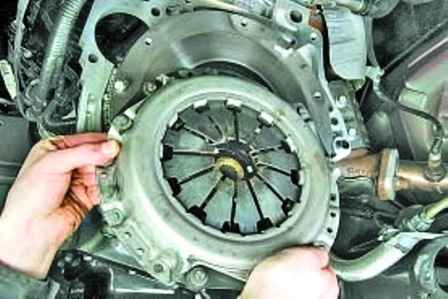
Remove the clutch pressure and driven discs from the flywheel, holding the driven disc
Inspecting the clutch disc
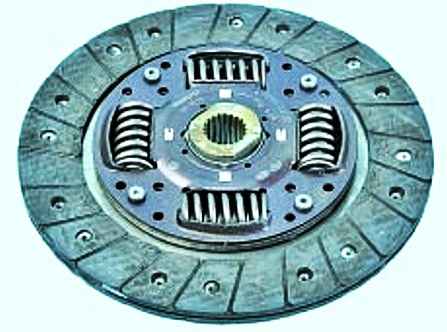
Cracks on the parts of the driven disk are not allowed
If the disc linings are oily, then you need to replace the gearbox input shaft oil seal or the crankshaft rear oil seal
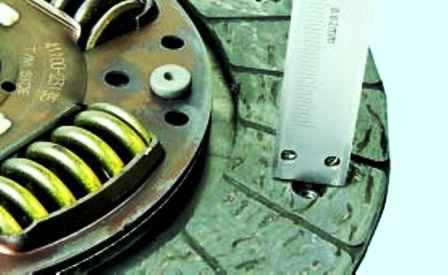
Checking the wear of the friction linings of the driven disk
If the rivet heads are sunk by less than 1.4 mm, the surface of the friction linings is oily, or the rivet connections are loose, then the driven disk must be replaced
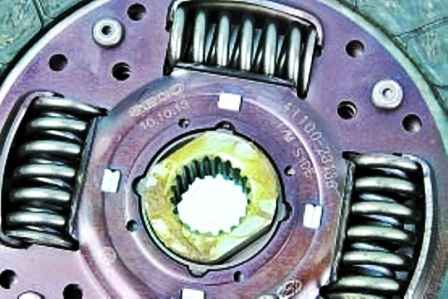
We check the reliability of fixing the damper springs in the sockets of the hub of the driven disk. If the springs move easily in their sockets or are broken, replace the disc
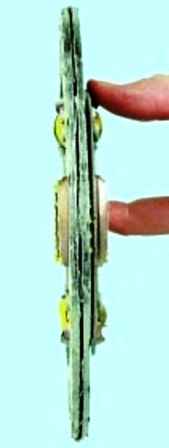
Check the runout of the driven disk if its warping is detected during visual inspection.
If the runout is greater than 0.5 mm, replace the disc
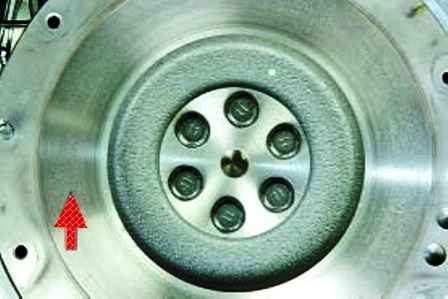
Inspecting the working surface of the flywheel friction
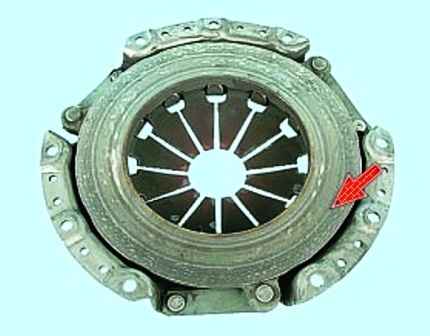
We inspect the working surface of the pressure plate, paying attention to the absence of deep scratches, burrs, signs of wear and overheating
We replace defective parts
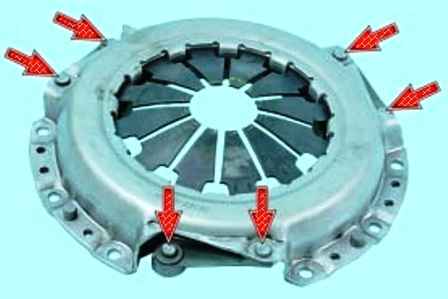
If the rivet connections of the casing and pressure plate parts are loose, replace the pressure plate assembly
Assessing the condition of the diaphragm spring of the pressure plate
Cracks on the diaphragm spring are not allowed.
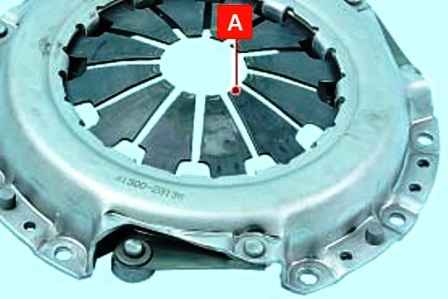
Points "A" of contact between the petals of the spring and the release bearing must be in the same plane and not have obvious signs of wear (wear of more than 0.8 mm is not allowed)
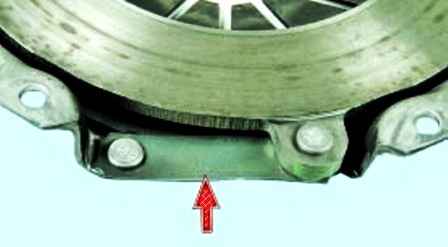
Inspecting the connecting links of the casing and the disc.
If the links are broken or deformed, replace the pressure plate assembly
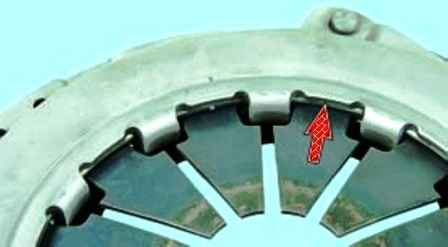
Inspecting the condition of the pressure spring rings from the outside
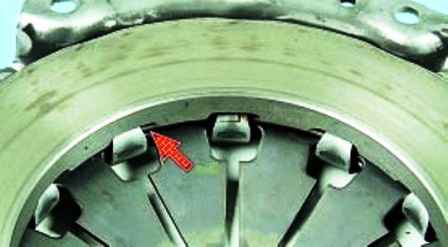
Inspecting the condition of the pressure spring rings from the inside
Rings must be free of cracks and signs of wear
Before installing the clutch, we check the ease of movement of the driven disk along the splines of the gearbox input shaft
If necessary, eliminate the causes of jamming
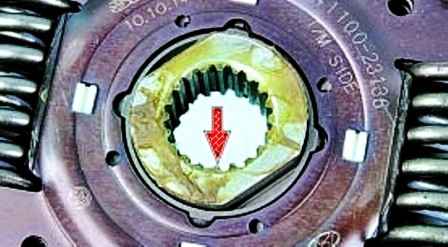
We apply refractory grease to the splines of the driven disk hub
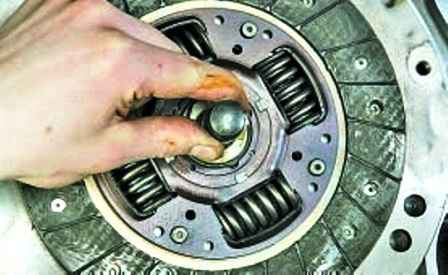
When installing the clutch, first install the driven disk using a mandrel
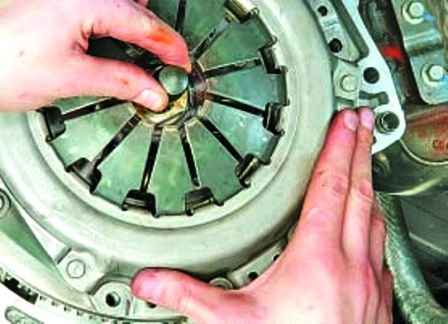
Then the casing of the pressure plate, aligning the marks applied before removing it (if we install the old disc) and screw in the bolts securing the basket to the flywheel
We install the driven disk with the protruding part of the hub towards the diaphragm spring of the clutch cover
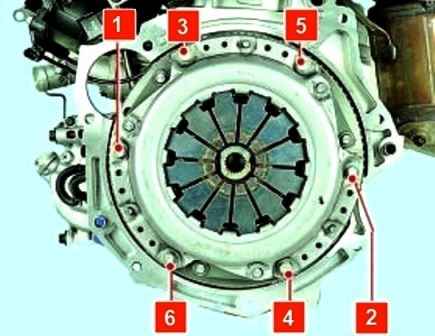
We screw the bolts evenly in the order shown in the photo
Remove the mandrel and install the gearbox
After assembly, we check the operation of the clutch


