We remove the fenders and bumpers of the car for replacement or for repair, as well as for approaching other elements of the car's structure
Removing mudguards and fender liner
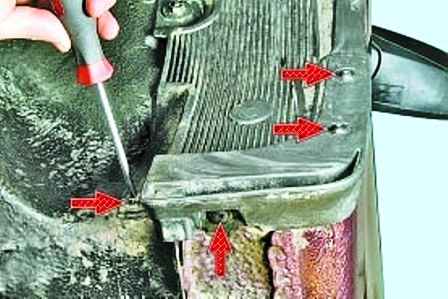
To remove the front wheel mudguard, unscrew the four screws securing the mudguard
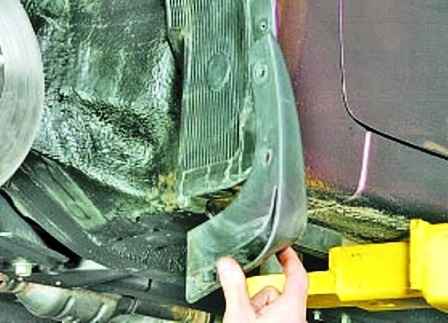
Remove the front wheel mudguard
To remove the front wheel liner, remove the front wheel mudguard
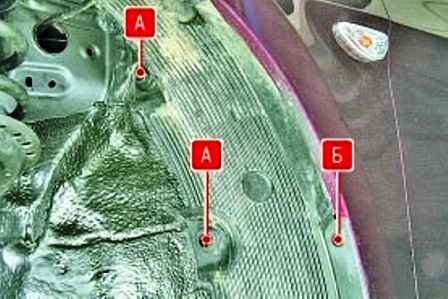
We unscrew the screw "B" and two nuts "A" of the rear mount of the fender liner
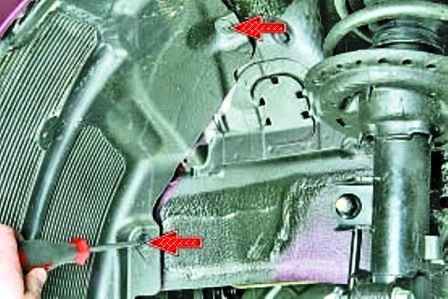
We unscrew the two screws of the front fastening of the fender liner to the body
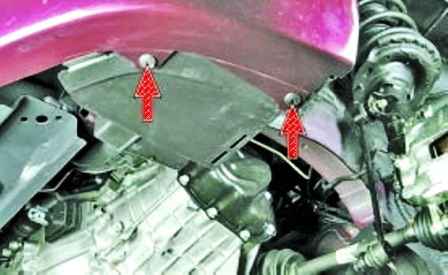
Unscrew the screws securing the fender liner to the front bumper
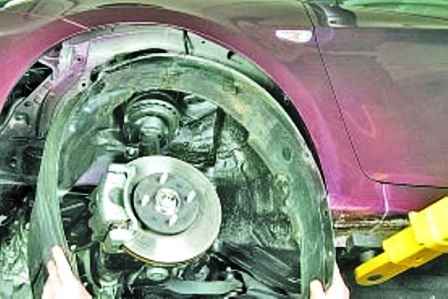
Remove the fender liner by slightly squeezing it
Install the front wheel liner in reverse order
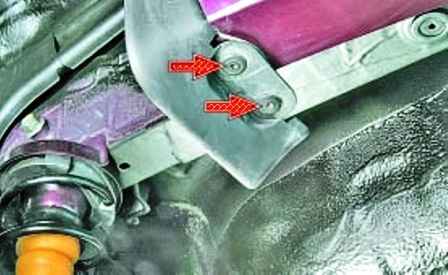
To remove the rear wheel mudguard, unscrew the two screws of the lower mudguard to the bumper
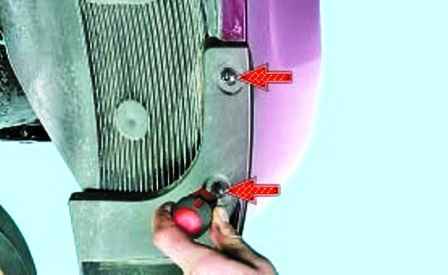
We unscrew the two screws of the top mounting of the mudguard
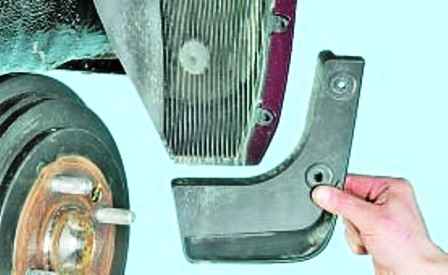
Remove the mudguard
Install the mudguard in reverse order
To remove the rear wheel liner, remove the mudguard
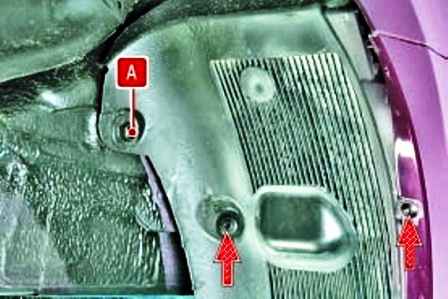
After removing the mudguard, the fender liner is attached to the body with two screws and one nut "A"
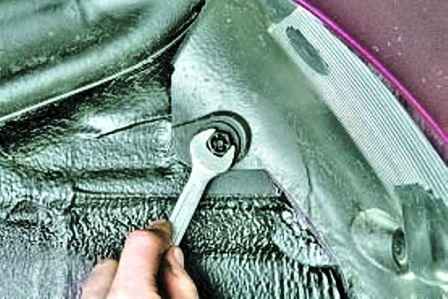
We unscrew the plastic nut securing the rear wheel liner to the body and remove the nut
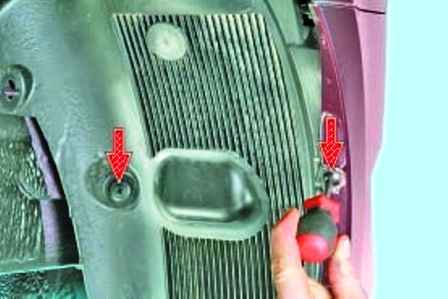
We unscrew the screws securing the fender liner to the bumper and to the body
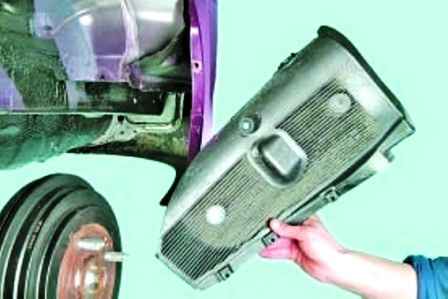
Remove the rear wheel liner
Install all parts in reverse order
Removing the front bumper
Disconnect the negative battery terminal ra
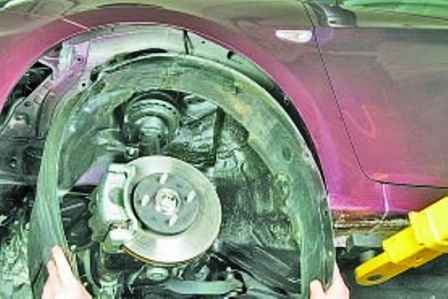
Remove the front wheel liner as described above
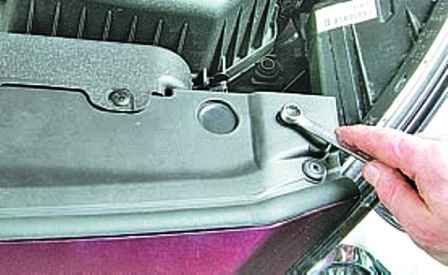
We unscrew the bolts securing the bumper to the radiator frame
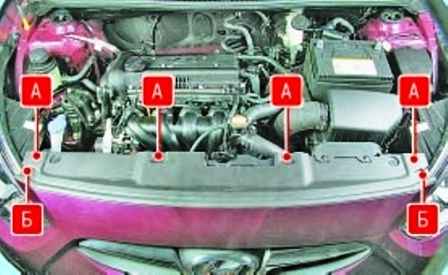
This is how bolts "A" and caps "B" of the upper mounting of the bumper to the radiator frame are located
Unscrew the retainers of the clips for fastening the bumper to the radiator frame and remove the clips
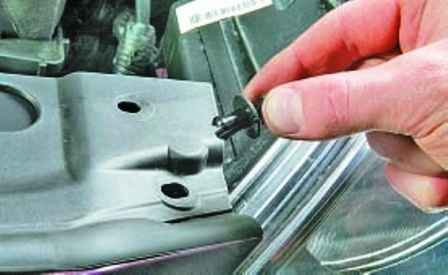
Replace damaged pistons and clip retainers
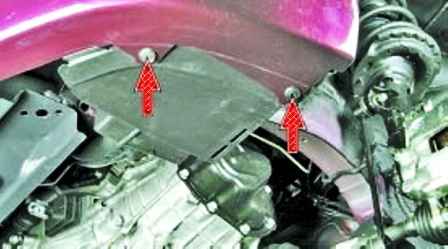
Unscrew the bumper mounting screws on each side
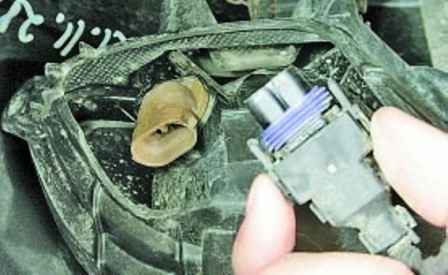
Press the latch and disconnect the wire block from the fog lamp.
We also disconnect the wire block from the other fog lamp
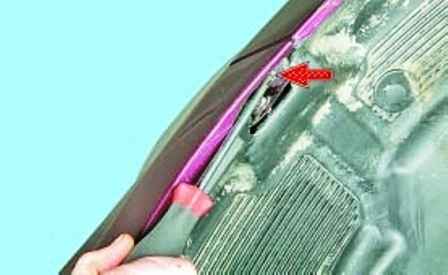
We unscrew one screw securing the bumper to the wing on each side
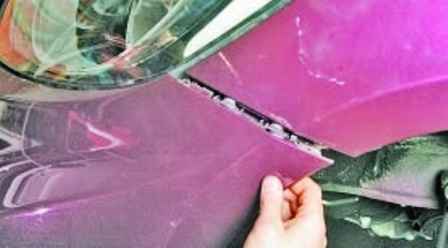
Remove the front bumper, overcoming the resistance of the holders
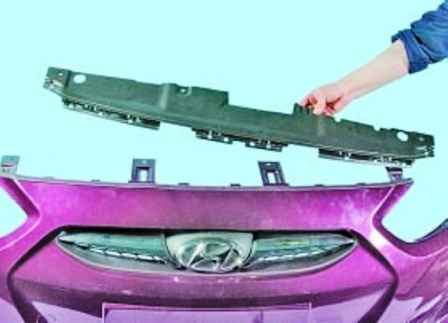
We press the latches and remove the top panel of the radiator frame
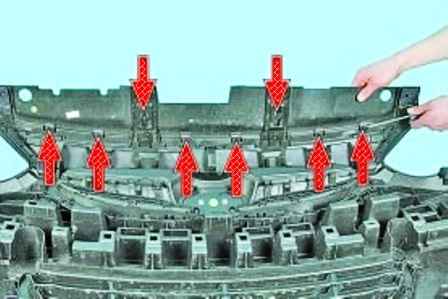
Location of the fasteners for fastening the upper panel of the radiator frame to the bumper
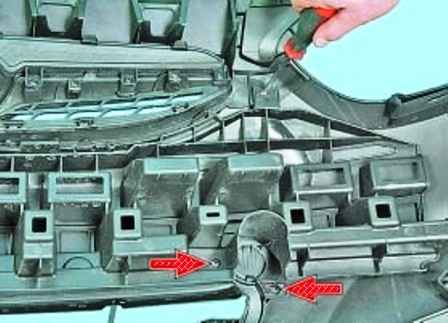
Unscrew three screws on each side of the energy-absorbing element
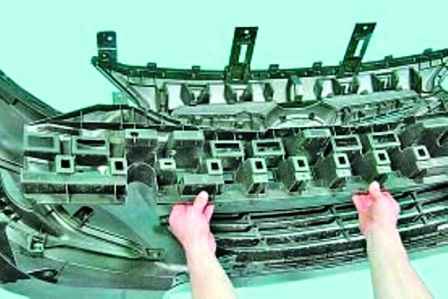
Remove the energy-absorbing element
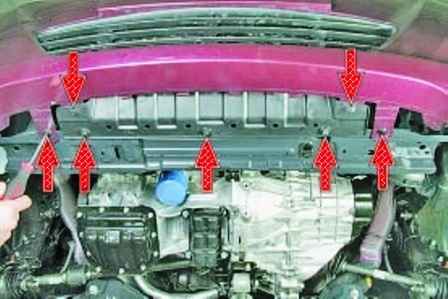
We unscrew the two screws securing the bumper to the bottom panel of the radiator frame and the two screws securing it to the radiator frame
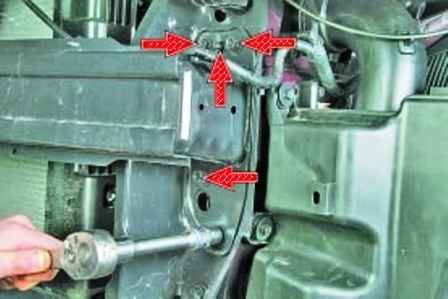
To remove the front amplifier bumper unscrew four bolts and one fastening nut on each side
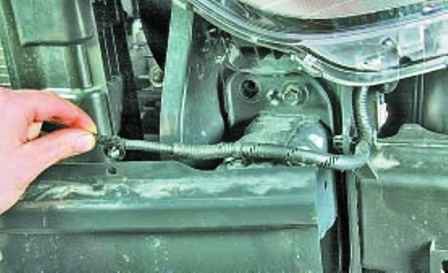
We press the fastening latches and disconnect the holder of the horn wires from the front bumper amplifier
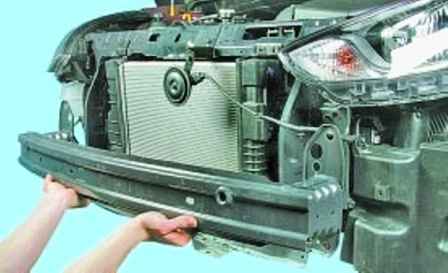
Removing the amplifier
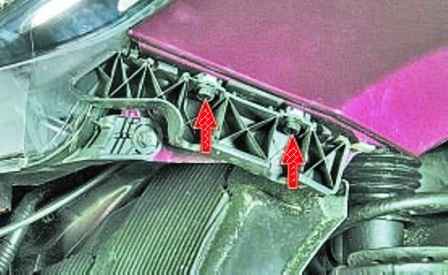
To remove the left retainer of the side mounting of the front bumper, unscrew the two bolts securing the retainer to the wing. We press the two fastening latches, push the latches out through the hole in the wing and remove the latch.
Remove the right latch in the same way
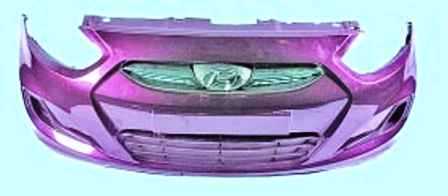
Install the front bumper in reverse order
Removing the rear bumper
Disconnect the negative battery terminal
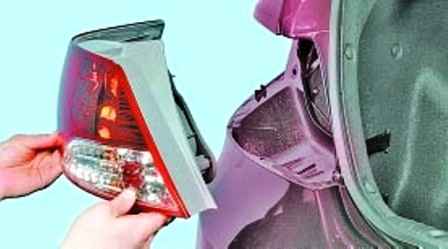
We remove the rear lights as described in the article - Removing the headlights, lights, horn and steering column switch of a Hyundai Solaris car
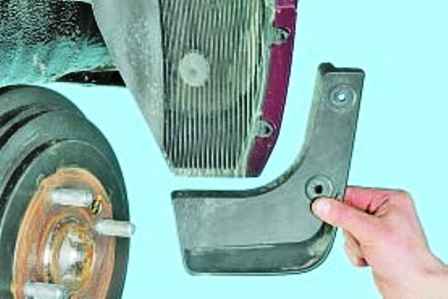
Remove the mudguards of the rear wheels, as described in this article above
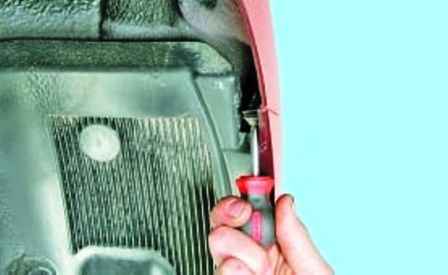
We unscrew from each side one screw securing the rear bumper to the wing
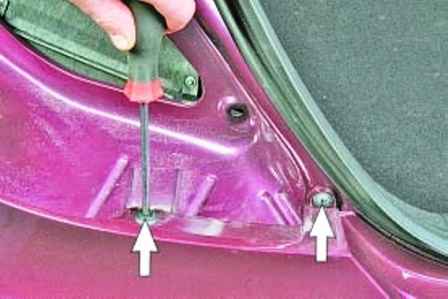
We unscrew one screw and one retainer of the bumper clips under the rear light on the left and right and remove the clips
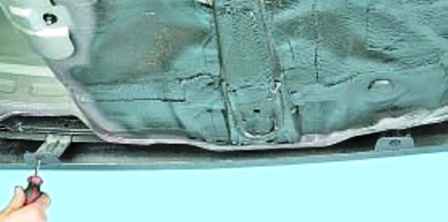
We unscrew the two retainers of the clips of the lower bumper mount
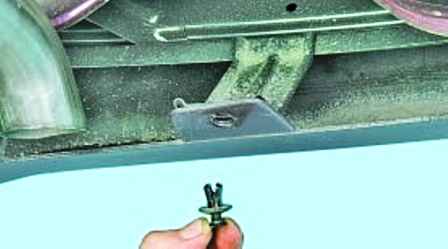
Remove the caps
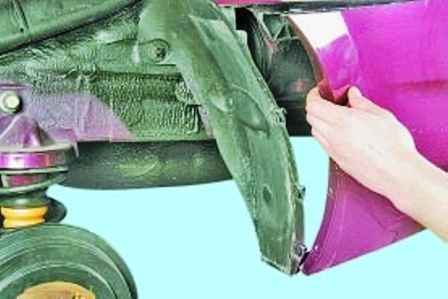
We remove the bumper from the plastic holders on the sides and slightly move the rear bumper away from the body
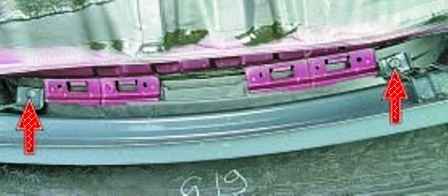
From the inside, unscrew the screws of the two brackets for attaching the rear bumper to the amplifier
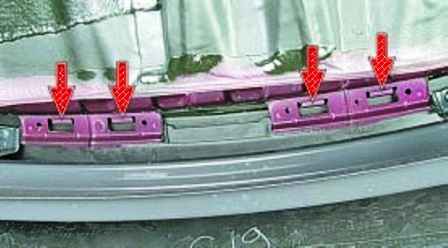
Using a screwdriver, we press the latches of the lower mounting of the rear bumper
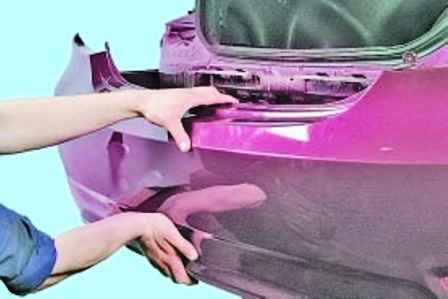
Remove the bumper
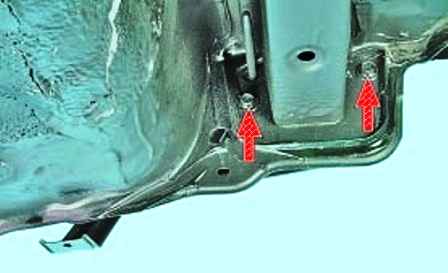
We unscrew the four bolts (two on each side) securing the rear bumper to the body and remove the bolts
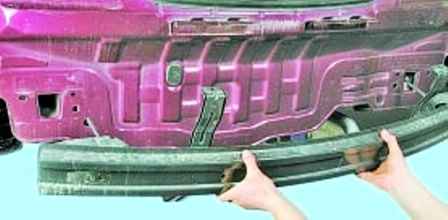
Removing the amplifier

This is what the rear bumper amplifier looks like
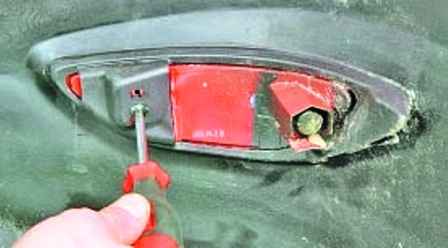
To remove the reflector, unscrew the fastening screw from the inside of the rear bumper
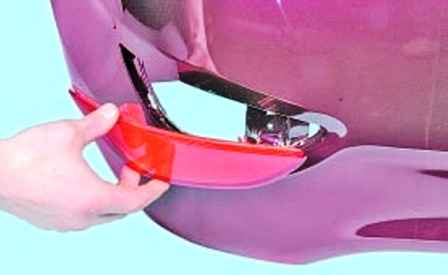
Remove the reflector
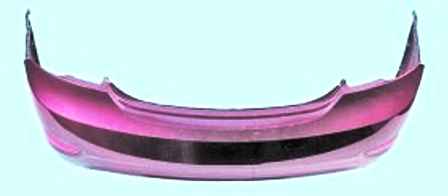
Install the rear bumper and all parts in reverse order.


