Removing the automatic transmission for repair or replacement
To complete the task, you will need tools: a mounting blade, pliers, socket wrenches for 10, 12, 14, 17
We install the car on a lift or a viewing ditch
Remove the air filter housing
Remove the battery
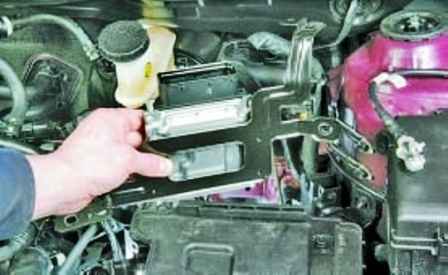
Remove the engine control unit with bracket
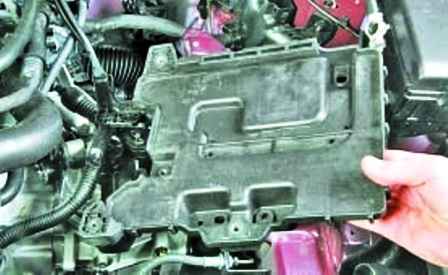
Remove the battery shelf
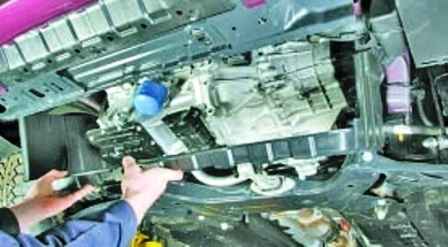
Remove the engine mudguard
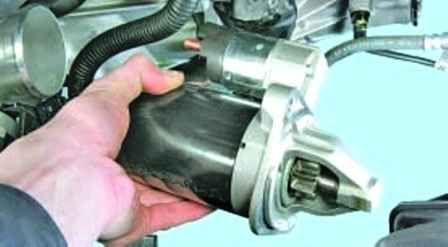
Remove the starter
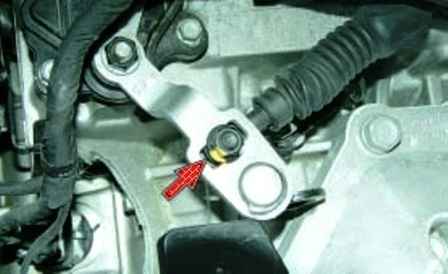
We unscrew the nut that secures the tip of the gearbox control cable to the gear range shift lever on the gearbox control unit
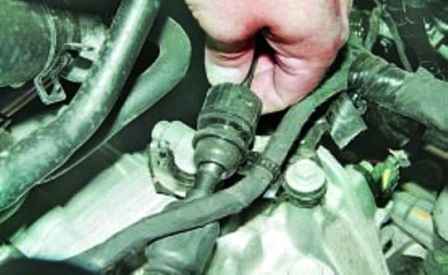
We take out the tip of the sheath of the gearbox control cable from the socket in the bracket on the gearbox housing
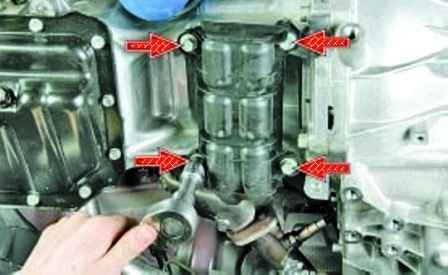
We unscrew the four bolts securing the protective cover of the torque converter hatch
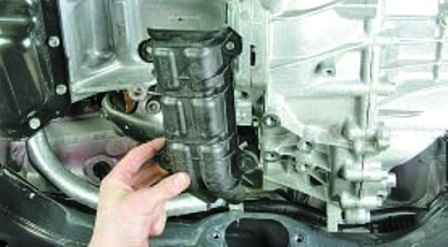
Remove the cover
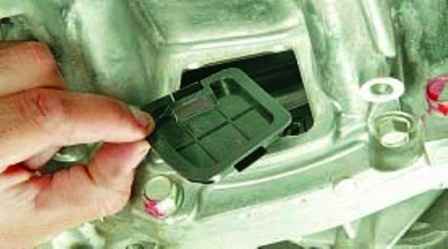
Remove the hatch cover in the torque converter housing
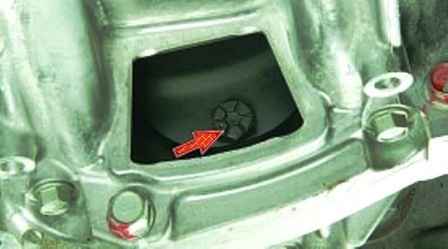
We turn the drive disk by the splines and unscrew the six nuts securing the torque converter to the disk
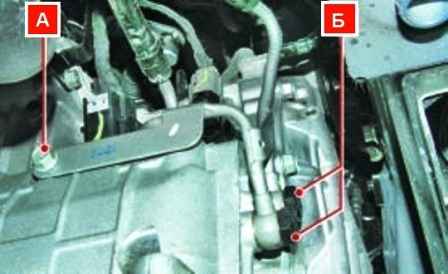
We unscrew the fitting bolts "B" of the pipelines of the working fluid cooling system and the bolt "A" of fastening the pipeline brackets to the gearbox housing, and take the pipelines to the side. Drain the flowing liquid into the prepared container
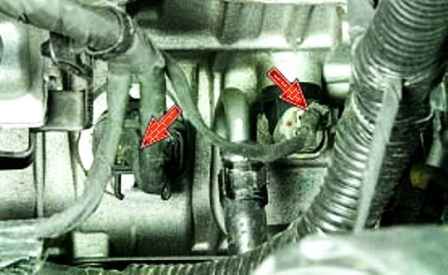
Disconnect the wire blocks located on top next to the oil dipstick
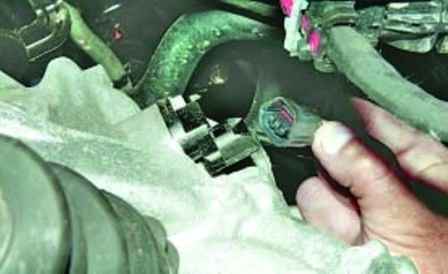
Disconnect the wiring harness located on top at the rear of the gearbox
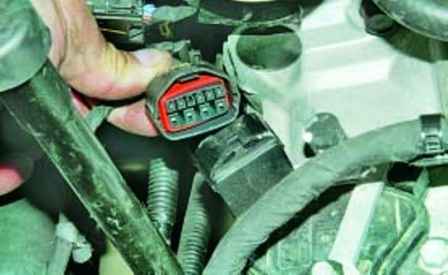
Disconnect the wiring harness located on top of the front of the gearbox
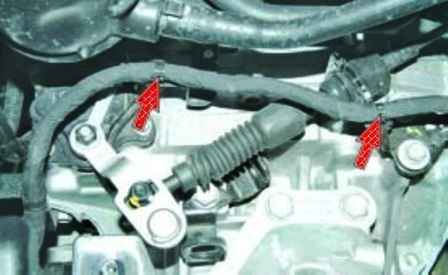
Remove the plastic clamps for fastening the wires from the brackets located on the gearbox from above
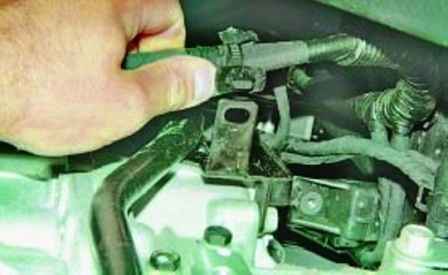
Remove the latches from the front
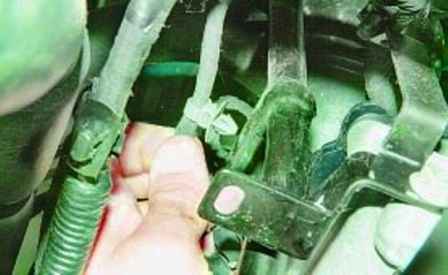
Remove the latches on the right
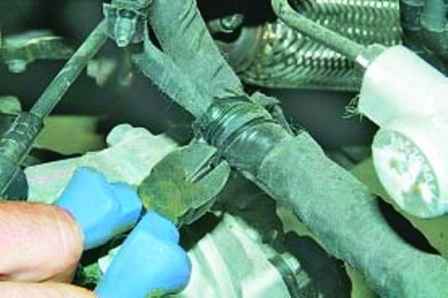
Cut the clamp located on top, connecting the two wire harnesses
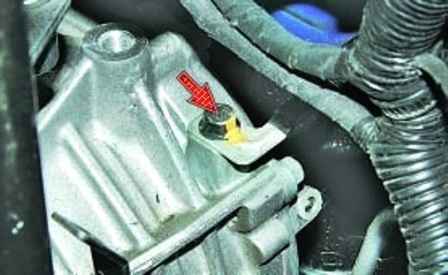
Unscrew the ground wire bolt
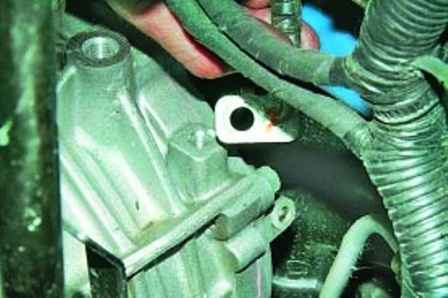
Disconnect the wire from the gearbox
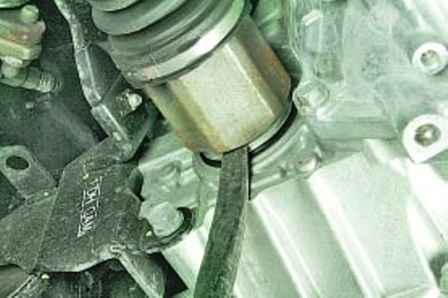
Remove the front wheel drives
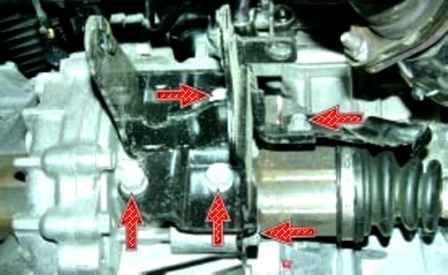
We unscrew the five fastening bolts
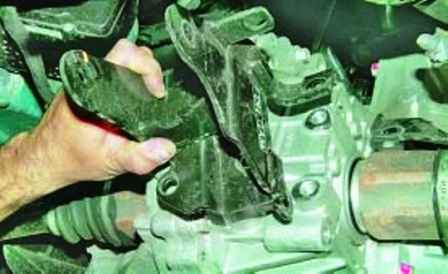
Remove the bracket for the rear suspension support of the power unit
The rear support bracket must be removed to get better access to the gearbox mounting elements
We install a reliable support under the engine or hang it out using a lifting mechanism
Installing the gearbox support
We unscrew the bolts of the left suspension support of the power unit to the bracket on the gearbox
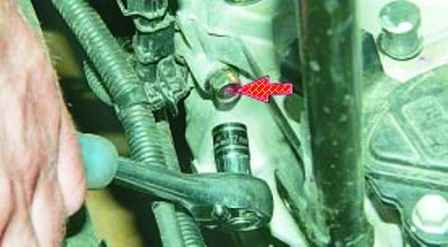
Unscrew the bolt securing the gearbox to the engine from above
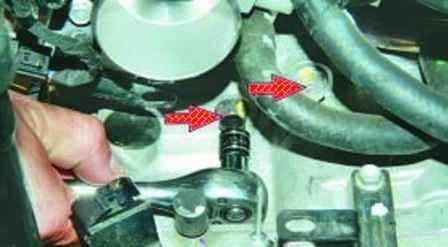
Unscrew the two bolts under the throttle assembly
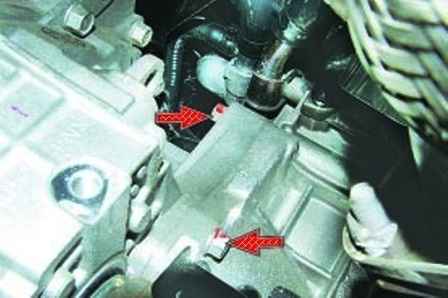
Unscrew the two bolts at the back
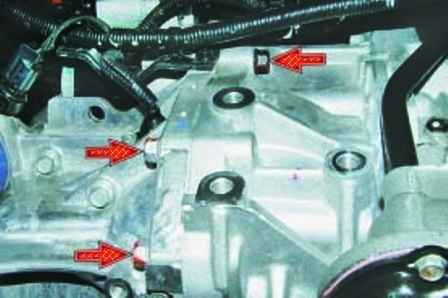
Unscrew the three bolts in front
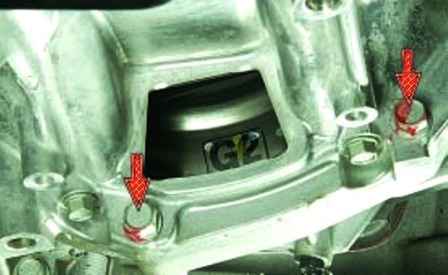
Unscrew the two bolts from the bottom
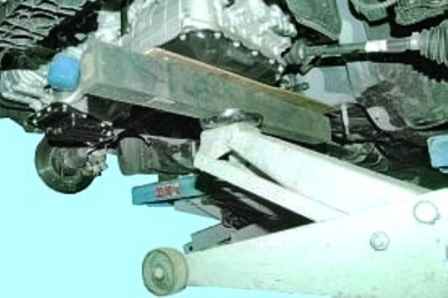
Move the gearbox back and carefully remove the gearbox from the car
Install the gearbox and all parts in the reverse order.


