

The gearbox is disassembled for subsequent inspection of parts and replacement of worn parts.
Materials used and precautions:
- To drive out the pins, use a drift punch and a hammer; a plastic mallet is permitted for seating/removing covers and cases.
- When removing covers and cases, apply a few light blows with the plastic mallet — avoid deforming the seating surfaces.
- To replace the oil seal and loosen the threaded plugs, use special tools.
- Apply sealant to the plug thread before screwing it in.
- Tighten the mounting bolts to the recommended torque; for multiple bolts, follow the diagonal sequence.
- Drain the oil from the gearbox into a suitable container; dispose of the used oil in accordance with environmental requirements.
- Place the removed parts on a clean surface; keep small items (balls, pins, snap rings) in a separate container.
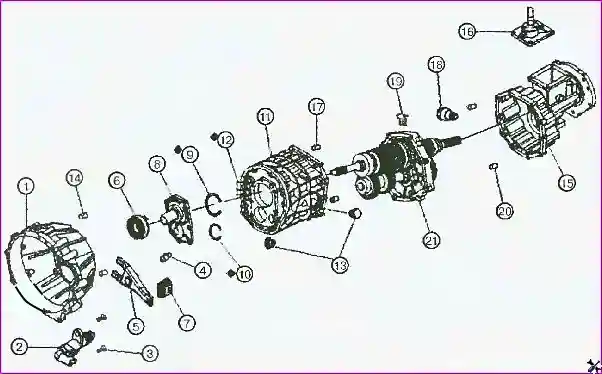
Gearbox disassembly
1. Oil drain
Loosen the hex plug and remove the washer, then drain the oil from the gearbox.
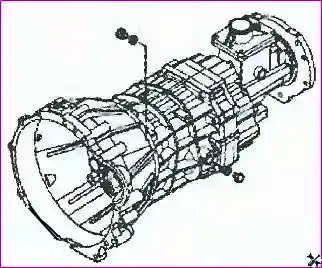
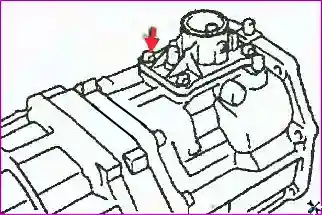
2. Removal of the shift lever cover
Loosen the four bolts securing the shift lever cover to the rear gearbox case, then remove the shift lever cover.
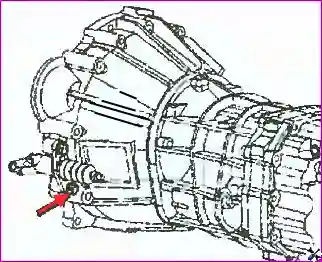
3. Removal of the clutch slave cylinder
Loosen the mounting bolts and remove the clutch slave cylinder.
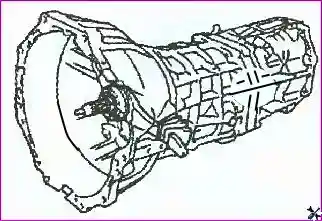
4. Removal of the boot, release fork and bearing
Remove the boot, the clutch release fork and the release bearing.
5. Removal of the reverse light switch
Remove the reverse light switch.

6. Removal of the release fork support
Remove the release fork support.

7–8. Removal of the clutch housing
Loosen the clutch housing mounting bolts.
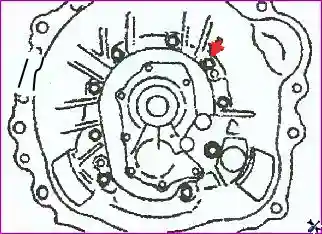
Apply a few light blows to the clutch housing with the plastic mallet and remove it.

9. Removal of the rear gearbox case
Loosen the bolt securing the rear case to the intermediate plate and remove the rear gearbox case.

10. Removal of the front cover
- Loosen the bolts securing the front cover to the gearbox case.
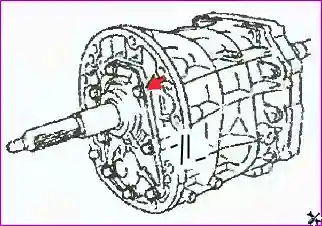
- Apply a few light blows to the front cover with the plastic mallet and remove the front gearbox cover.
11. Removal of the bearing snap rings
Remove the input shaft bearing snap ring and the front intermediate shaft bearing snap ring.
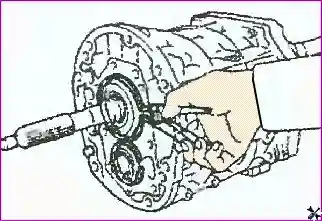
12. Removal of the gearbox case
Apply a few light blows to the gearbox case with the plastic mallet and remove it.

Note:
- The operations for removing the shift components of the variant with gearbox 038М are analogous to the operations for removing the shift components of the variant with gearbox 038M1.
- The general view of the input shaft of the variant with gearbox 038М is analogous to the general view of the input shaft of the variant with gearbox 038M1.
- The operations for disassembling and assembling the input shaft of the variant with gearbox 038М are analogous to the operations for disassembling and assembling the input shaft of the variant with gearbox 038M1.
- The general view of the output shaft of the variant with gearbox 038М is analogous to the general view of the output shaft of the variant with gearbox 038М1, taking into account certain design features.
- The operations for disassembling and assembling the output shaft of the variant with gearbox 038М are analogous to the operations for disassembling and assembling the output shaft of the variant with gearbox 038М1, taking into account certain design features.
- The general view of the intermediate shaft of the variant with gearbox 038М is analogous to the general view of the intermediate shaft of the variant with gearbox 038М1.
- The operations for disassembling and assembling the intermediate shaft of the variant with gearbox 038М are analogous to the operations for disassembling and assembling the intermediate shaft of the variant with gearbox 038M1.
- The general view of the front cover of the variant with gearbox 038М is analogous to the general view of the front cover of the variant with gearbox 038М1.
- The operations for disassembling and assembling the front cover of the variant with gearbox 038М are analogous to the operations for disassembling and assembling the front cover of the variant with gearbox 038М1.
Rear gearbox case
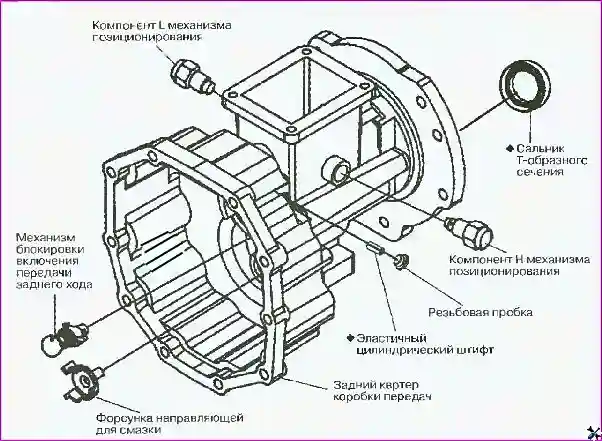
Oil seal replacement
1. Remove the oil seal with a special tool.

2. Press in a new oil seal with a special tool.
Check and replacement of the reverse gear lock mechanism
1. Remove the reverse gear lock mechanism.
- Loosen the threaded plug with a special tool.

- Drive out the elastic cylindrical pin with a drift punch and a hammer, as shown in the figure.

- Remove the reverse gear lock mechanism.

2. Check the reverse gear lock mechanism. To do this, turn and press it. The reverse gear lock mechanism must return to its initial position automatically. If necessary, replace the reverse gear lock mechanism.

3. Install the reverse gear lock mechanism.
- Place the reverse gear lock mechanism inside the rear gearbox case.
- Install the elastic cylindrical pin with a drift punch and a hammer, as shown in the figure.

- Apply sealant to the plug thread.

- Screw in and tighten the threaded plug with a special tool.
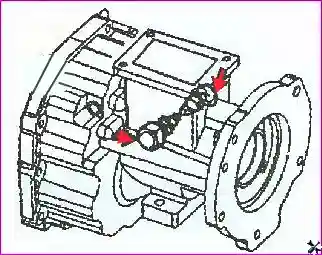
Check and replacement of the positioning mechanism
1. Remove the positioning mechanism.
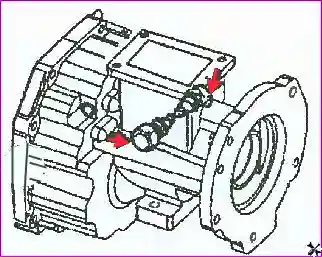
2. Check the positioning mechanism. To do this, press its stem. The stem of the positioning mechanism must return to its initial position automatically. If necessary, replace the positioning mechanism.
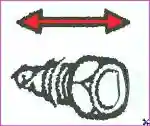
3. Screw in and tighten to the recommended torque the positioning mechanism.
Tightening torque: 25.9–48.1 N·m.
Intermediate plate
Note:
The general view of the intermediate plate of the variant with gearbox 038М is analogous to the general view of the intermediate plate of the variant with gearbox 038M1.
The operations for disassembling and assembling the intermediate plate of the variant with gearbox 038М are analogous to the operations for disassembling and assembling the intermediate plate of the variant with gearbox 038М1.


