We remove the fan in the event of a fault, as well as when removing the radiator of the engine cooling system.
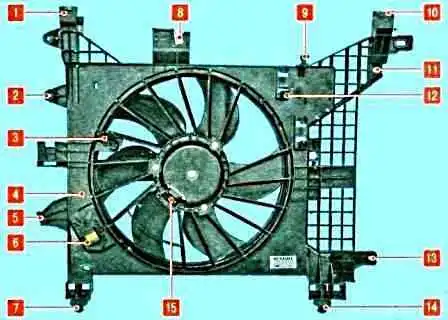
Electric fan of the engine cooling radiator
Electric fan of the engine cooling radiator: 1, 10 — upper mounting brackets; 2, 5, 11, 13 — brackets for mounting to the radiator; 3 — hose holder; 4 — opening for securing the wiring harness holder; 6 — connector of the additional resistor; 7, 14 — lower supports of the shroud; 8 — bracket of the power steering reservoir; 9 — right holder of the high-pressure line of the air conditioning system; 12 — radiator hose holder; 15 — electric motor connector

We place the vehicle on an inspection pit or a lift.

We disconnect the negative terminal of the battery.

We remove the air intake and the resonator of the engine air duct, to do this:
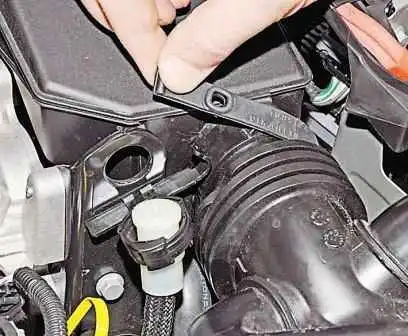
Rubber clip of the resonator mounting

We unfasten the rubber clip of the resonator mounting.
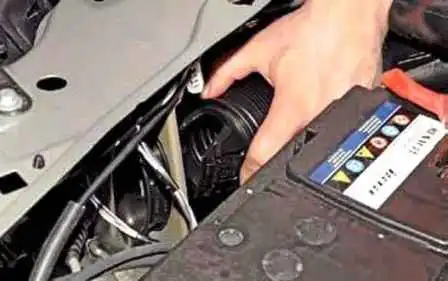
Air intake bellows in the plastic bush

We squeeze the air intake bellows and withdraw it from the plastic bush.
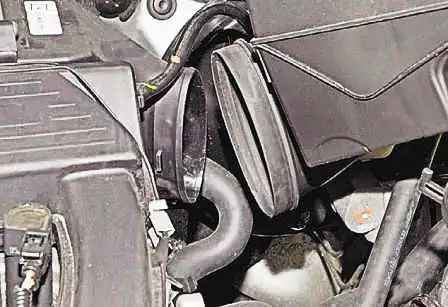
Resonator and air filter housing cover unions

We separate the unions of the resonator and the air filter housing cover.
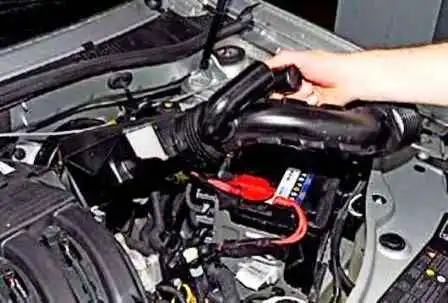
Air intake with resonator

We take the air intake with the resonator out of the engine compartment.

We remove the powertrain undertray (article — Removal of engine protection, wheel arch liners and mudflaps).

We remove the fuel rail guard, to do this:
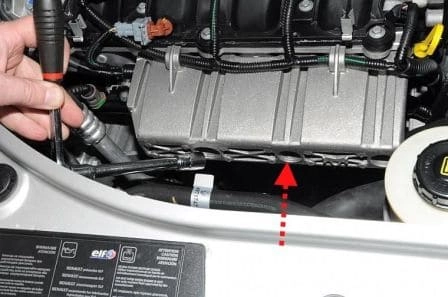
Fuel rail guard mounting

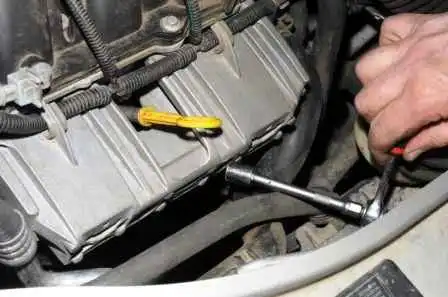
On the F4R engine, through the channels, using a 13 mm socket, we undo the two nuts of the studs securing the rail guard.
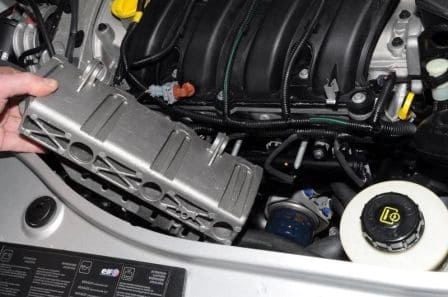
Withdrawing the fuel rail guard

We take it out of the engine compartment.
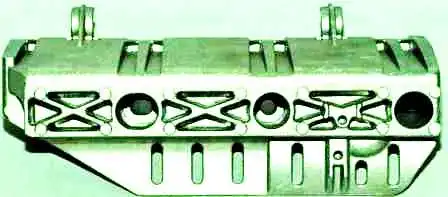
Fuel rail guard
Fuel rail guard

Fuel rail guard.

Rail guard on the K4M engine

In the same way, we take out the rail guard on the K4M engine.

After this:
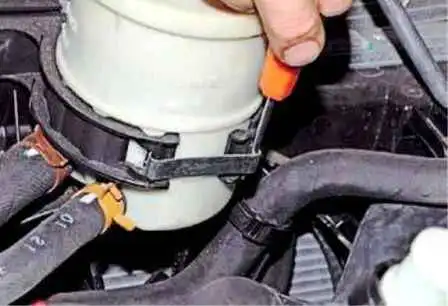
Prising up the clip of the clamp

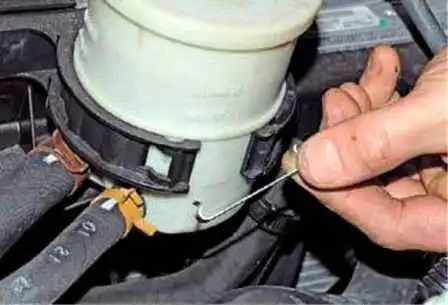
We prise it up with a screwdriver.

Removing the clip of the clamp securing the power steering reservoir

We remove the clip of the clamp securing the power steering reservoir.
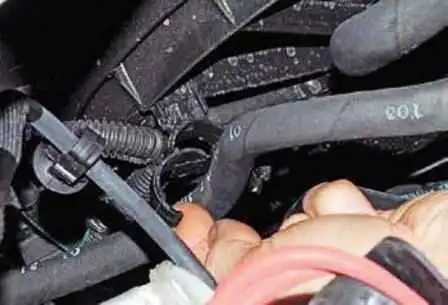
Withdrawing the power steering reservoir hose from the holder

We spread the holder on the fan shroud and withdraw the power steering reservoir hose from it.
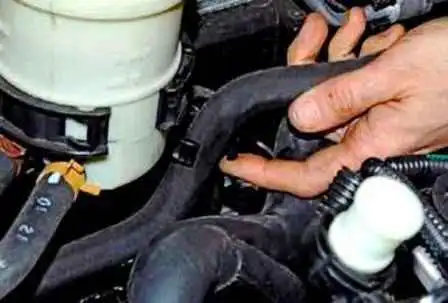
Withdrawing the power steering reservoir hose from the second holder

We also withdraw the power steering reservoir hose from the other holder on the fan shroud.
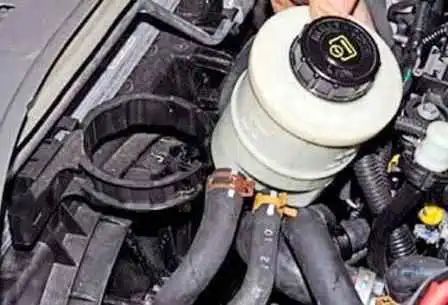
Bringing the reservoir out of the clamp on the fan shroud

We bring the reservoir out of the clamp on the fan shroud.
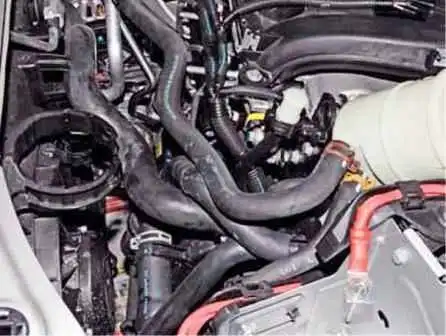
Location of the reservoir in the engine compartment

We place the reservoir in the engine compartment.
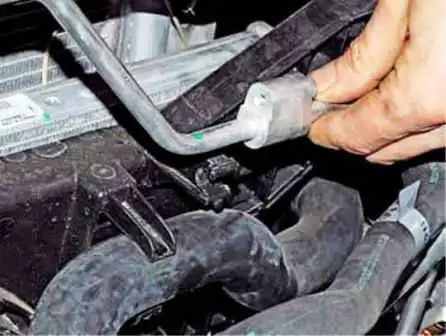
Withdrawing the air conditioning compressor line

We withdraw the air conditioning compressor line from the holders of the fan shroud.
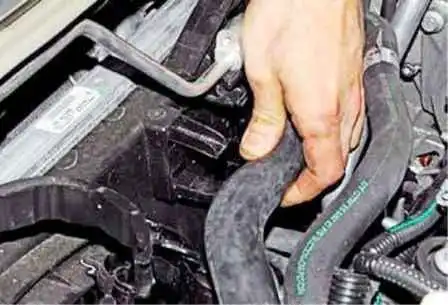
Withdrawing the radiator inlet hose

We withdraw the radiator inlet hose from the holder.
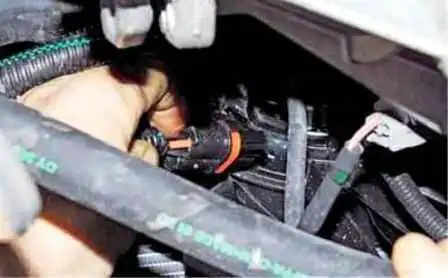
Disconnecting the fan electric motor wiring connector

We disconnect the wiring connector of the fan electric motor.
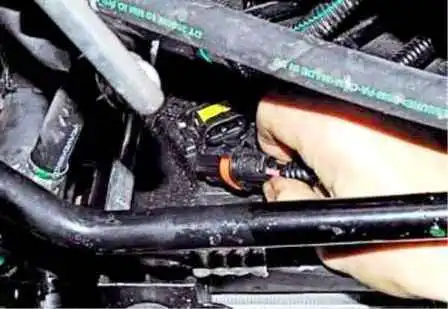
Disconnecting the wiring connector from the additional resistor socket

We disconnect the wiring connector from the additional resistor socket.

We tie the radiator with the condenser with wire to the upper crossmember of the radiator frame.
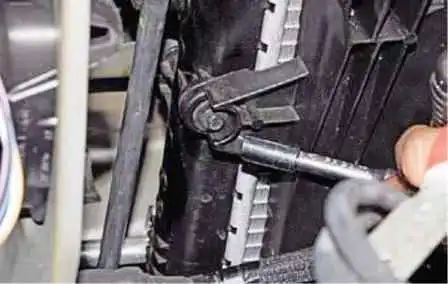
Securing the left mounting to the fan shroud

Using a 7 mm socket, we undo the two screws securing the left mounting to the fan shroud.
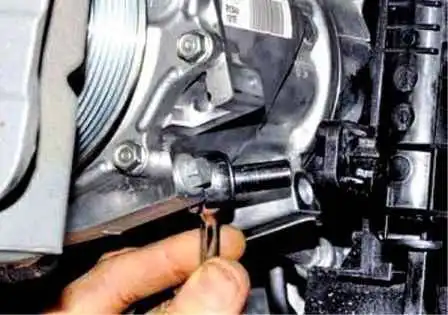
Screws of the right radiator tank

With the same key, we undo the two screws of the right radiator tank.
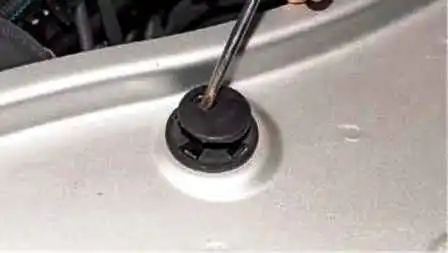
Clip of the upper support of the fan shroud

Using a screwdriver, we release the clip of the upper support of the fan shroud.
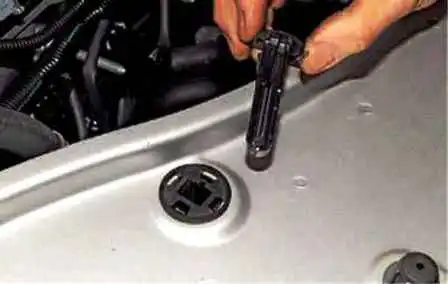
Withdrawing the support from its bush

We withdraw the support from its bush in the opening of the upper crossmember of the radiator frame. We also withdraw the second support of the fan shroud.
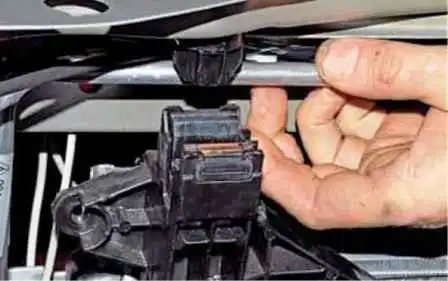
Passing the air conditioning compressor line through the bracket

We pass the air conditioning compressor line through the bracket of the upper mounting of the shroud.
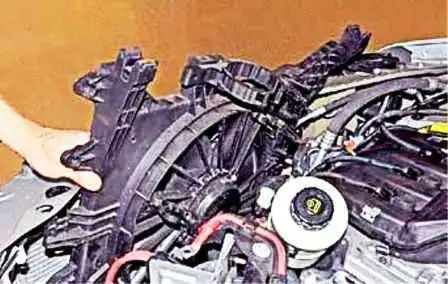
Withdrawing the fan with the shroud

We withdraw the fan with the shroud from the engine compartment.
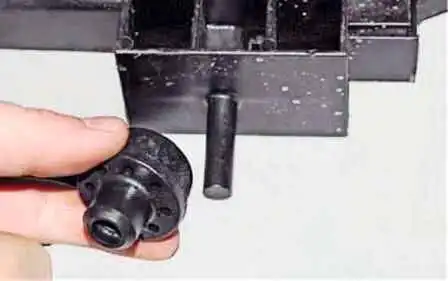
Removing the rubber cushions of the lower supports

We remove the rubber cushions of the lower supports from the pins of the fan shroud.
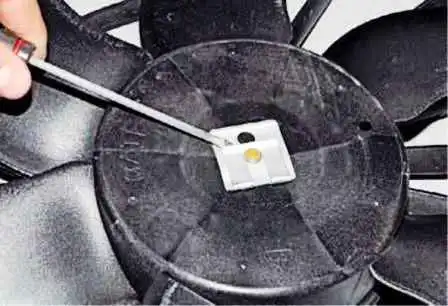
Prising up the locking clip of the impeller mounting

Using a screwdriver, we prise up the upper part of the locking clip of the impeller mounting and lift it above the end of the electric motor shaft.
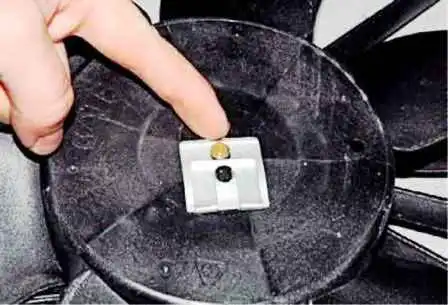
Sliding the clip relative to the shaft

Having slid the clip relative to the shaft along the slot on the lower part of the clip.
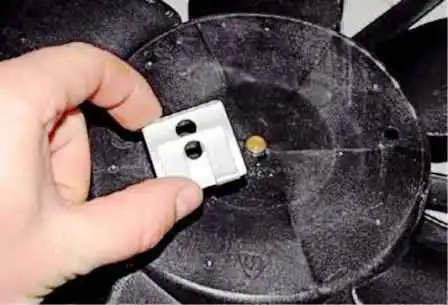
Removing the clip from the electric motor shaft

We remove the clip from the electric motor shaft.
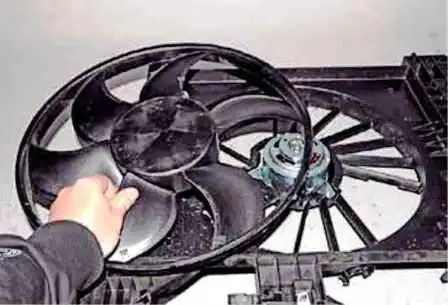
Removing the fan impeller from the shaft

We remove the fan impeller from the electric motor shaft.
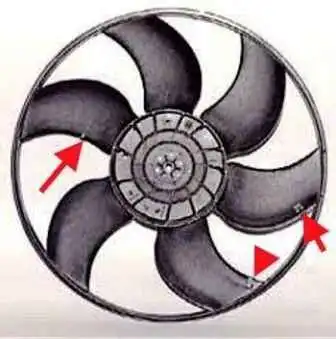
Balance weights on the impeller blades

Balance weights may be installed on the impeller blades.
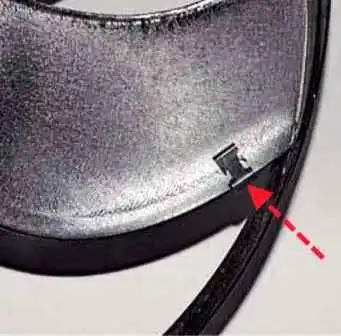
Balance weights in the form of clips

Balance weights in the form of clips.
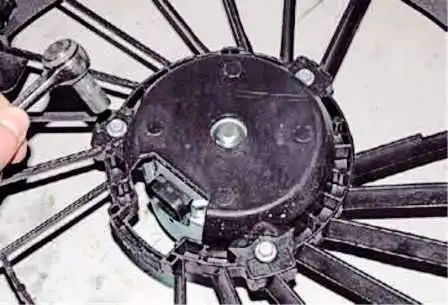
Securing the electric motor to the fan shroud

Using an 8 mm socket, we undo the three bolts securing the electric motor to the fan shroud.
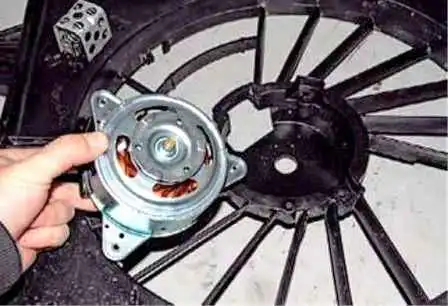
Removing the electric motor

We remove the electric motor.

If the fan shroud or the clamp securing the power steering reservoir needs to be replaced:
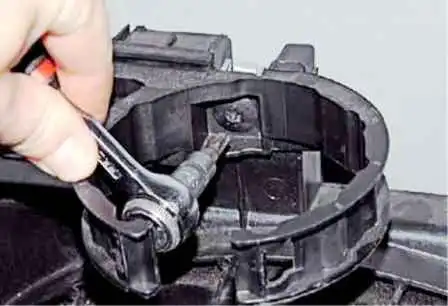
Screw securing the power steering reservoir clamp

Using a Torx T30 key, we undo the screw.
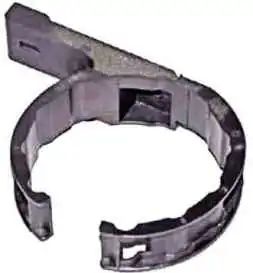
Removing the reservoir securing clamp

We remove the reservoir securing clamp.

If the bushes of the upper support of the fan shroud need to be replaced:
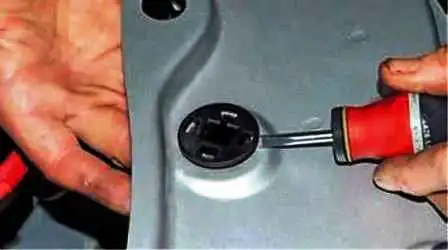
Pressing on the clips of the bush

Using a flat screwdriver, we press successively on the four clips and, prising up the bush, push it out of the opening in the crossmember of the radiator frame.
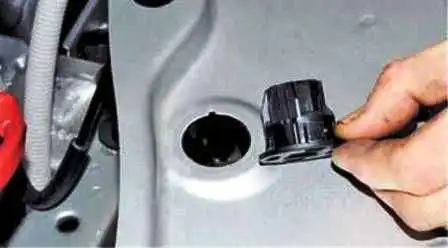
Aligning the bush lug with the frame slot

When installing the bush, we align the lug on the bush body with the slot in the frame opening.