


Removing the instrument cluster when removing the instrument panel, the steering column and when replacing it.
The instrument cluster is not repairable; if faulty, it is replaced as a complete unit.
Tools required: Torx T20 key, plastic trim removal tool and a set of screwdrivers.
Prepare the vehicle for the task.
Disconnect the battery negative terminal.
Remove the steering column shrouds (article – Design and replacement of the Renault Duster steering column switches).
Remove the instrument panel console trim.
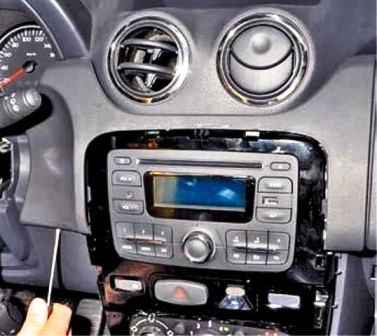
Prise up the right-hand decorative trim of the instrument panel with a screwdriver.
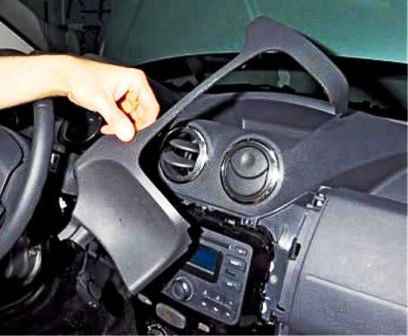
Remove the trim, overcoming the resistance of the clips.
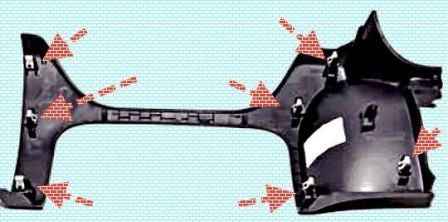
Location of the clips on the right-hand decorative trim of the instrument panel.
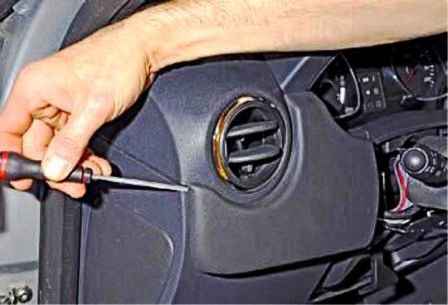
Prise up the left-hand decorative trim of the instrument panel with a screwdriver.
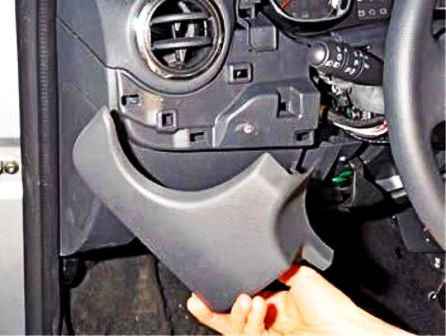
Remove the decorative trim, overcoming the resistance of the clips.
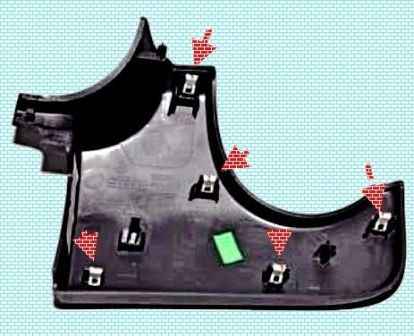
Location of the clips on the left-hand decorative trim of the instrument panel.
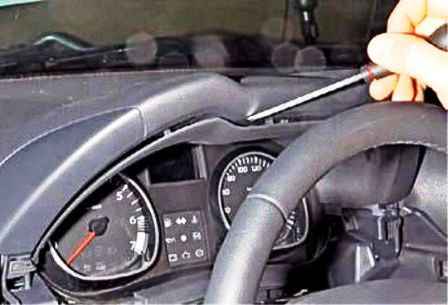
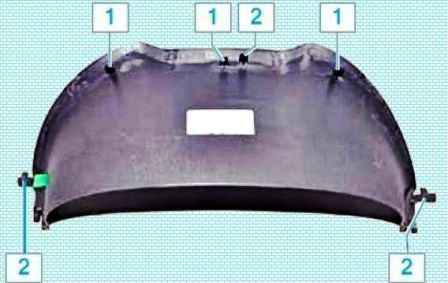
With a screwdriver, press in the lower cowl trim, disengage three clips and the guide pin from the cowl.
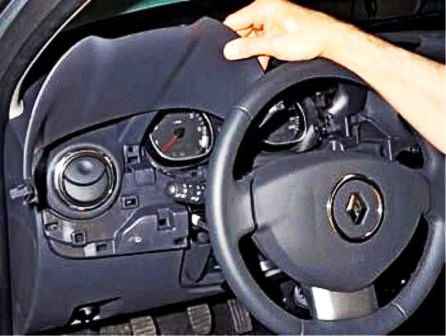
Remove the trim, withdrawing two guide pins of the trim from the holes in the left and right decorative trims.
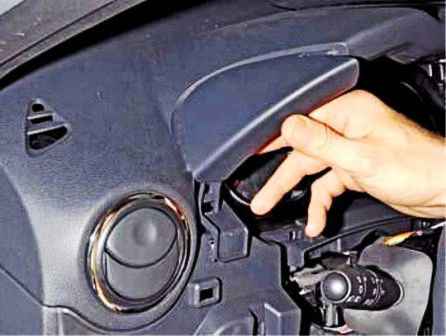
Pulling the left-hand decorative cowl trim by hand.
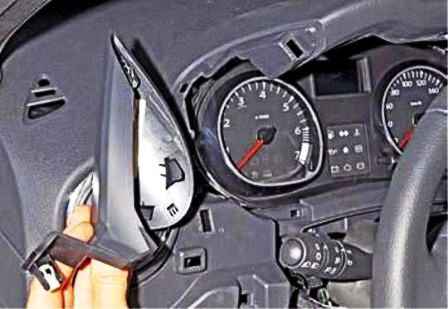
Remove the decorative trim, overcoming the resistance of the clips.
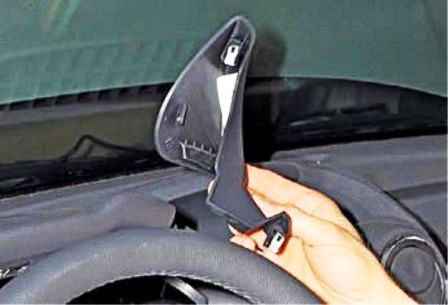
Also remove the right-hand decorative trim of the instrument panel cowl.
Using a Torx T20 key, undo the four screws securing the instrument cluster.
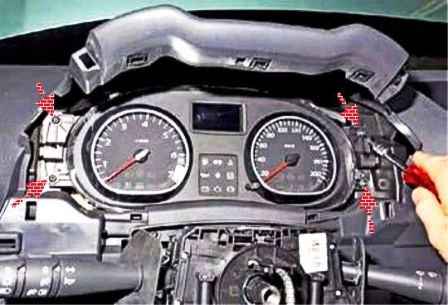
Withdraw the cluster from the instrument panel.
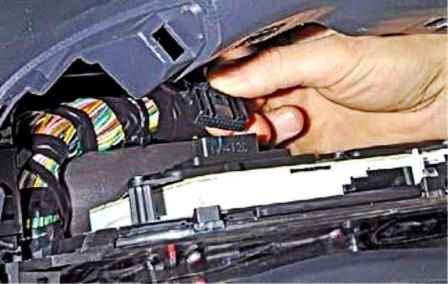
And, pressing the wiring connector clip, disconnect the black connector from the instrument cluster.
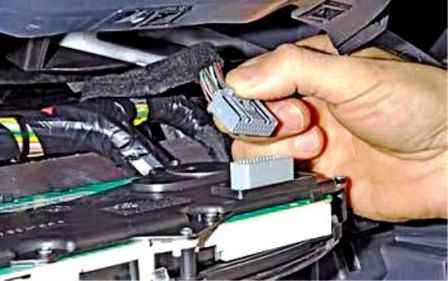
Also disconnect the grey wiring connector from the instrument cluster.
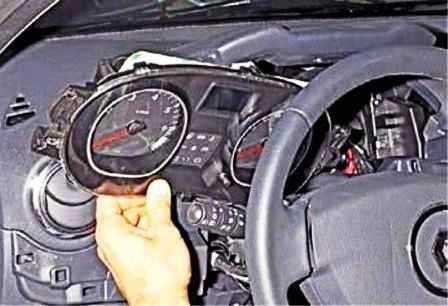
Remove the instrument cluster.
The LED indicators fitted in the instrument cluster are soldered to the circuit board and cannot be replaced.
If the indicators fail, replace the instrument cluster.
Refit the instrument cluster in reverse order.


