
We remove the trim to adjust the parking brake, to remove the electric drive regulator of the exterior rear-view mirrors, the gearbox control mechanism and the parking brake lever.
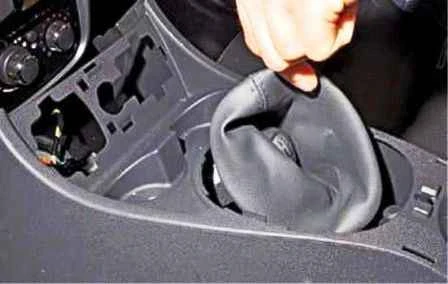
Removing the floor tunnel trim of a Renault Duster
Floor tunnel trim of a Renault Duster

We disengage the gear lever boot frame from the lower trim panel of the floor tunnel trim.
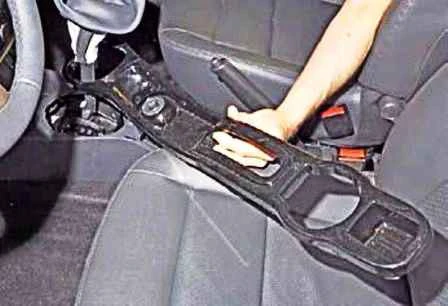
Pulling the lower trim panel away from the floor tunnel trim

Having overcome the resistance of the lower trim panel fasteners, we pull it away from the floor tunnel trim.
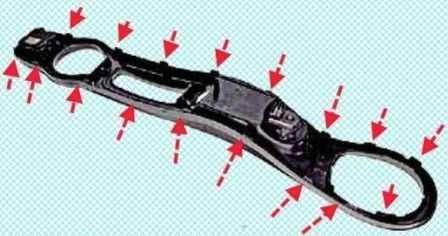
Location of the fasteners on the lower trim panel
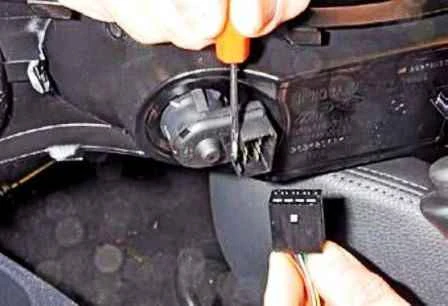
Prising off the fastener on the mirror regulator
Prising off the fastener on the electric drive regulator of the exterior mirrors

With a screwdriver we prise off the fastener on the electric drive regulator of the exterior mirrors, disconnect the wiring harness connector from it and remove the lower trim panel of the floor tunnel trim.
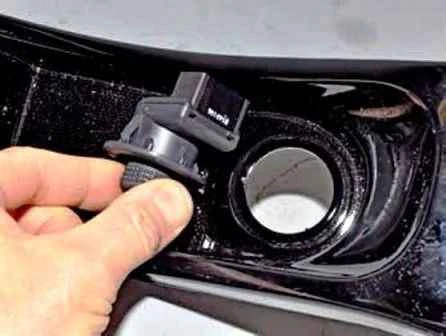
Removing the mirror regulator from the opening
Removing the electric drive regulator of the exterior mirrors from the opening in the lower trim panel

If necessary, we remove the electric drive regulator of the exterior mirrors from the opening in the lower trim panel.
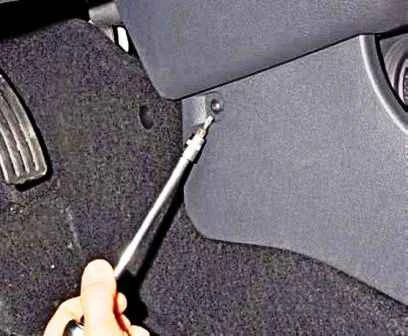
Unscrewing the side trim securing screw
Unscrewing the side securing screw of the floor tunnel trim

With a Torx T-20 key we unscrew one side securing screw of the floor tunnel trim on each side.
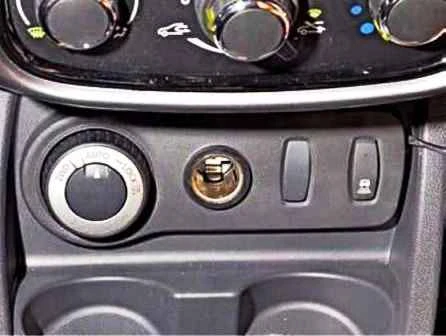
Removing the switches on the upper trim panel
Removing the switches on the upper trim panel of the floor tunnel trim

We remove the switches on the upper trim panel of the floor tunnel trim.
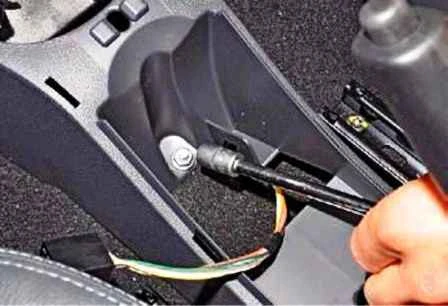
Unscrewing the nut of the stud securing the middle part of the trim
Unscrewing the nut of the stud securing the middle part of the floor tunnel trim to the body floor

With a 10 mm socket we unscrew the nut of the stud securing the middle part of the floor tunnel trim to the body floor.
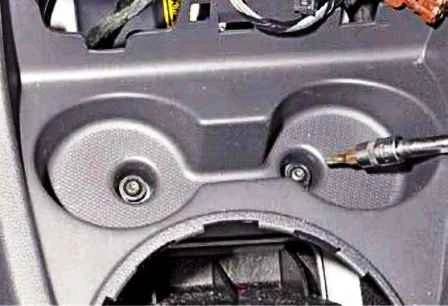
Unscrewing the screws of the front part of the trim
Unscrewing two screws securing the front part of the floor tunnel trim in the front cup holder recess

With a Torx T-20 key we unscrew two screws securing the front part of the floor tunnel trim in the front cup holder recess.
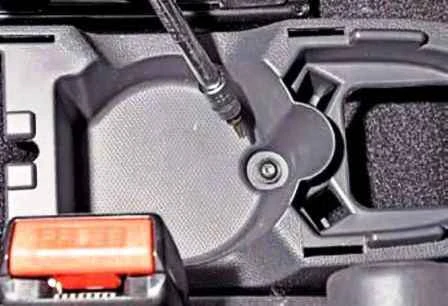
Unscrewing the screw of the rear part of the trim
Unscrewing the screw securing the rear part of the floor tunnel trim in the rear cup holder recess

With a Torx T-20 key we unscrew the screw securing the rear part of the floor tunnel trim in the rear cup holder recess.

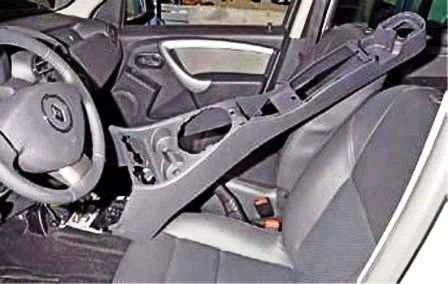
Removing the floor tunnel trim

Having pushed the gear lever boot into the opening of the trim, we remove it.
Installing the floor tunnel trim

We install the trim in the reverse order.