We replace the shock absorber and spring of the rear suspension in case of deformation or breakage
We prepare the car and install it on a lift or an inspection ditch
If work is being done on an inspection ditch, you need to block the front wheels, raise the rear of the car and place it on reliable stops
Removing and installing rear shock absorber
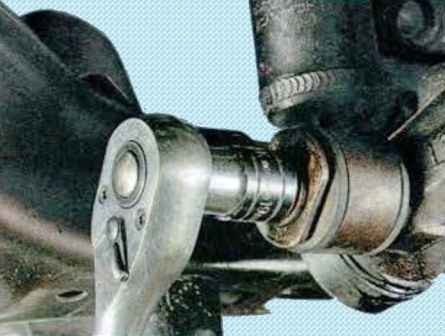
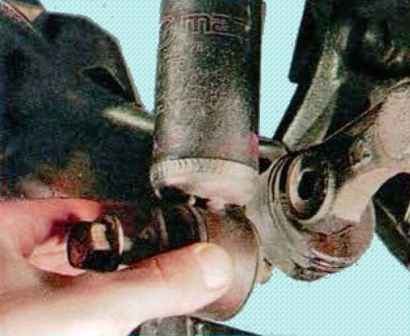
We unscrew the lower mounting bolt and remove the shock absorber from the rear suspension knuckle
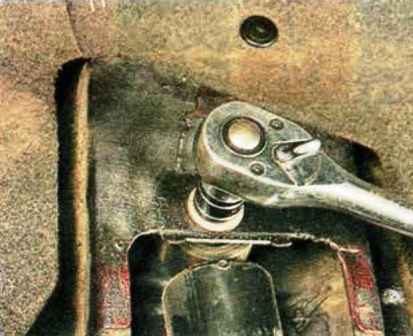
We unscrew the bolt of the upper shock absorber to the body bracket and remove the shock absorber from the car
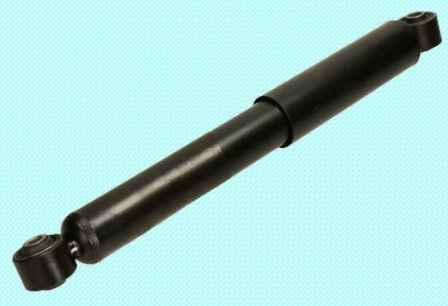
Install the shock absorber in reverse order
We also replace the shock absorber on the other side
Shock absorbers must be replaced on the left and right side, regardless of which shock absorber has failed
Replacing the rear suspension spring
You need to replace the rear suspension springs in pairs, regardless of which spring is out of order
Signs of spring settlement:
- - deteriorating ride, frequent breakdowns of the suspension;
- - visible skew of the rear of the car;
- - strongly pronounced traces of the collision of the coils of the spring
Tools required: spring compressor, wrench 14, sockets 17, 19, hex 5
Putting the car on a lift
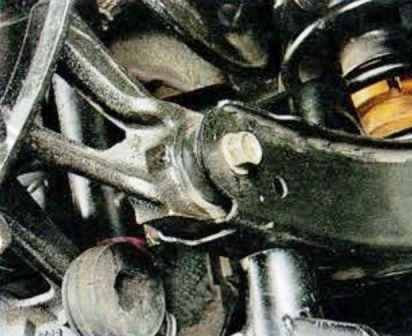
We remove the wheel from the side of the work being performed, place it under the lower support arm and release the car, slightly loading the suspension
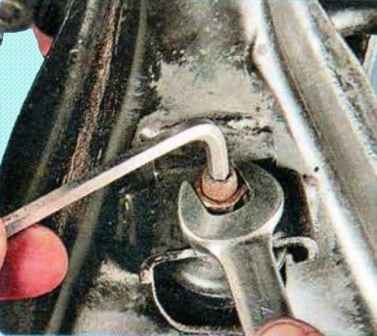
Unscrew the nut securing the stabilizer bar to the bracket of the rear lower arm of the rear suspension and move the bar away from the arm

We unscrew the bolt securing the shock absorber to the rear suspension knuckle, remove the bolt and move the shock absorber to the side so that it does not interfere with work
Installing the spring compressor
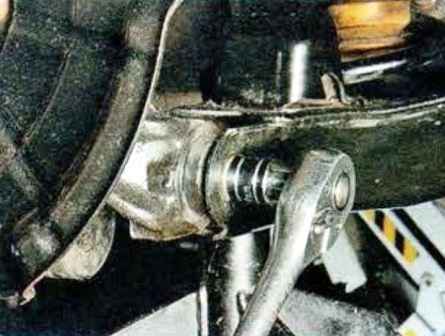
We unload the car's suspension by removing the supports from under the lower arm (if work is done on a lift), or we raise the car (when using a jack) and remove the spring
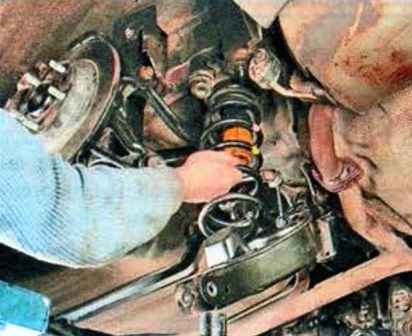
In the absence of a spring compressor, we load the suspension by placing a support under the rear lower arm
We unscrew and remove the bolt securing the outer end of the rear lower arm to the knuckle
Carefully unload the rear suspension of the car and remove the spring by pressing down the lower suspension arm
Remove and install the springs with extreme care so as not to get injured as a result of the "shooting" of the spring from the rear suspension
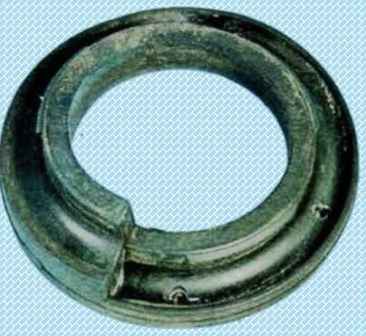
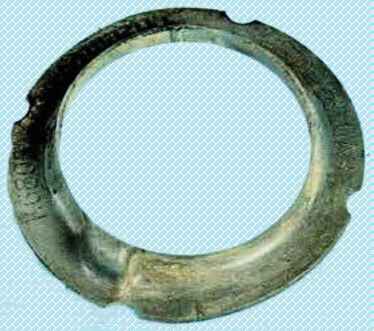
Remove the top and bottom spacers
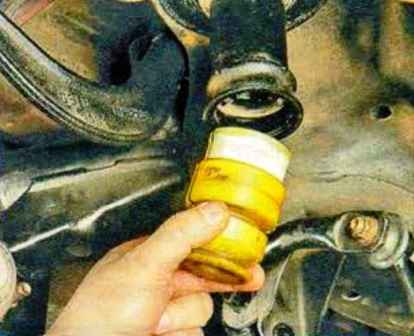
Remove the compression buffer
Install the spring with gaskets on the car in reverse order
We replace the second spring in the same way
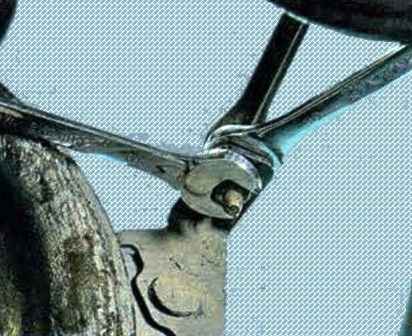
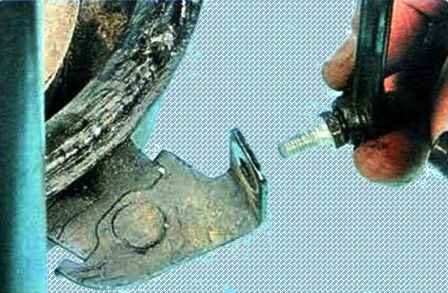
When removing the spring on the right side, you must additionally unscrew the nut securing the headlight electrocorrector sensor strut to the bracket of the rear lower arm and move the strut to the side


