Checking the brake system should be carried out both during maintenance and in case of unsatisfactory operation of the brakes
Checking the position of the brake pedal
You will need a ruler to check the position of the pedal.
Start the engine and vigorously press the brake pedal several times
Pull the brake pedal with your hand up to the stop
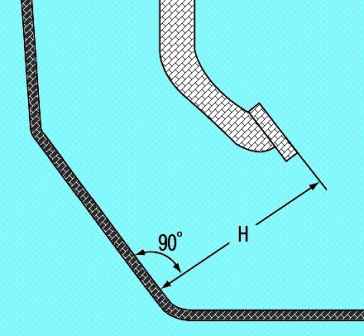
Release the pedal and measure the distance "H" from the pedal pad to the floor. The distance should be 174 mm
If the pedal travel does not correspond to this value, then adjust the position of the brake pedal
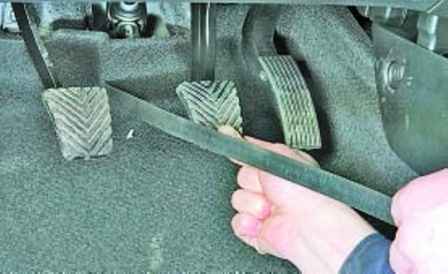
Check the free play of the brake pedal, to do this, move the pedal by hand until the pedal stops moving without resistance.
We determine the value of the free play on the ruler, which should be 3-8 mm.
If the value does not match, then this may be due to the following reasons:
- - sticking pistons in the main brake cylinder;
- - plunger jamming in the brake booster
If the pedal stops when pressed almost at the very floor, then this indicates the presence of air in the hydraulic brake drive or severe wear on the pads, discs or drums.
If there is air in the system, the pedal stops farther from the floor with a few repeated presses.
If the pedal is pressed all the way down and held in this position gradually moves to the floor, fluid has leaked from the hydraulic drive or the brake master cylinder is faulty. These malfunctions are very dangerous, so find the cause of the malfunction immediately and eliminate it!
Checking the tightness of the hydraulic brakes
The tightness of the components and parts of the hydraulic drive must be checked with an assistant, who must create pressure with the brake pedal and keep the pedal depressed during inspection.
If leaks are found in the connections, tighten the clamps, plugs, nuts. Replace hoses and pipelines with mechanical damage.
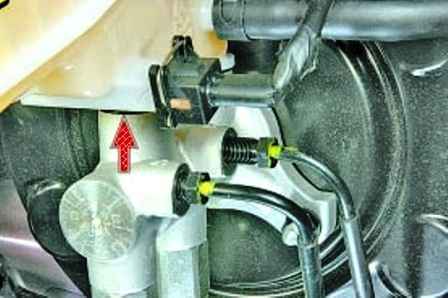
Inspecting the master brake cylinder with the reservoir at the junction of the reservoir
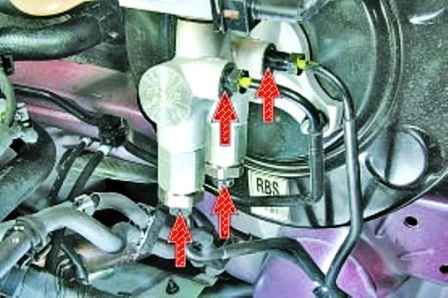
Inspecting the connection pipes with the master cylinder and with the ABS module
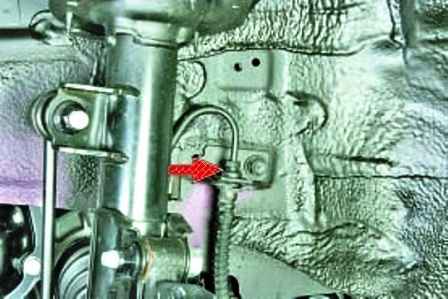
Checking the joints of the brake pipes with the hoses of the front brake mechanisms
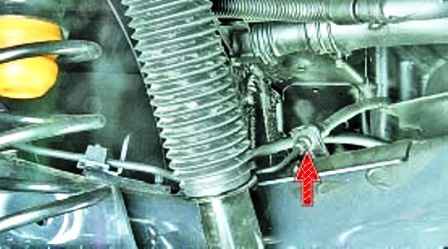
Checking the joints of the brake pipes with the hoses of the front brake mechanisms
If necessary, we tighten the connections or replace defective parts
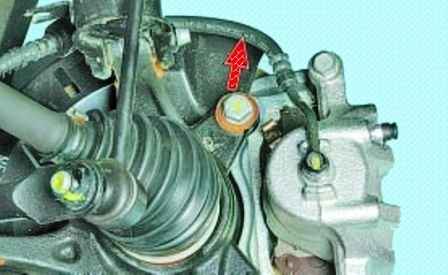
Inspecting the front brake hoses
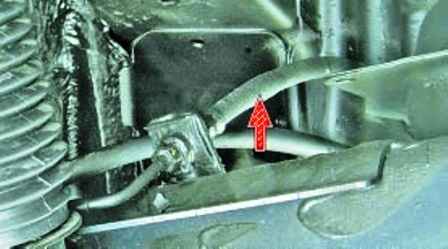
Inspecting the rear brake hoses. They should not have tears, cracks and scuffs, swollen hoses
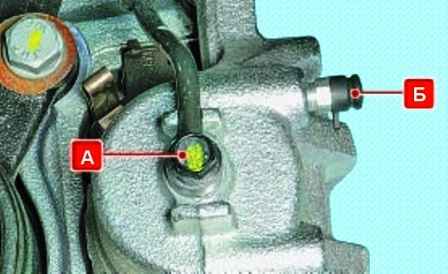
We examine the connections "A" of the hose tips with the working cylinders and the valves "B" for releasing air from the brake mechanisms of the front wheels
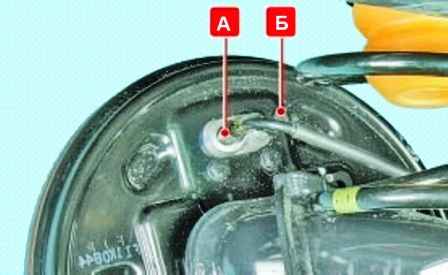
We look at the connections "A" of the piping tips with the working cylinders and the valves "B" for releasing air from the brake mechanisms of the rear wheels
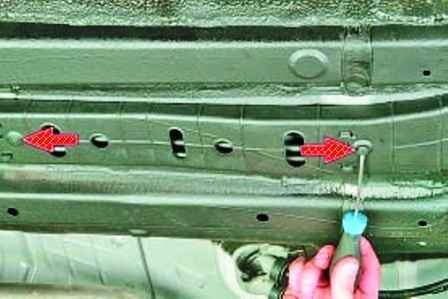
Pry off with a screwdriver and take out the caps for fastening the casing of the brake pipes
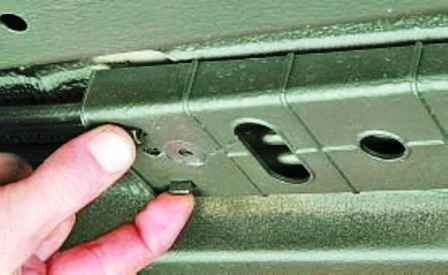
We press the latches of the protective cover
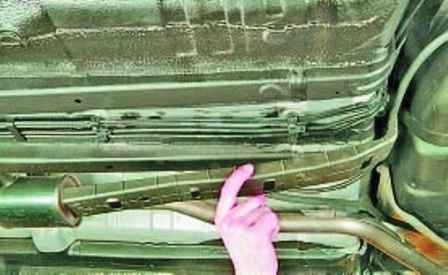
And remove the cover
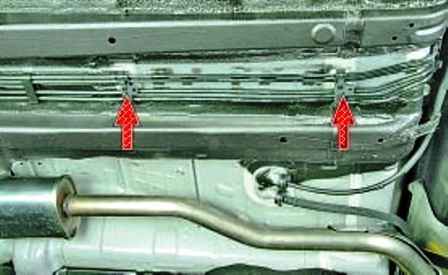
Checking the fastening of the tubes in the holders on the bottom of the body
We also check the remaining places where the brake pipes are attached
Checking the vacuum brake booster
If the brake pedal has become elastic, test the force on the pedal during braking has increased compared to normal, you need to check the operation of the vacuum booster
With the engine off, press the brake pedal five or six times.
Holding the pedal down, we start the engine. The brake pedal should then move forward. If it didn't:
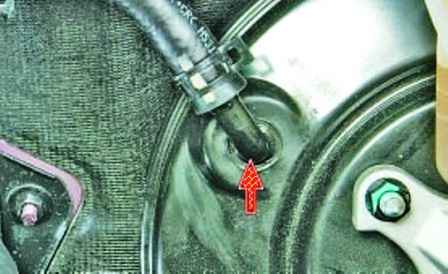
- check the tightness of the vacuum hose on the fitting of the vacuum brake booster
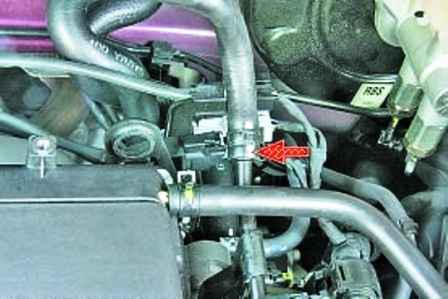
- check the tightness of the vacuum hose on the intermediate tube
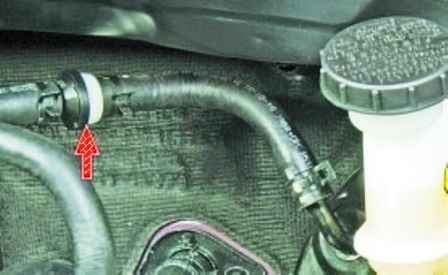
To check the check valve of the vacuum booster you need:
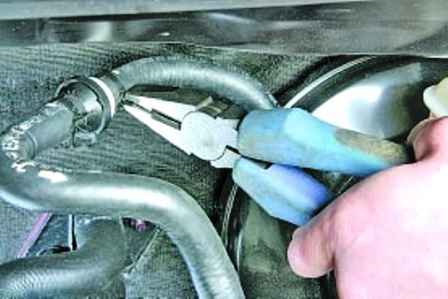
- compress the bent ends of the vacuum hose clamp from the side of the vacuum booster to the check valve fitting and slide the clamp along the hose
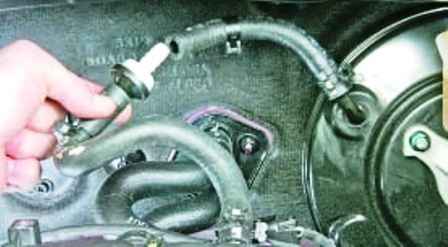
- remove the check valve fitting from the vacuum hose
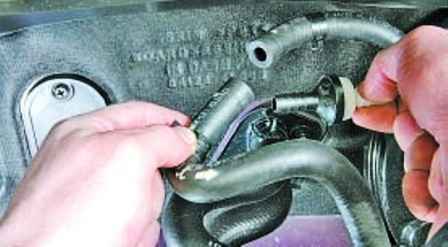
- also remove the check valve fitting from the vacuum booster hose from the side of the intermediate tube
Firmly insert the bulb into the hose from the side of the vacuum brake booster and squeeze we have a rubber bulb. Air must flow freely through the check valve.
Release the compressed pear. If the pear is not straightened, the check valve is working.
If the check valve allows air to flow in both directions, the vacuum hose needs to be replaced
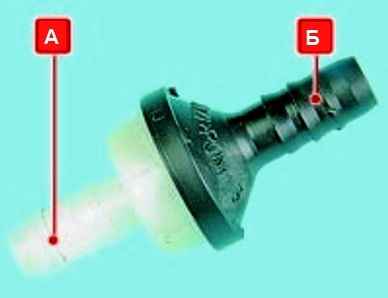
When installing the check valve, you need to pay attention to the fact that the white fitting "A" is installed in the vacuum hose from the side of the vacuum booster, and the black fitting "B" is installed on the side of the intermediate tube.
Check pads, discs and drums
In the front brake mechanisms, pad wear indicators are installed on the pads.
They are metal plates that are attached to the pads.
If the pad linings are erased before this signaling device, then a characteristic creaking sound will be heard at the moment of braking.
This is a metal plate in contact with the disk and this creak is heard.
After the appearance of such a creak, you need to replace the brake pads as soon as possible.
To fully check the wear of the brake pads and discs, we put the car on a lift or brake it and install the shoes under the rear wheels.
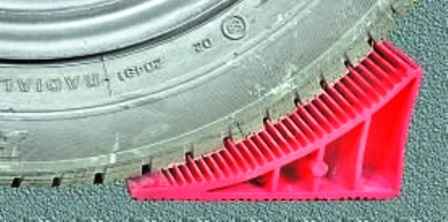
Loosen the wheel bolts
Raise and install supports under the front of the car supports
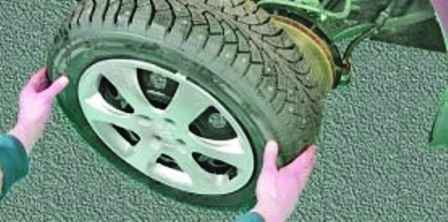
Finally unscrew the fastening nuts and remove the wheels
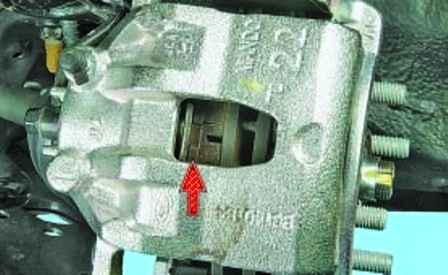
Check through the hole in the caliper the condition of the brake pads of the front wheels
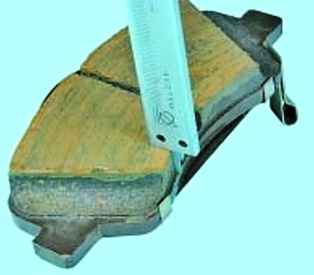
Only the thickness of the friction linings needs to be measured (shown on the removed block)
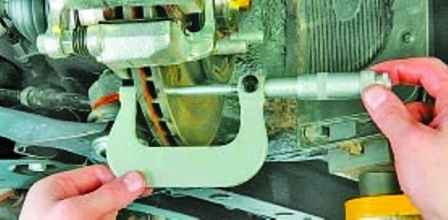
Measure the thickness of the brake disc
Control dimensions:
- - nominal thickness of the brake disc - 22 mm;
- - the minimum thickness of the brake disc is 20 mm;
- - maximum thickness fluctuation (measurement at eight points) - 0.02 mm;
- - the maximum runout of the disk when checking on the car - 0.04 mm;
- - the minimum thickness of the brake pad friction lining is 2 mm.
Check the mobility of the pistons and brake guide pins with a screwdriver inserted between the disc and the brake pad
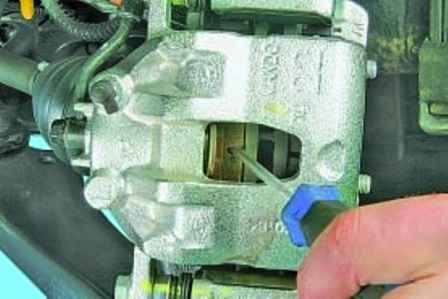
If the pads cannot be moved, then the piston in the brake cylinder or the caliper guide pins are stuck
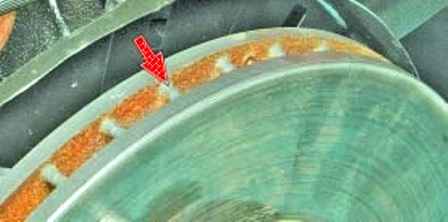
Inspecting the jumpers of the air channels for cooling the disk
If cracks are found in the jumpers, the disk must be replaced
Checking the condition of the rear wheel brakes
If the car is equipped with rear disc brakes, then we check the same as for the front brakes
We install wheel chocks under the front wheels and turn on the first gear or on the machine in Position "P"
Raise and place the rear of the car on the stops.
Finally unscrew the mounting bolts and remove the wheels
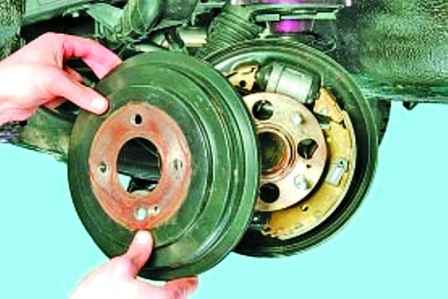
Remove the brake drum
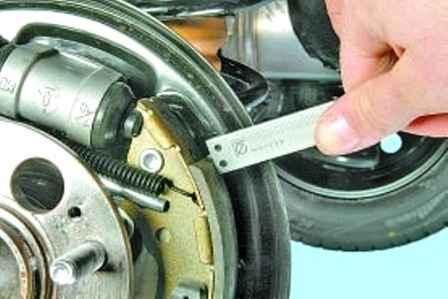
Measuring the thickness of the friction linings of the rear wheel drum brake
If the thickness of at least one pad is less than acceptable, we replace the brake pads
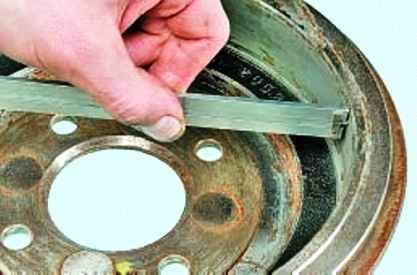
We measure the diameter of the inner cavity of the brake drum with a caliper
If the diameter is larger than allowed, replace the brake drum
Rear wheel brake control dimensions:
- - nominal diameter of the working surface of the brake drum - 204 mm;
- - maximum diameter of the working surface of the brake drum - 205.2 mm;
Rear wheel disc brakes:
- - thickness of the brake disc - 10 mm;
- - the minimum thickness of the brake disc is 8.4 mm;
- - maximum disc thickness variation measured at eight points -.01 mm;
- - maximum runout of the brake disc - 0.05 mm;
- - brake pad lining thickness - 10 mm;
- - the minimum thickness of the friction lining is 2 mm;
- - the maximum diameter of the brake disc of the parking brake system when worn 169 mm.
Checking the parking brake
The parking brake should hold the vehicle on a 25% grade when the parking brake lever is moved all the way up (all the way).
To check if the parking brake is adjusted correctly, find a flyover or loading ramp near the parking lot of your car with a height of H = 1.25 m and an entrance length of L = 5 m.
This ratio corresponds to a slope of 25%.
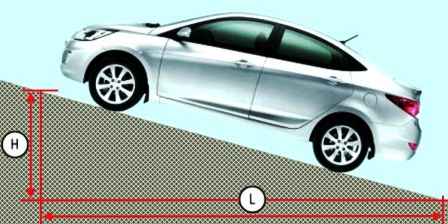
In the absence of such a ramp for a simplified check of the parking brake, place the car on a level area.
Place the shift lever in neutral, fully raise the parking brake lever.
Get out of the car and try to move it. If this succeeds, adjust the parking brake system.


