We remove the hood for replacement or for repair, and also remove the hood when removing the engine and power plant components
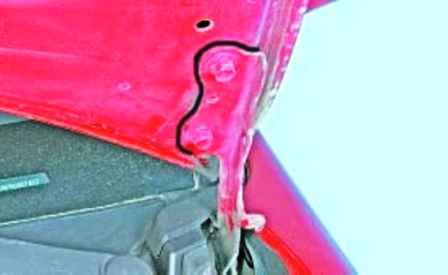
If the same hood will be installed as it was, we circle the location of the hinge brackets relative to the hood with a marker
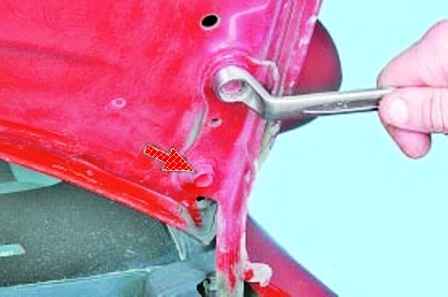
We unscrew two hood fastening bolts on both sides and remove the hood
Installing the old hood, before the final tightening of the mounting bolts, we orient it according to the previously applied marks.
If we install a new hood, then we adjust the position of the hood so that the gap between the hood and the wings is the same on both sides, and the gap between the upper cross member of the radiator frame and the edge of the hood is uniform throughout its entire length.
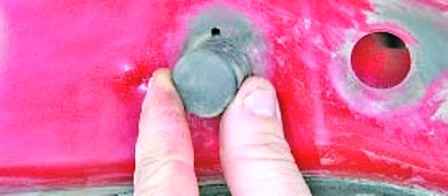
The height of the hood is adjusted using the adjusting buffers.
The height of the adjustment buffer can be adjusted by screwing in or out.
The adjustment buffer must be set so that the surface of the hood matches the surface of the fenders.
Removing and adjusting the hood lock
Opening the hood
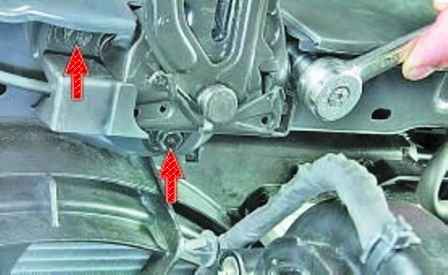
We unscrew the three bolts securing the lock to the radiator frame
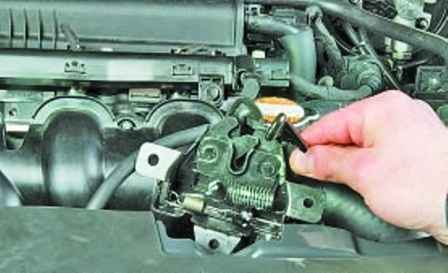
Raise the lock and take it away from the radiator frame
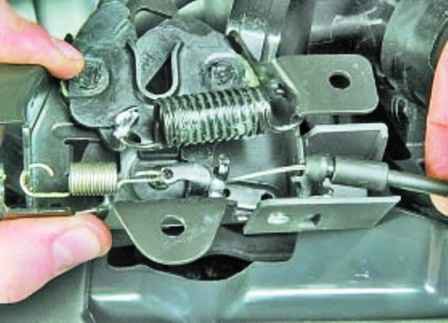
We remove the tip of the sheath of the hood lock drive cable from the holder on the lock body
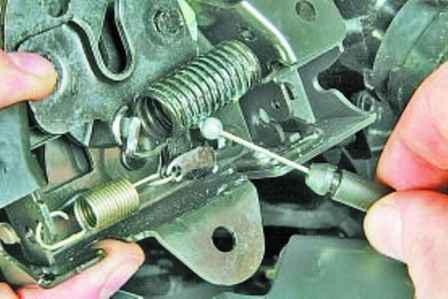
Remove the hood lock
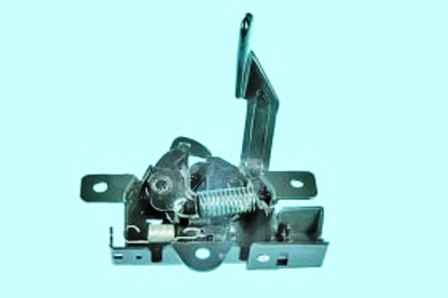
Install the lock in reverse order. Before installing the lock, lubricate its locking mechanism with lithol
If, after installing the lock, it does not lock clearly or is difficult to unlock, adjust its position
We loosen the bolts of the lock and, moving it vertically within the holes of the case, we achieve a clear operation of the lock.


