We remove the headlights and lights of the car for replacement or repair
Replacing headlight
To complete the task, you will need a key for 10 and screwdrivers
Disconnect the negative battery terminal
Remove the front bumper
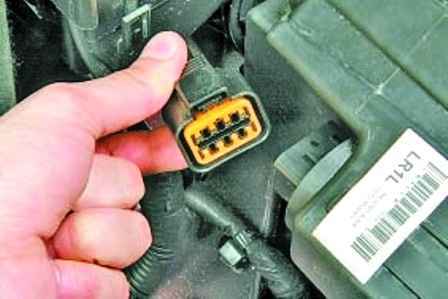
We press the latch and disconnect the wire block from the headlight connector
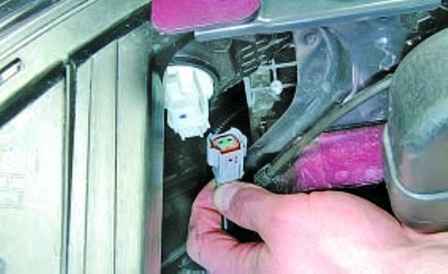
Disconnect the wiring harness from the front turn signal lamp socket
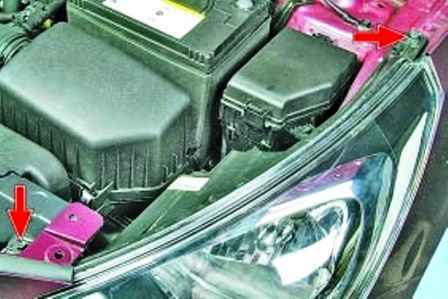
We unscrew the two bolts of the upper headlight mount
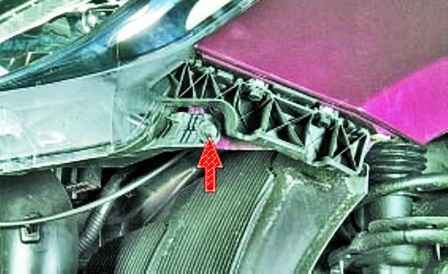
We unscrew one bolt of the lower fastening of the headlight
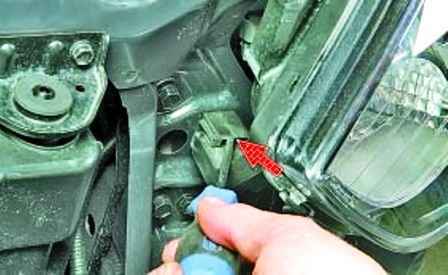
We press the latch of the lower mounting of the headlight and disengage it from the bracket
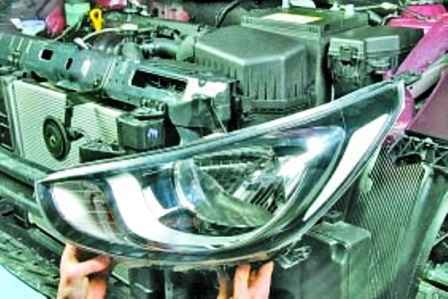
Remove the headlight from the car
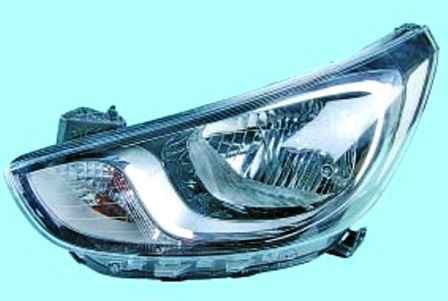
Install the headlight in reverse order
Replacing the rear light
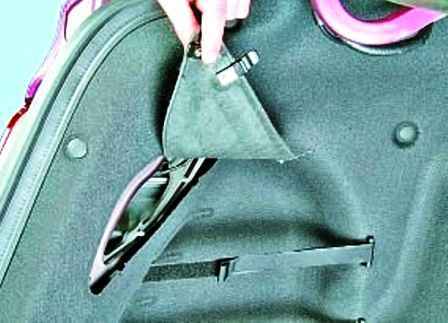
We unfasten the latches and open the cover of the technological hole in the side lining of the trunk
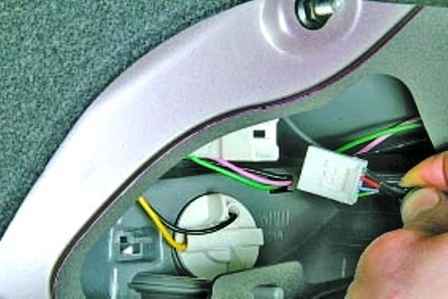
We press the latch and disconnect the wire block from the rear light connector
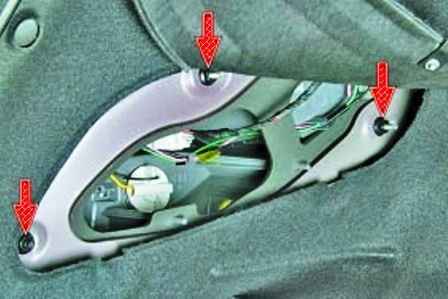
We unscrew the three nuts securing the rear light to the body
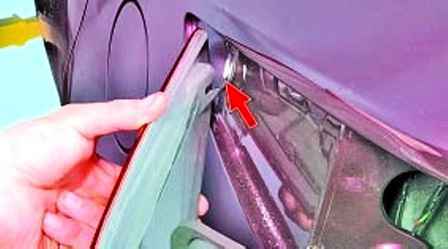
We disengage from the retainer of the rear light bracket
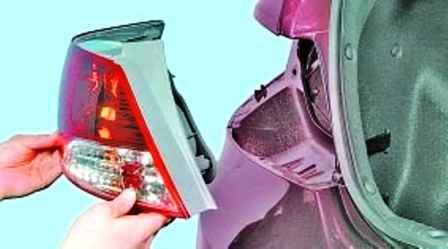
Remove the headlight from the car
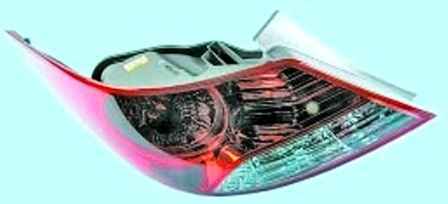
Install the lantern in reverse order
Replacing an additional brake light
Disconnect the negative cable from the battery
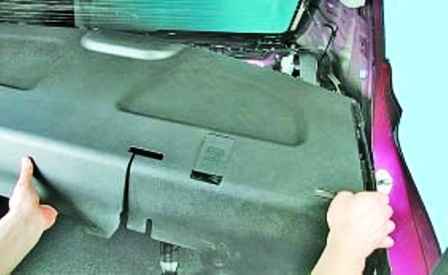
Remove the lining of the rear shelf
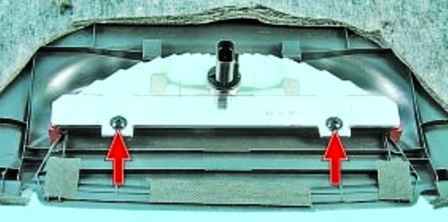
We unscrew the two screws securing the additional brake light to the lining of the rear shelf
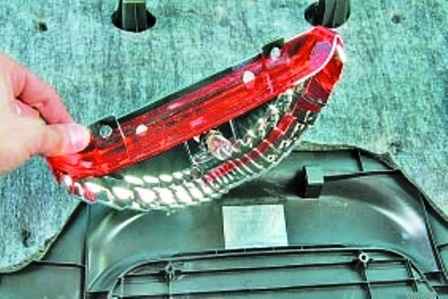
Remove the additional brake light
Install the brake light in reverse order
Replacing the ceiling lamp for individual lighting
Disconnect the negative battery terminal
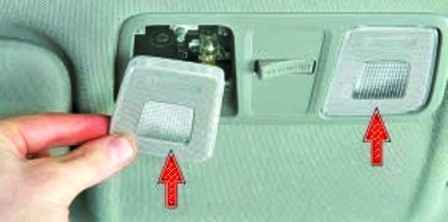
Pry off with a screwdriver and remove the cover diffuser
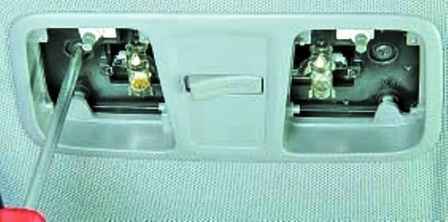
We unscrew the two screws securing the lampshade
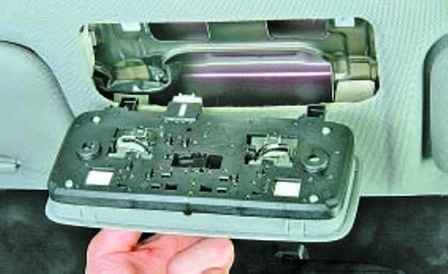
Remove the cover from the upholstery of the ceiling
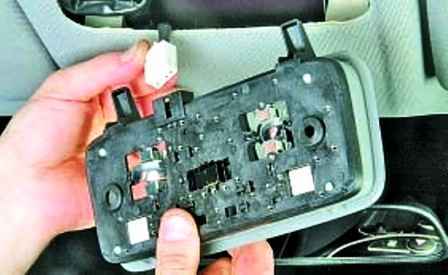
Disconnecting the ceiling light wiring harness
Install the ceiling in reverse order
Replacing the ceiling lamp for general interior lighting
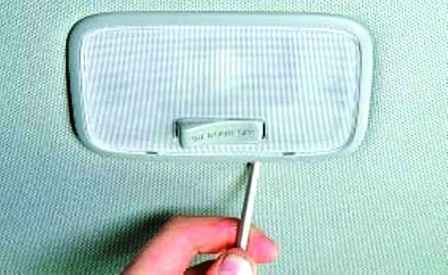
Pry off the ceiling light with a screwdriver
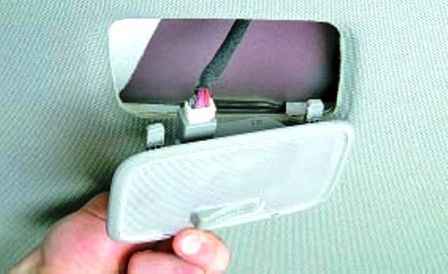
Remove the cover from the upholstery of the ceiling
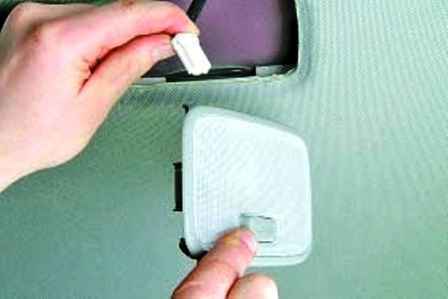
We press the latch and disconnect the block of wires from the ceiling
Install the ceiling in reverse order
Replacing paddle shifters
Disconnect the negative battery terminal
We remove the steering wheel, as described in the article - How to replace the steering wheel of a Hyundai Solaris car
Remove the steering column cover, as described in the article - How to remove the Hyundai Solaris steering column
Remove the contact ring of the horn and airbag
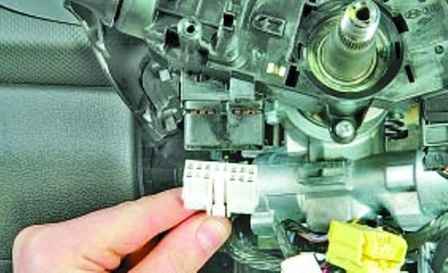
Disconnect the wiring harness from the outdoor lighting switches and direction indicators
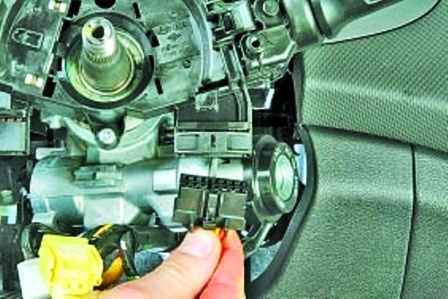
Disconnect the block from the windshield wiper and washer switch lever
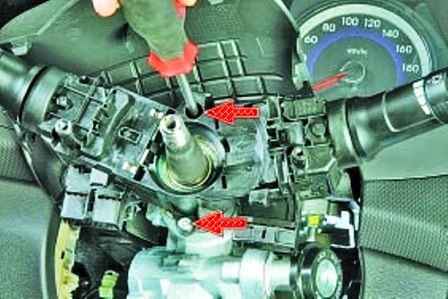
We unscrew the two screws securing the steering column switches
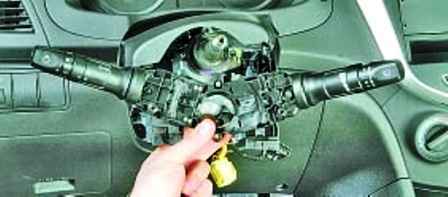
Remove the steering column switches
Install the steering column switches in reverse order
Remove the sound signal
Disconnect the negative terminal from the battery
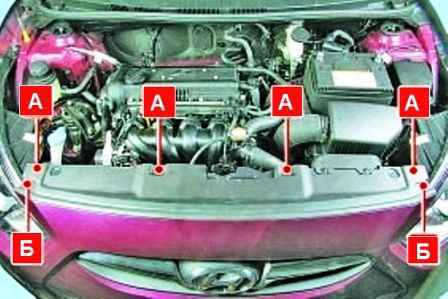
We unscrew the bolts "A" and take out the caps "B" fastening the upper bumper trim to the radiator frame
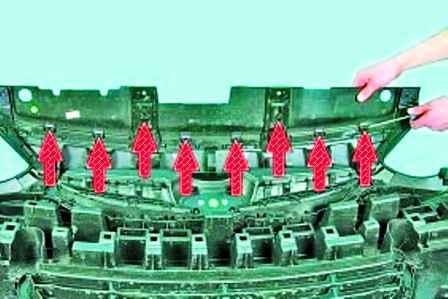
We press the fasteners of the upper panel of the radiator frame
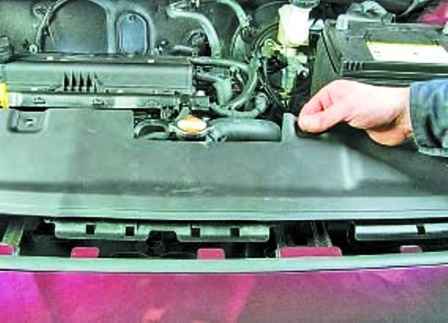
Remove the top panel of the radiator frame
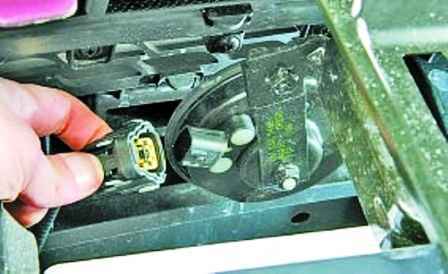
Disconnect the wire block from the sound signal
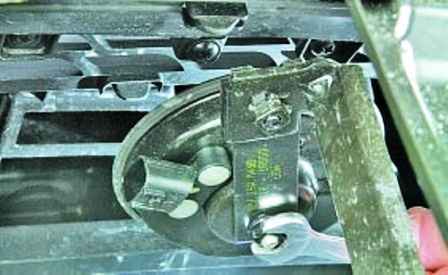
Unscrew the nut that secures the horn to the bracket
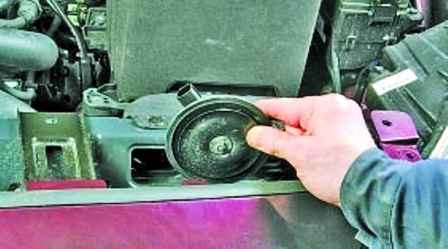
Remove the sound signal
Setting all the details in obmilitary sequence.


