The car has two interchangeable round headlights FG150-G1. Headlight housing - steel
The glass diffuser of the headlamp optic is glued to the reflector. Headlight bulb - double filament
Voltage is supplied to the corresponding filaments of the lamps through relays installed in the engine compartment to the left of the radiator.
To prevent dirt from getting inside the headlight, a decorative rim is put on it from the outside
Headlight adjustment
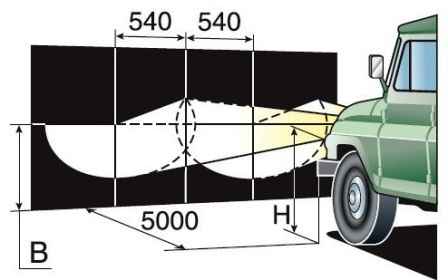
We check the correctness of the headlight adjustment by the location of the light borders on the screen (Fig. 1)
It is more convenient to adjust the headlights at night or in cloudy weather
Check and adjust on a flat horizontal platform
You can use a sheet of plywood (approximately 1.2-1.5 m high and 1.7-2.0 m long), a building wall, a gate, etc. as a screen.
A fully refueled car with a jack, a tool and a spare wheel fixed in regular places, we install perpendicular to the screen at a distance of 5 m between the headlights and the screen.
Check and adjust tire pressure.
For fine adjustment, place an assistant in the driver's seat or place a weight of about 75 kg on the driver's seat and rock the car several times, pushing it from the side, so that the suspension self-adjusts
Let's lay out the screen, as shown in the figure.
Dimension "H" must correspond to the distance from the center of the headlights to the surface of the platform
We close the right headlight with a piece of cardboard or cloth and turn on the dipped beam.
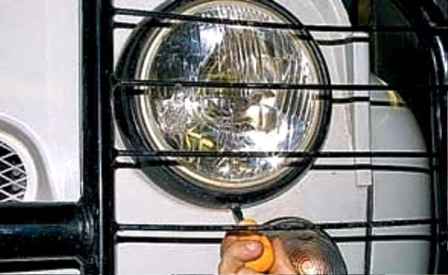
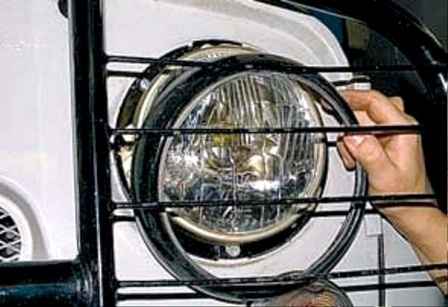
On the left headlight with a screwdriver, unscrew the screw securing the decorative rim and remove the rim
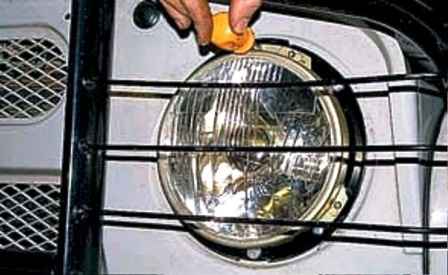
Turn the adjusting screw located on top of the headlight with a screwdriver
Combine the horizontal border of the light beam with the horizontal line drawn on the screen
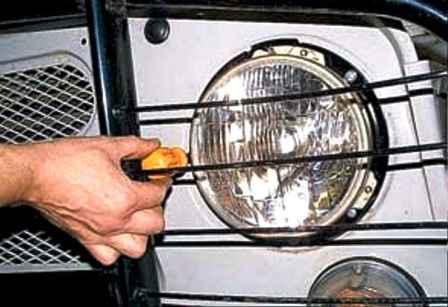
Turn the adjusting screw located on the right side of the headlight, combine the break in the light beam (the intersection of the horizontal and inclined boundaries) with the vertical marking line
Installing the decorative rim
In the same way we adjust the right headlight
Replacing the lamp and optical element
Remove the protective arc
Remove the decorative rim
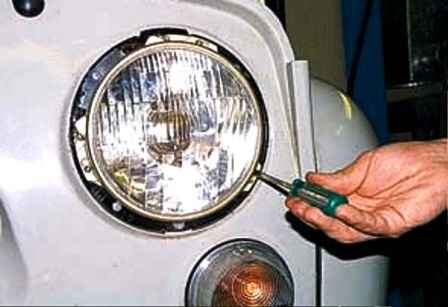
We loosen the three screws securing the optical element with a screwdriver
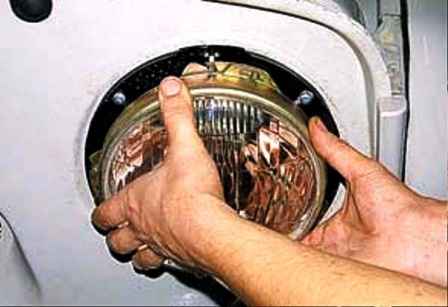
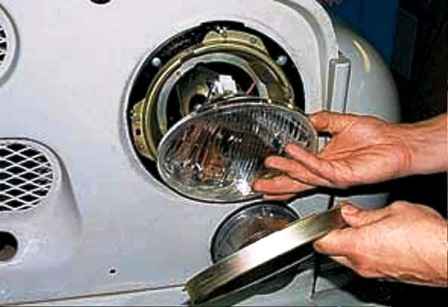
Turn the inner bezel counterclockwise, remove it and remove the optical element
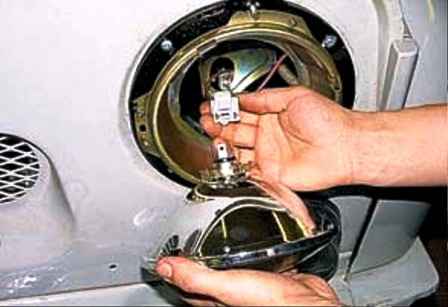
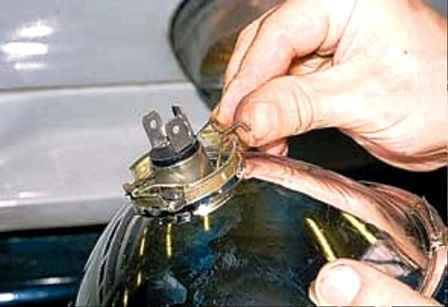
Disconnect the wiring harness from the lamp terminals
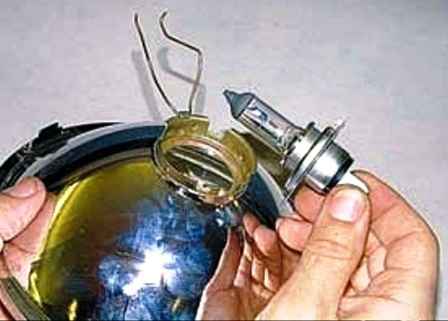
We remove the antennae of the spring retainer from the grooves and take out the lamp
Install the new lamp in reverse order
Installed high and low beam lamps A12-45x40; AKG12-60+55-1(H4)
The halogen lamp must not be grasped by the glass with your fingers, as traces of them lead to its darkening.
Dirty lamp glass can be cleaned with alcohol or thinner
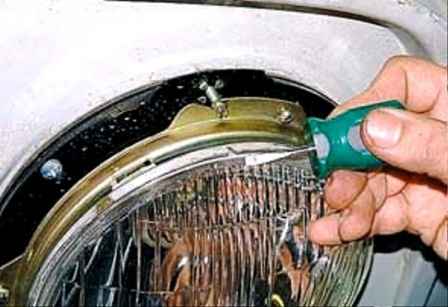
Install the optical element in the headlight so that the arrow on the diffuser points up
After installing the optical element, adjust the headlight as described above
Removing the headlight
Remove the protective arc
Remove the decorative rim
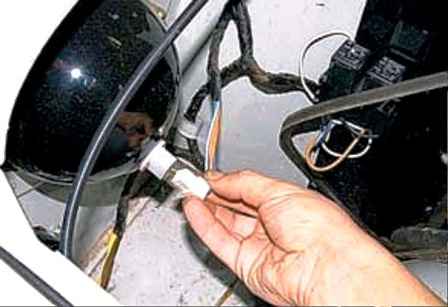
Disconnect the wiring harness from the headlight in the engine compartment
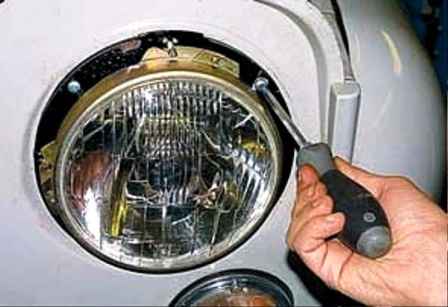
We unscrew the four headlight mounting screws with a screwdriver
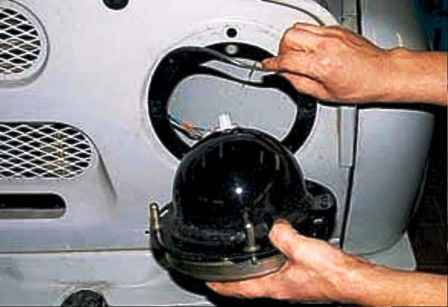
Remove the headlight and rubber gasket
Install the headlight in the reverse order so that the arrow on the diffuser of the optical element is pointing up
After installation, check the headlight adjustment
Replacing the headlight relay
The dipped and main beam relays are installed on a common block under the hood, on the front panel on the left
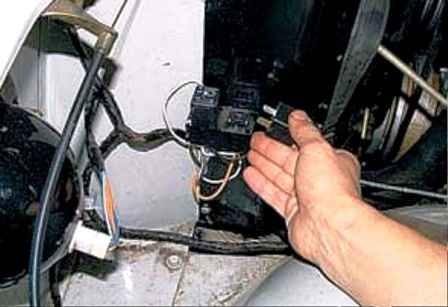
Disconnect the high beam relay from the wiring harness and replace it
In the same way, we replace the low beam relay


