 ZH
 FR
 BE
 DE
 RU
 UK
 KK
 EN
 ES
Changing the engine oil and oil filter of the UAZ engine
Engine oil must be changed in accordance with the maintenance schedule of the specific vehicle. Typically, the mileage interval between oil changes is 10,000 to 15,000 km.
Required tools and materials
For the work, you will need: 14 and 24 mm spanners, an oil filter wrench (or a robust strap), a wide oil drain pan with a capacity of at least 6 litres, a funnel, rags, and a compressed air compressor (optional).
Materials: fresh engine oil, a new oil filter, new sealing rings (if using a serviceable filter).
Engine oils are selected based on the ambient temperature. Recommended API quality level: SF, SG, SH, SJ. Recommended SAE viscosity:
- from –20° to +40 °C: SAE 15W-40
- from –25° to +35 °C: SAE 10W-30
- from –25° to +45 °C: SAE 10W-40
- from –30° to +35 °C: SAE 5W-30
The total capacity of the lubrication system is 5.8 litres (excluding the oil cooler volume). It is best to change the oil immediately after a journey, while it is warm and therefore has better flow characteristics.
Preparation and draining the used oil
We prepare the vehicle for the work and place it on a lift or in an inspection pit. We remove the side engine splash guard to gain access to the drain plug.
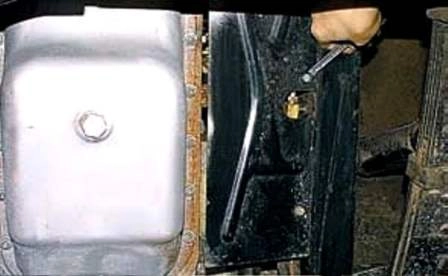
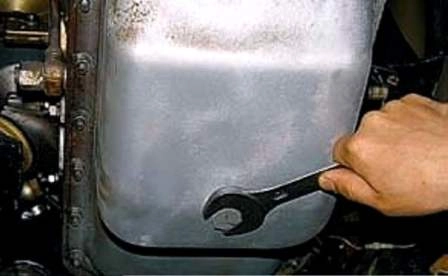
We unscrew the filler cap to improve air circulation during draining. We place a wide pan with a capacity of at least 6 litres under the engine sump drain hole. We loosen the drain plug with a 24 mm spanner.
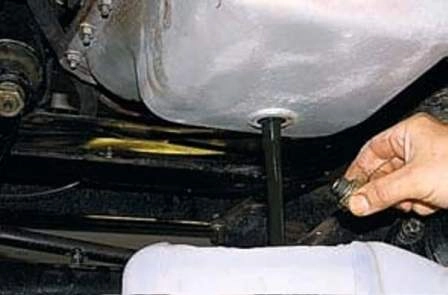
Replacing the oil filter
On UMZ engines, a non-serviceable oil filter is used, installed on the right side of the cylinder block. We unscrew the old filter using a special filter wrench.
We apply a thin layer of fresh engine oil to the seal of the new filter and fill the new filter about halfway with oil to facilitate engine starting. We screw the filter onto the stub until the seal touches the cylinder block, then tighten it by hand for an additional ¾ of a turn.
On other engine types (ZMZ), the filter is serviceable. Using a 14 mm spanner, we unscrew the plug and drain the oil from the oil filter housing.
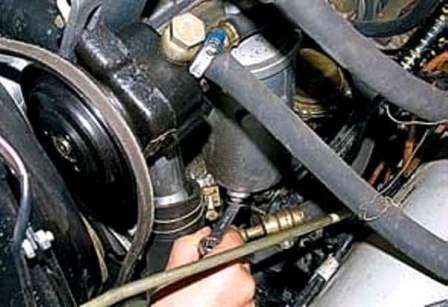
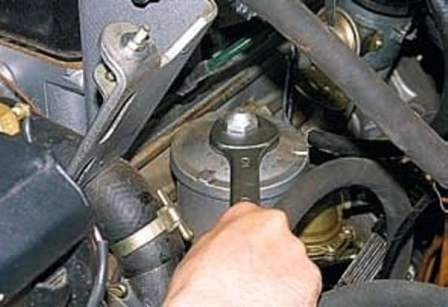
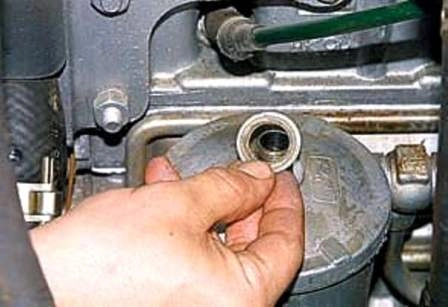
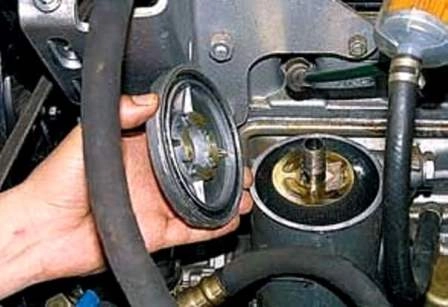
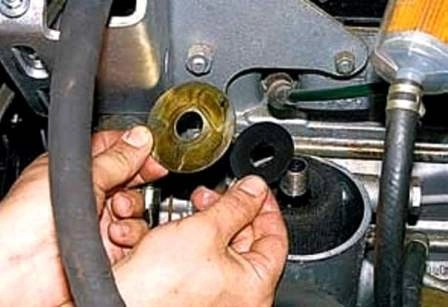
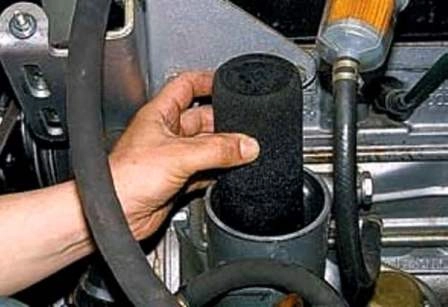
We remove the central stud from the old filter (if present) and install it into the new filter element.
Draining oil from the oil cooler (if necessary)
After the main drain, a small amount of oil remains in the oil cooler tubes, the draining of which is not provided for in the standard owner's manual. If desired, this oil can also be drained.
To do this, we disconnect the hoses from the oil cooler.
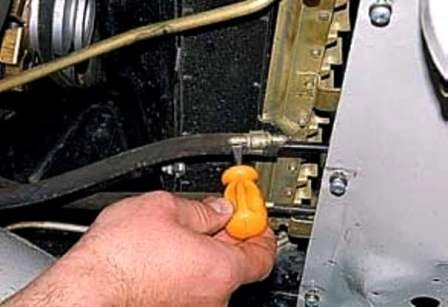
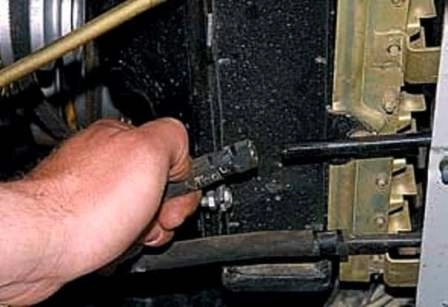
Filling with new oil and checking the level
We screw in the drain plugs of the filter (if serviceable) and the sump, replacing their sealing washers if necessary. We install the new filter element (or the assembled filter) in place.
We pour fresh engine oil through the filler neck. For engines with a serviceable filter, first pour a little oil into its housing. The total volume of oil to be poured is 5.8 litres.
For checking, we pull out the dipstick, wipe it clean, reinsert it fully, and pull it out again. The oil level should be between the "0" and "P" (or "MIN" and "MAX") marks.
We screw the filler cap back on and start the engine. We ensure that the low oil pressure warning light goes out within a few seconds and that there are no leaks from under the filter cover or the drain plug.
After stopping the engine, we wait about 10 minutes for the oil to drain back into the sump, then check the oil level again and top it up to the normal level if necessary.