Remove the radiator for replacement or repair
We prepare the car for repair and install it on a lift or a viewing ditch
Draining the engine coolant
Remove the front engine mudguard
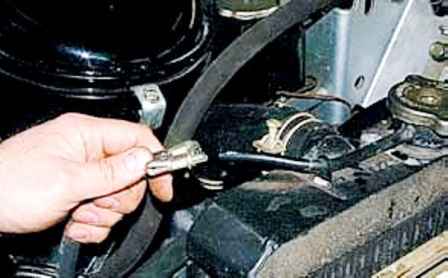
Loosen the clamp and disconnect the hose from the radiator going to the expansion tank
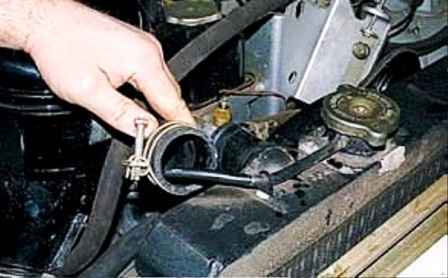
Disconnect the upper radiator hose
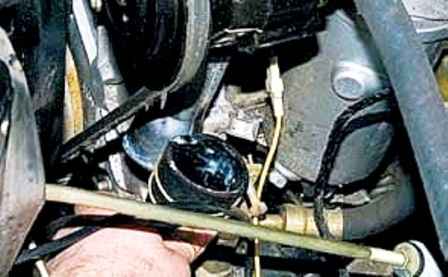
Disconnect the lower radiator hose from the tee
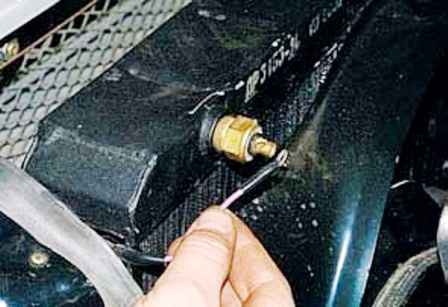
Disconnect the wire from the coolant overheat sensor
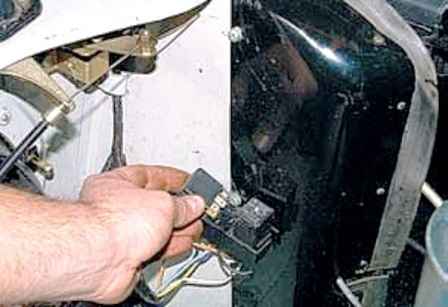
To access the screw, remove the relay
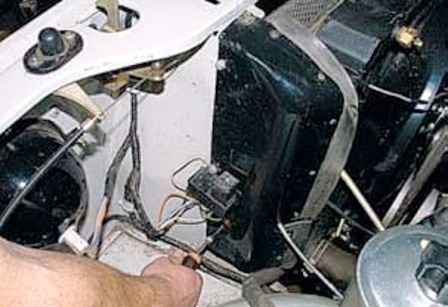
Using a Phillips screwdriver, unscrew the four screws securing the left radiator shield
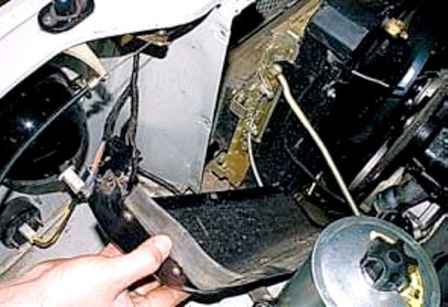
Remove the left radiator shield
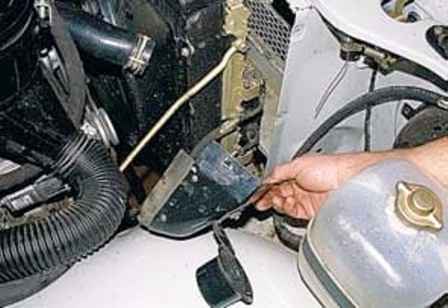
In the same way, remove the right radiator shield
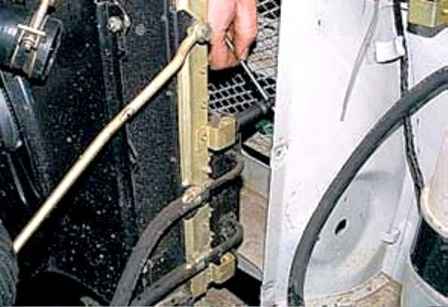
Head 12, through the hole in the front panel, unscrew the two bolts of the right radiator mount
Unscrew and remove the sound signal
We unscrew the two bolts of the left fastening of the oil cooler, through the opened opening
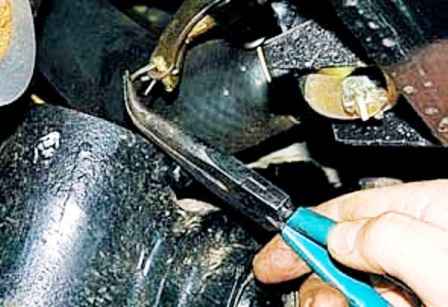
Using thin-nosed pliers, remove the cotter pin from the rod of the radiator tap flag
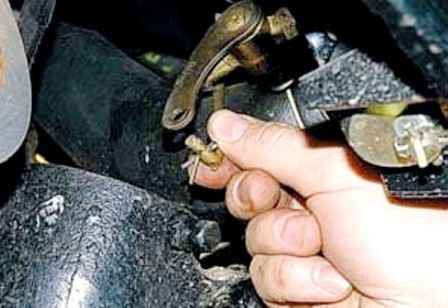
Disconnect the rod from the flag of the radiator tap
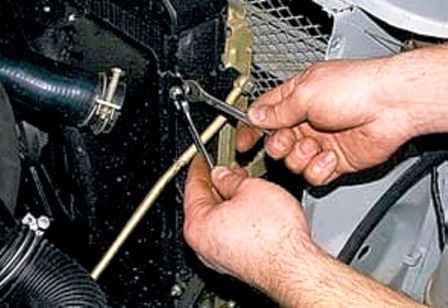
Using a 10 wrench, unscrew the nuts of the four bolts securing the fan shroud
Move the cover to the engine
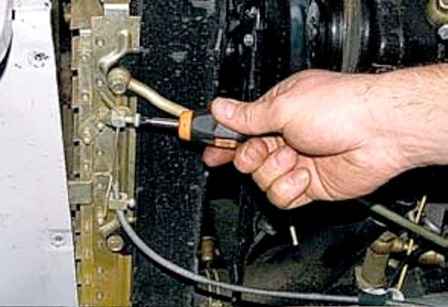
Using a Phillips screwdriver, unscrew the screw securing the blind drive rod
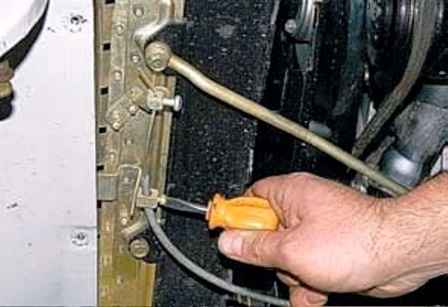
Unscrew the screw securing the thrust cover
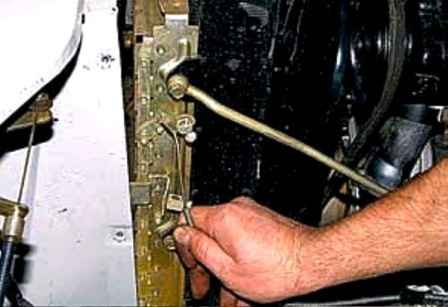
Disconnecting the rod from the blinds
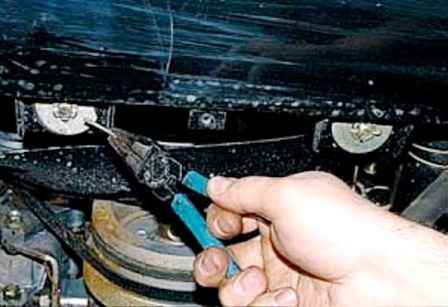
We unpin the bottom two radiator mounting nuts
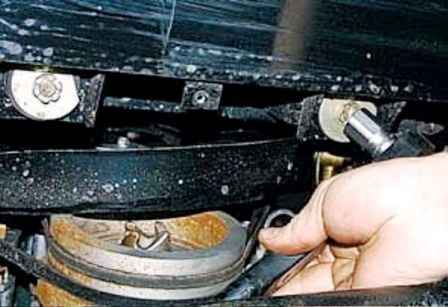
With a 17 head, unscrew the radiator mounting nuts
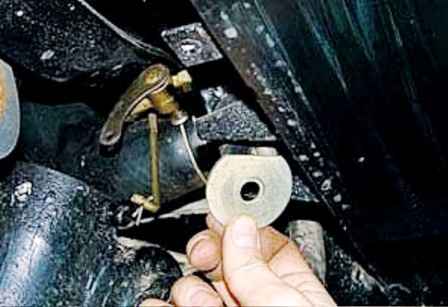
Removing washers
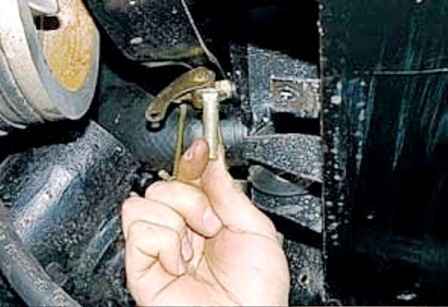
Removing the radiator bolts
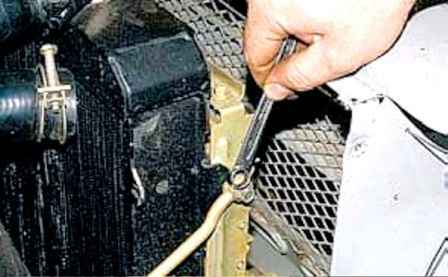
Using a 10 wrench, unscrew the bolts securing the blinds and the radiator to the rods
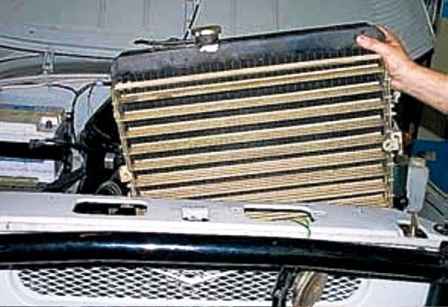
Remove the radiator and blinds from the car
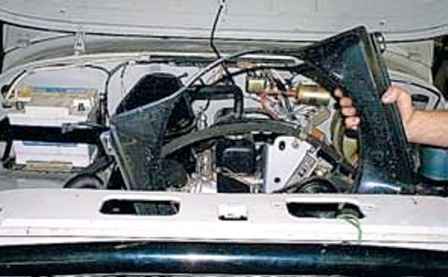
It is possible, if necessary, to remove the fan shroud
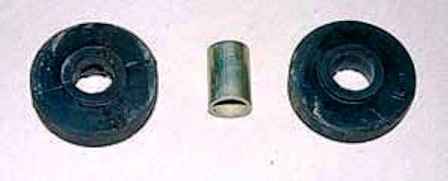
If necessary, we replace the rubber pads that secure the radiator to the frame cross member
Install the radiator in reverse order and fill the engine cooling system with coolant.


