In the article, we will consider the replacement of elements and parts of a car heater
Replacing the heater valve
If coolant is leaking from the faucet stuffing box
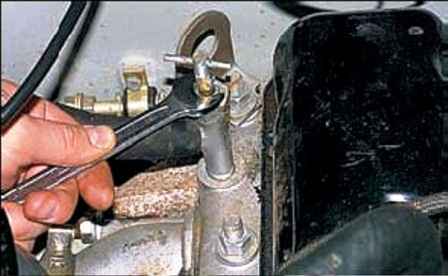
Tighten the gland nut with a wrench
If the leak cannot be eliminated by tightening, then we replace the tap
Drain two or three liters of coolant from the cylinder block
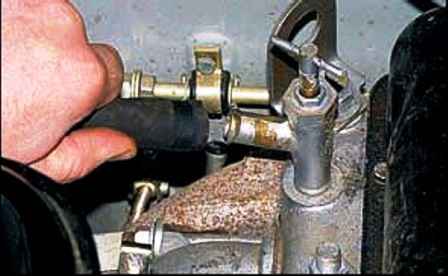
Loosen the hose clamp with pliers and remove the hose from the faucet nozzle
Remove the cylinder head cover as described in the article "How to adjust car engine valve clearances"
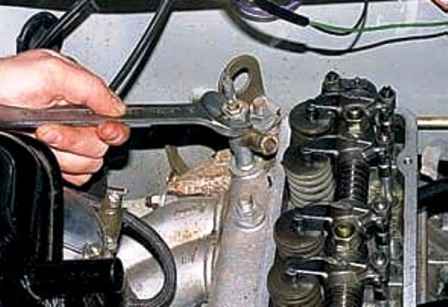
Unscrew the tap with a 24 key and remove it
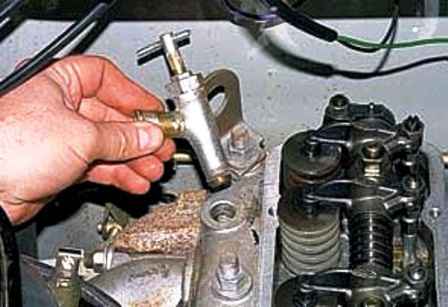
Install the faucet in the reverse order, applying sealant to its threads
Add liquid to the cooling system through the radiator neck
Replacing the heater electric fan and its resistor
Disconnecting the battery
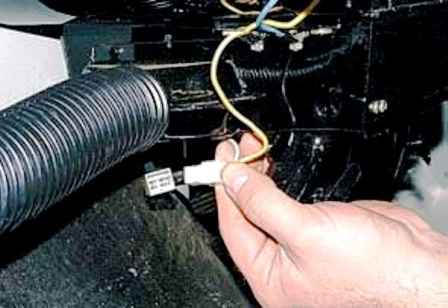
Disconnect the heater fan motor wiring harness
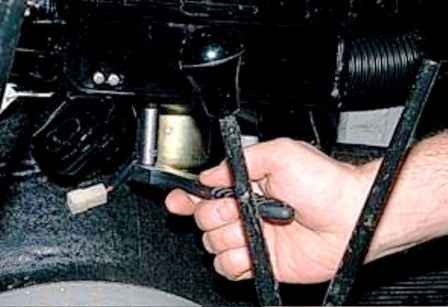
We unscrew the three bolts securing the electric motor to the heater body with a 10 head
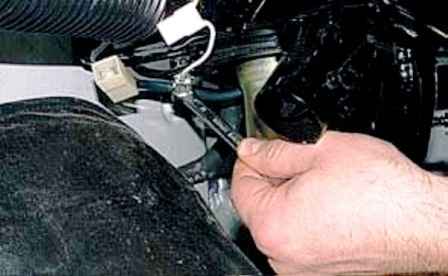
One of the bolts secures the electric fan wiring harness bracket and the ground wire lug
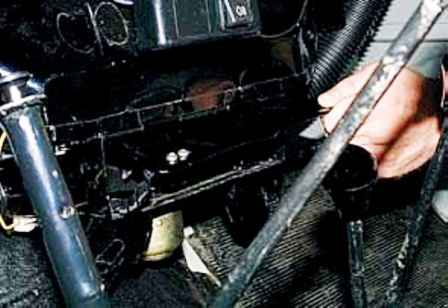
Open the choke completely
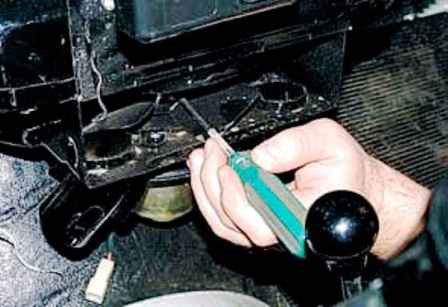
We lower the electric fan and through the opening of the air damper with a screwdriver, unscrew the screw securing the impeller to the motor shaft for several turns
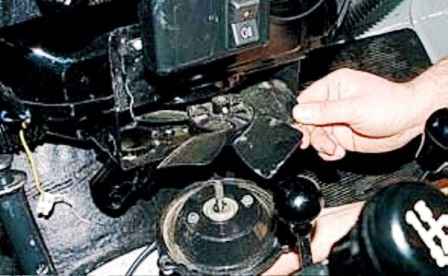
Remove the motor down, and bring the impeller out through the opening of the air damper
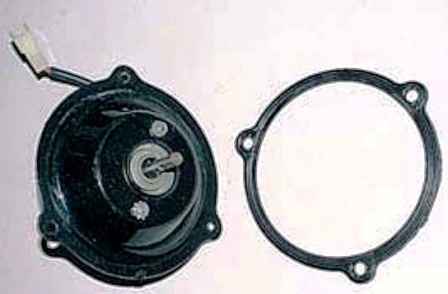
Remove the rubber gasket from the motor flange
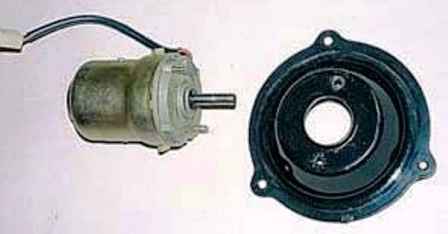
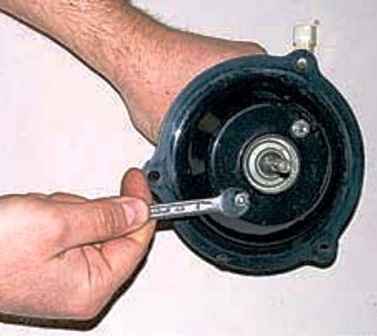
Using an 8 wrench, unscrew the two nuts securing the flange to the electric motor
Remove the flange
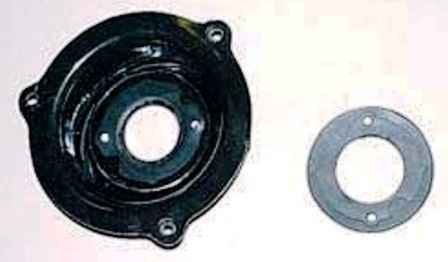
A rubber gasket is installed between the motor and the flange
Install the electric fan in reverse order
Replacing the electric fan resistor
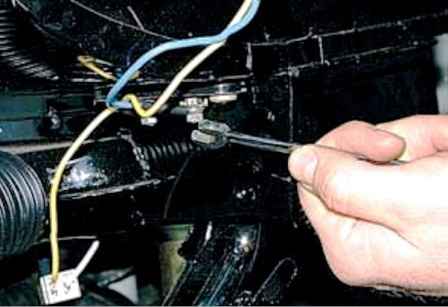
We unscrew the two fastening nuts with a 7 key
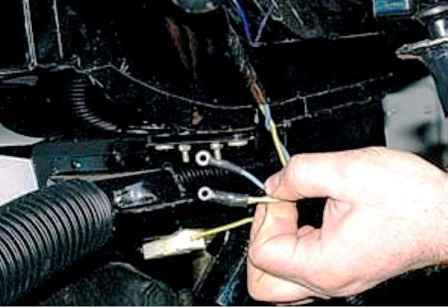
Disconnect wire ends from resistor leads
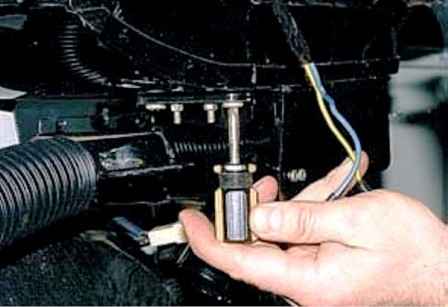
With a Phillips screwdriver, unscrew the two screws securing the resistor and remove the resistor
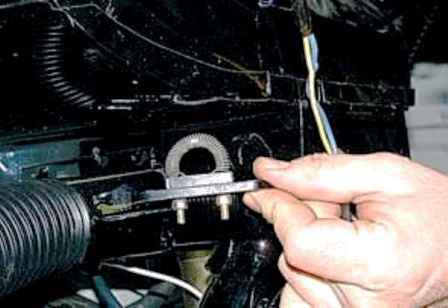
Install the resistor in reverse order
Removing the heater
Draining the engine coolant
Disconnecting the battery
Disconnect the wire ends from the resistor leads as above
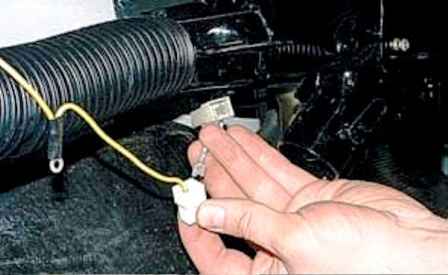
Disconnect the electric fan wire block and remove the wire in white insulation from it
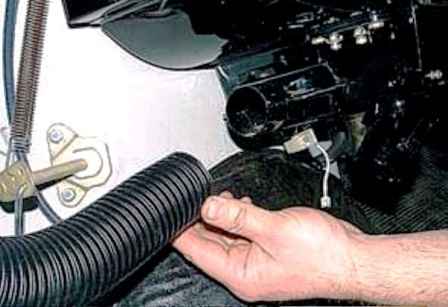
Remove corrugated hoses from both heater pipes
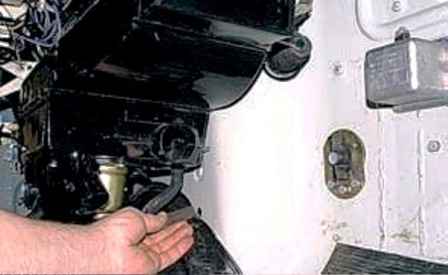
We remove the rainwater drain hose from the hole in the partition of the engine compartment
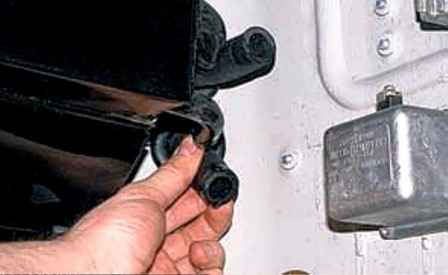
Loosen the clamps and remove the hoses from the heater radiator pipes
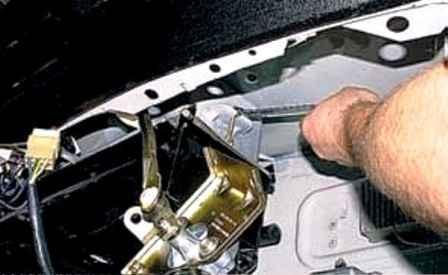
We unscrew the nut of the coupler on the right side of the heater with a 10 wrench (the wiper motor is removed for clarity)
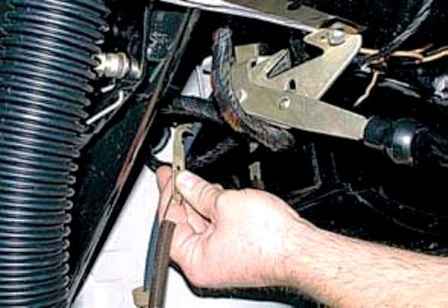
Remove the gas pedal spring hook from the coupler and unscrew the coupler nut on the left side
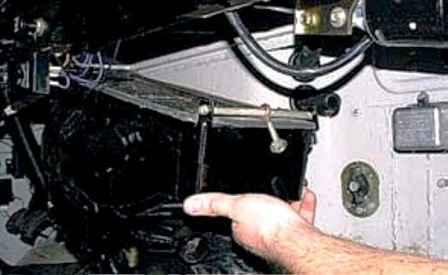
Removing the heater
Install the heater in the reverse order and fill the cooling system with liquid
Removing the heater core
Remove the heater as described above
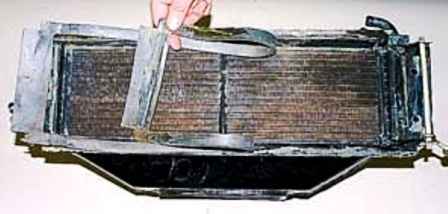
Remove the glued rubber gasket and remove the radiator from the heater box
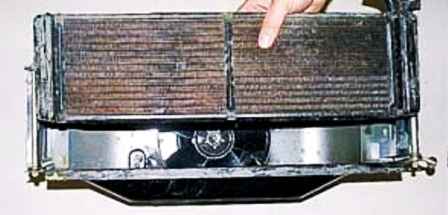
Install the radiator in reverse order
Removing the heater motor switch
Disconnecting the battery
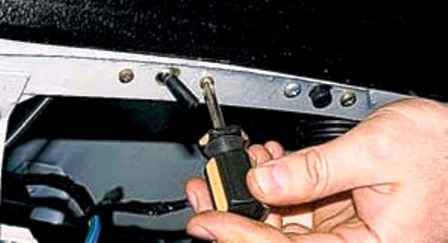
Using a Phillips screwdriver, unscrew the two screws securing the switch, holding their nuts with thin pliers
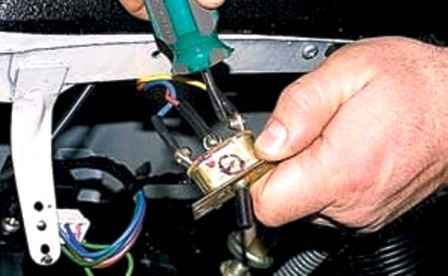
Using a screwdriver, unscrew the screws that secure their tips to the switch
Install the switch in reverse order, connecting the wires in order


