We remove the components and parts of the front door when replacing the door and in case of their malfunction.
Removing the front door upholstery we examined in the article - "Removing the front door upholstery Renault Duster"
Removing the outside rear-view mirror
Remove the front door upholstery
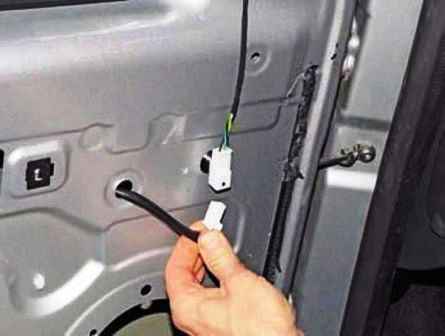
Disconnecting the wire pads
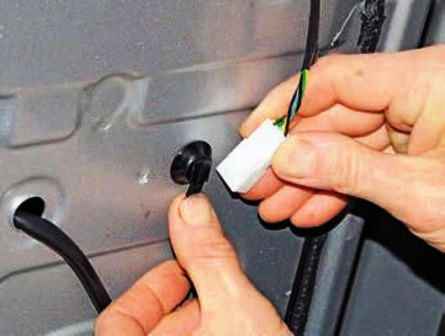
Sliding the outer mirror wiring harness block up, remove it from the plastic holder
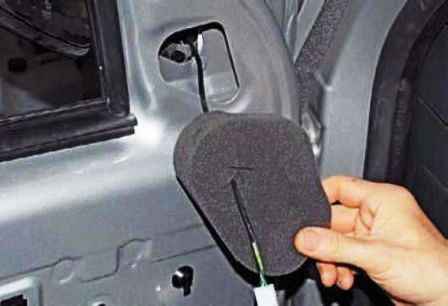
Remove the foam seal from the hole in the door and pull the wire harness through it
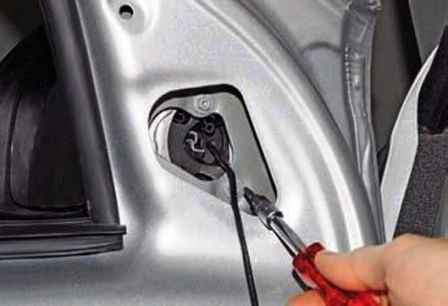
Using a Torx T-20 wrench, unscrew the two self-tapping screws securing the mirror to the door
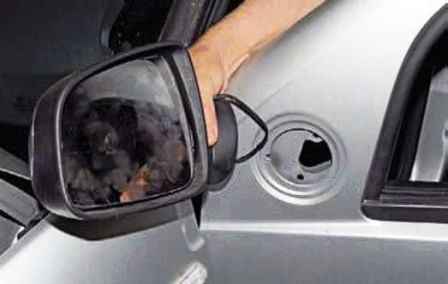
Remove the outside mirror. Install the exterior mirror in reverse order.
Removing the front door glass
We remove the upholstery of the front door (article - Removing the upholstery of the front door Renault Duster)
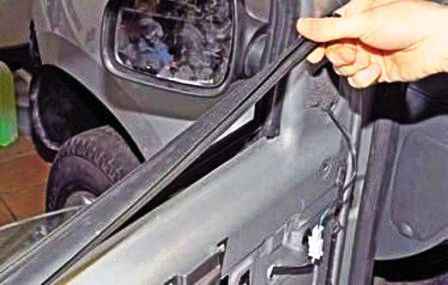
Pry off the front edge of the inner door glass seal and remove it from the inner door panel
Having connected the block of wires to the switch of the power window control unit of the front doors, we lower the glass so that there is access to the self-tapping screws of the glass holders to the power window slider.
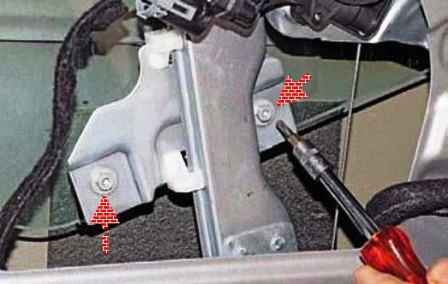
Using the TorxT-20 wrench, unscrew the two screws securing the glass holders to the power window slider
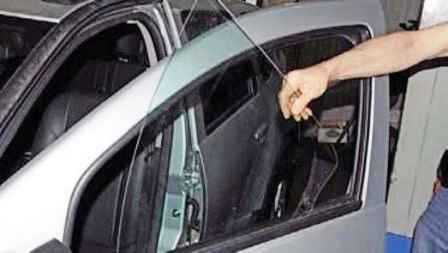
Turning the glass, take it out of the door.
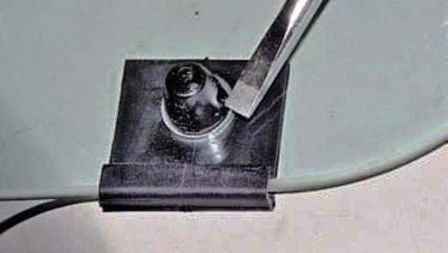
If you need to remove the glass holders, use a screwdriver to press the glass holder latch
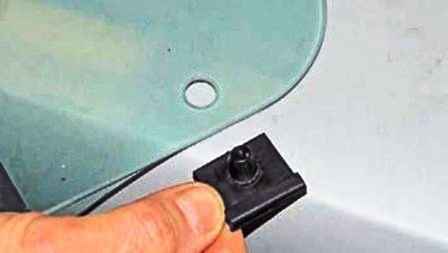
Remove the holder from the hole in the glass. We install the glass in the reverse order.
Removing the front door power window mechanism
Remove the door upholstery
We unscrew the screws securing the glass holders to the power window slider, as described above
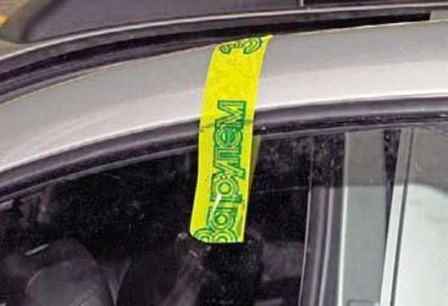
Raise the glass with your hands and fix it with adhesive tape
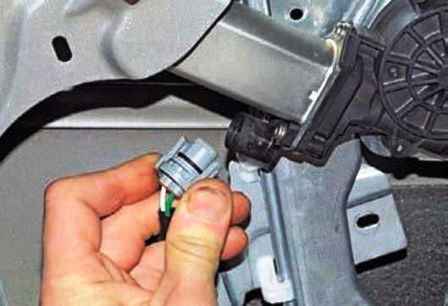
Press on the latches of the wire block and disconnect we remove the block from the electric window motor
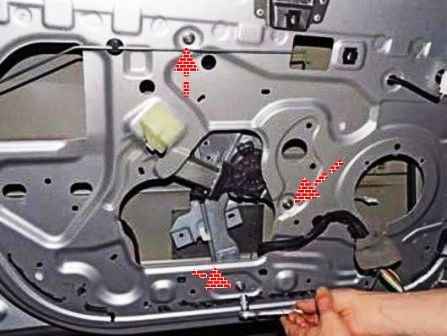
Using a 10 socket, unscrew the three nuts securing the power window mechanism to the inner door panel
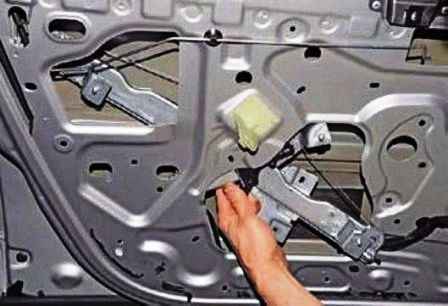
We take out the power window mechanism through the technological hole in the inner panel of the door

Install the power window mechanism in reverse order.
Removing the lock and outside handle of the front door
Remove the door upholstery
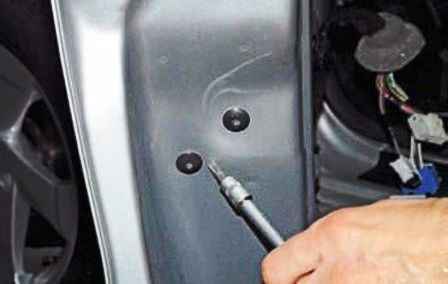
Using a TorxT-30 wrench, unscrew the two screws securing the glass guide to the end of the door
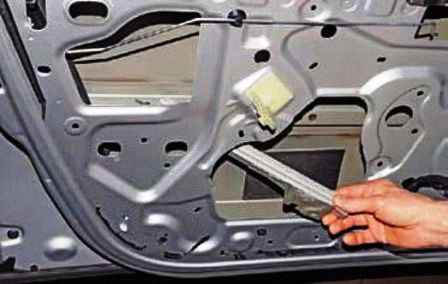
We bring the guide through the technological hole in the inner panel of the door
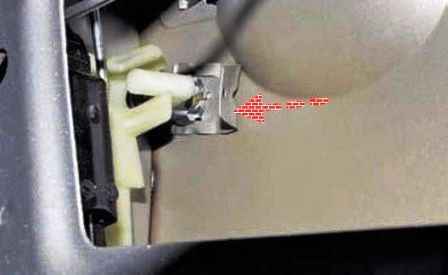
The cylinder mechanism of the lock is attached to the outer panel of the door with a metal bracket
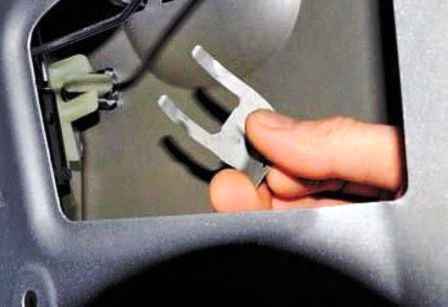
Use a screwdriver to remove the bracket from the grooves in the cylinder mechanism of the lock
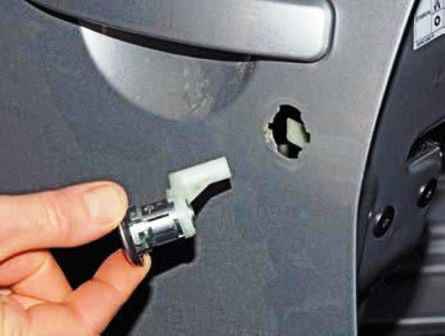
We take it out of the hole in the door
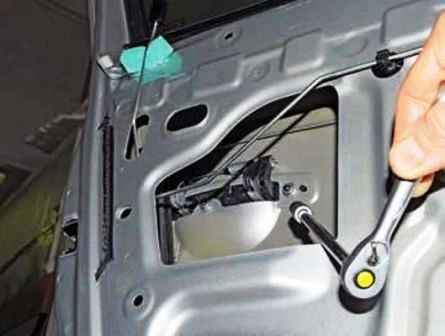
Using a 10-head with an extension, unscrew the nut securing the outer door handle
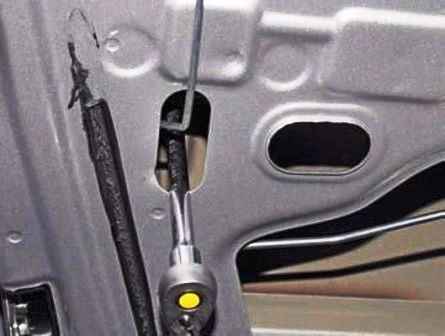
With a 10 head, unscrew the other nut securing the outer handle
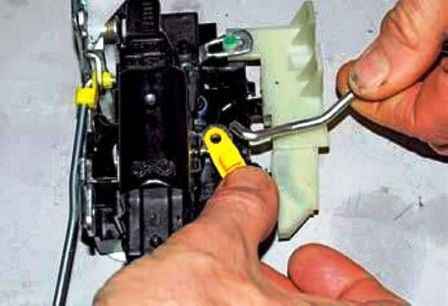
Squeezing the plastic retainer of the external handle rod, turn it around the axis and disconnect the rod from the lock lever (shown on the removed lock)
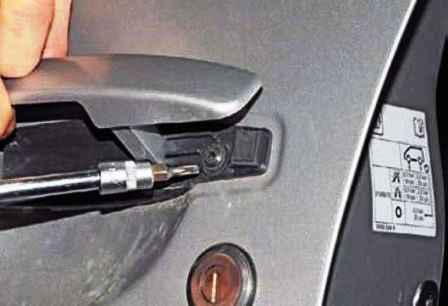
Using a Torx T-20 wrench, unscrew the screw securing the base of the outer handle
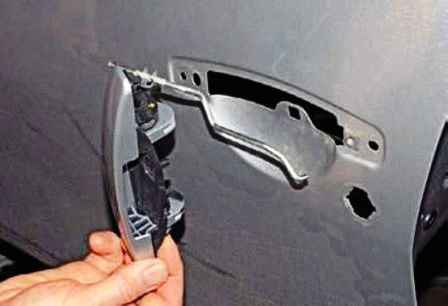
Remove the handle along with the rod
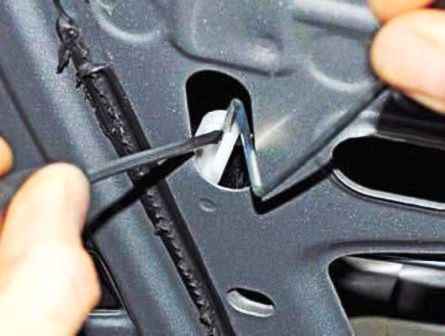
Use a screwdriver to press the latch of the lock rod
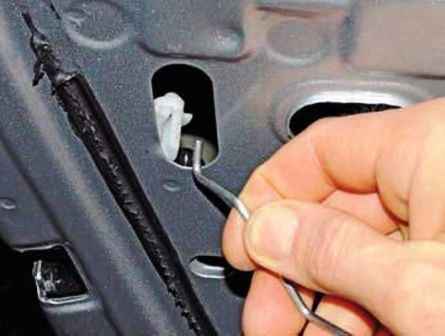
Remove the rod with the button from the plastic tip of the lock lever
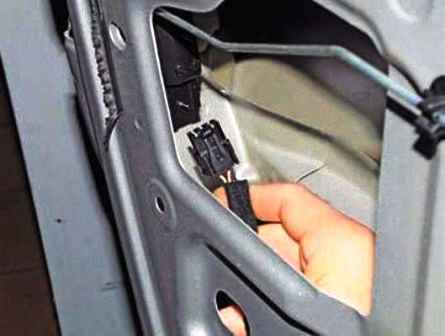
Disconnect the wire block from the lock
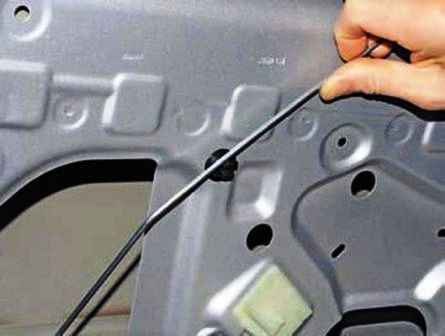
Remove the inner handle rod from the plastic holder
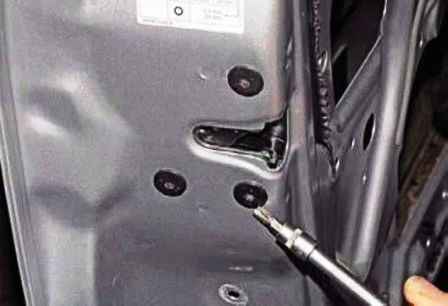
Using the TorxT-30 key, unscrew the three screws securing the lock to the end of the door
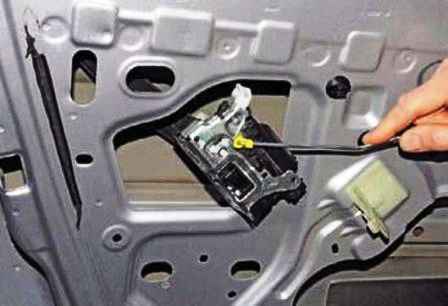
We remove the lock with the rod through the technological hole in the inner panel of the door
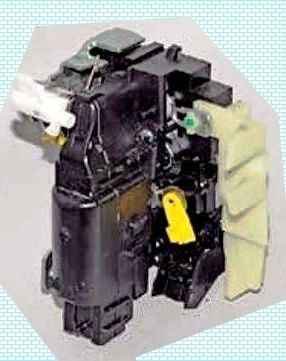
Power front door lock
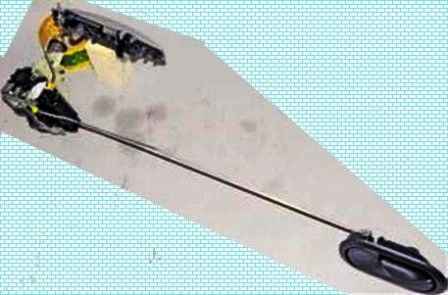
Front door lock with outside and inside handle
Install the outer handle in reverse order.
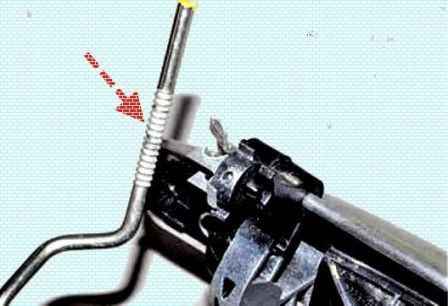
The length of the rod of the outer handle can be changed due to the coils rolled on it.
After installing the outer handle and lock, the handle rod snaps into the required position with a metal lock, while the lock and handle levers must be in a free position
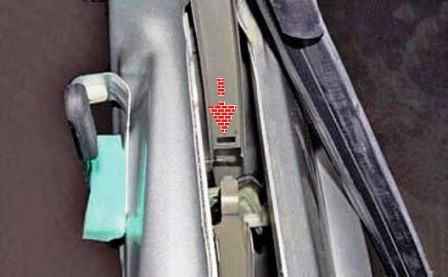
When installing the glass guide, its upper tongue must fit into the groove shown by the arrow.


