


The parking brake must hold the vehicle on a 25% gradient when the lever in the vehicle cabin is moved by 5-7 teeth (clicks) of the ratchet device
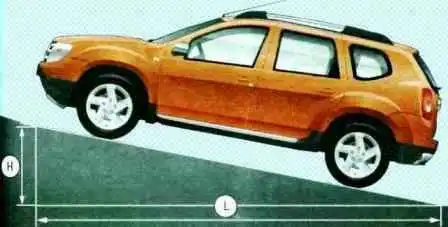
To check the correctness of the adjustment of the parking brake, find near the parking place of your vehicle a ramp or a loading platform with a height H = 1.25 m with an entry length L = 5 m (fig. 1).
Such a ratio corresponds to a 25% gradient.
In the absence of such a ramp, for a simplified check of the parking brake, place the vehicle on a level surface.
Set the gear lever to the neutral position, raise the parking brake lever fully.
Get out of the vehicle and try to move it from its place.
If you have succeeded in doing this, urgently adjust the parking brake drive.
Adjustment of the parking brake drive
We carry out the adjustment of the parking brake drive after replacing the cables or the parking brake lever.
We jack up the rear wheels and securely fix the vehicle on supports.
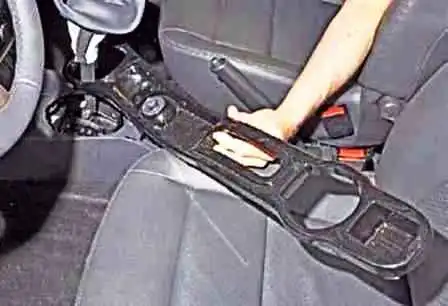
We remove the facing of the floor tunnel trim (article – Removal of the floor tunnel trim of the vehicle)
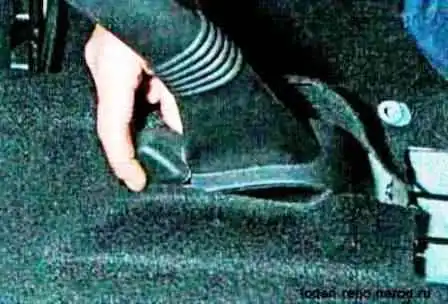
Having raised the parking brake lever, we move aside the plug of the lever trim covering the adjustment nut of the parking brake drive (shown with the floor tunnel trim removed).
To adjust the position of the brake shoes, we press the brake pedal several times.
We hold it in the pressed position and then repeatedly raise and lower the parking brake lever (when moving the lever, the parking brake release button on the lever must be kept pressed all the time, so that the ratchet mechanism does not work).
In this case, in the brake mechanisms of the rear wheels, clicks will be heard from the operation of the mechanism for automatic adjustment of the gaps between the shoes and the brake drums.
If, when moving the parking brake lever, no clicks are heard, we increase the tension of the cables by screwing in the nut on the threaded terminal of the front cable (see below).
We raise and lower the parking brake lever until the clicks in the brake mechanisms stop.
After this we check the travel of the lever, which must be 7—8 clicks of the teeth along the sector of the ratchet device of the lever.
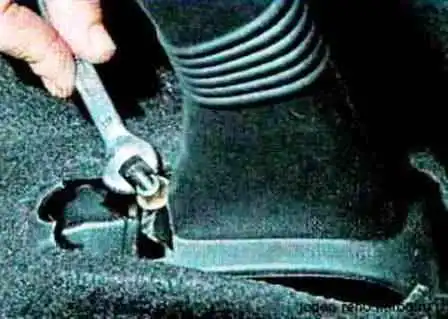
If the number of clicks does not correspond, with a spanner or a tall 10 mm socket we turn the nut on the threaded terminal of the front cable, increasing or decreasing its tension, we adjust the travel of the parking brake lever (for clarity, shown with the floor tunnel trim removed).
With the lever fully lowered, the jacked-up rear wheels must rotate freely, and with the lever raised — be blocked.
A correctly adjusted parking brake must hold the vehicle on a gradient of up to 23% inclusive.
Replacement of the parking brake cables
We replace the parking brake cables in the event of their breakage or stretching inside the sheaths, when by adjustment it is not possible to achieve the holding of the vehicle in a stationary state on a gradient of up to 23% inclusive.
We carry out the work on an inspection pit or a ramp.
We show the work on replacing the rear cable using the example of the left cable, the right one is replaced in a similar way.
We remove the floor tunnel trim (article – Removal of the floor tunnel trim of the vehicle).
To loosen the tension of the cables, we raise the parking brake lever and with a 10 mm spanner unscrew almost completely the adjustment nut of the drive on the threaded terminal of the front cable.
We lower the parking brake lever.
We remove the shoes of the brake mechanism of the rear wheel (article – Replacement of the brake shoes of the rear wheels).
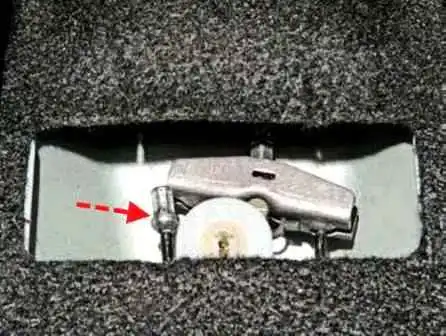
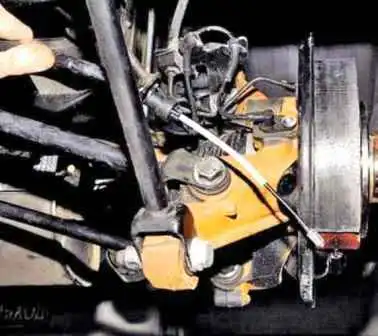
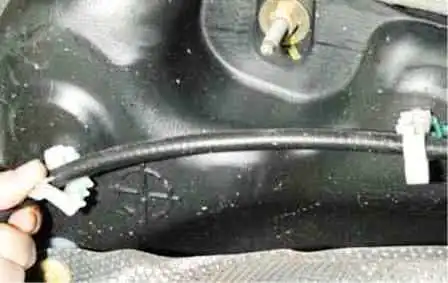
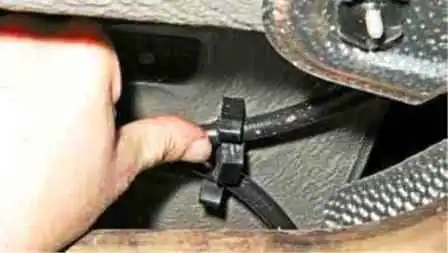
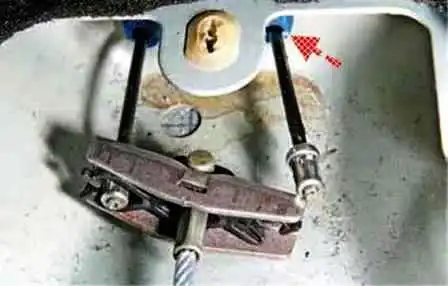
This operation is not easy to perform, as one has to work in the cramped space of the floor recess.
But bearing in mind that we are removing the cable for replacement, one can simply break off the plastic tabs of the retainer.
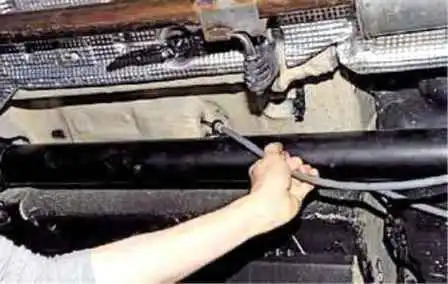
We also remove the right parking brake cable.
We install the rear parking brake cables in the reverse order.
To replace the front parking brake cable, we remove the floor tunnel trim (article – Removal of the floor tunnel trim of the vehicle) and loosen the tension of the cables by unscrewing the adjustment nut of the drive on the threaded terminal of the front cable.
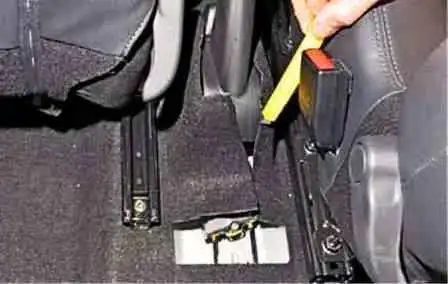
We disconnect the front ends of the rear cables from the equaliser.
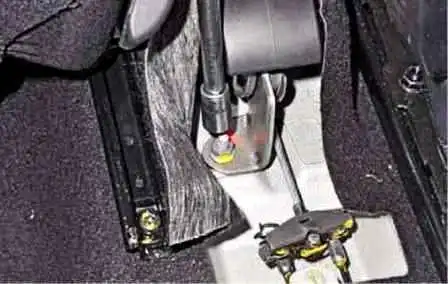
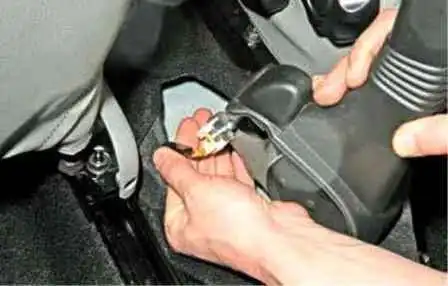
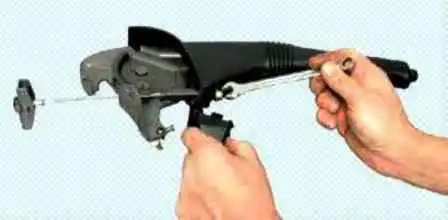
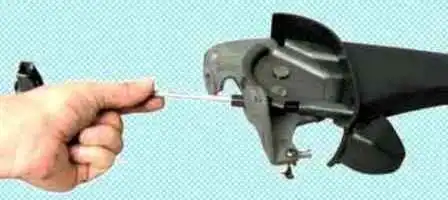
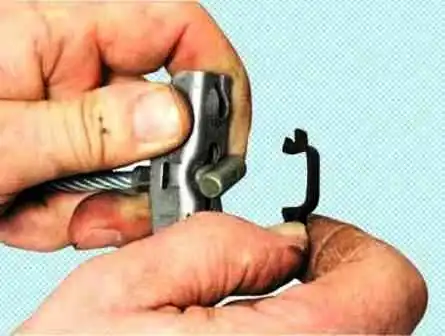
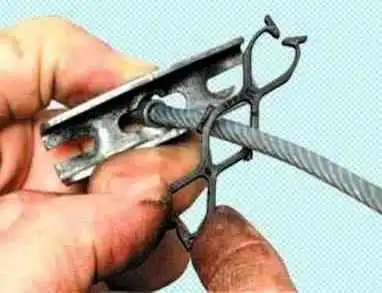
We install the front parking brake cable in the reverse order.
After replacing the cables or the lever, we carry out the adjustment of the parking brake drive, as described at the beginning of the article.


