We remove electronic components in case of their malfunction and during verification.
Removing the airbag control unit
Disconnect the negative battery terminal
We remove the lining of the floor tunnel (article - Removing the lining of the floor tunnel of a Renault Duster car)
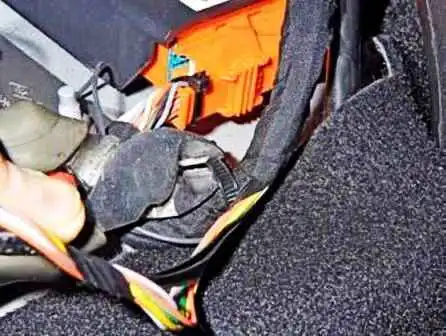
Side cutters bite the clamp of the wiring harness
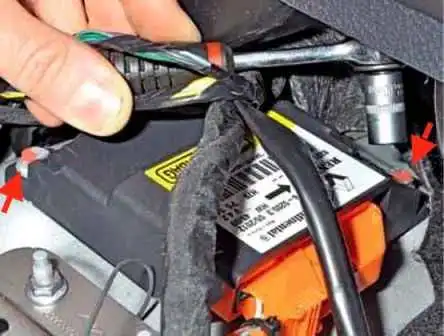
With a 10 head, unscrew the two bolts securing the control unit
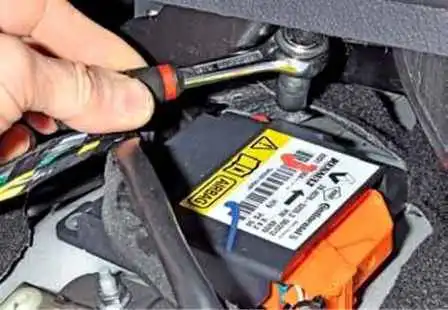
We set aside the wiring harnesses and unscrew the head on the 10th third bolt of the block
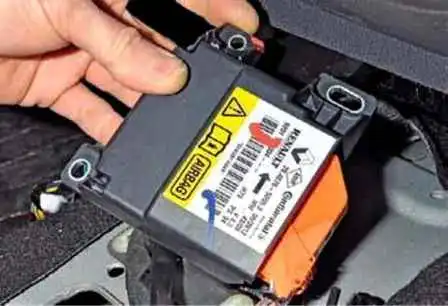
Remove the control unit from under the dashboard console
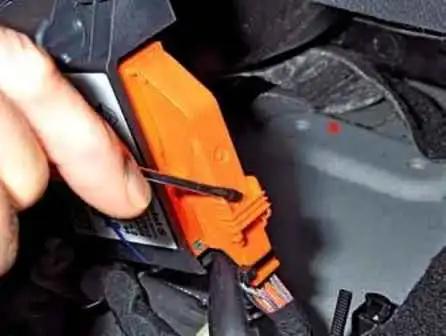
Use a screwdriver to press the latch
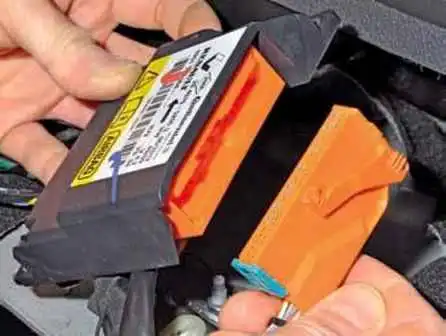
Turning the locking bracket of the wire block, disconnect the block from the block connector
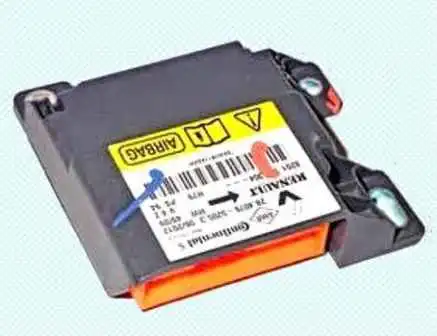
Remove the airbag control unit.
Install the control unit in reverse order.
Removing the switching unit
The switching unit is located on the left, under the instrument panel.
Disconnect the wire terminal from the negative battery terminal.
For clarity, we show with the instrument panel removed.

Push the lock of the wire block
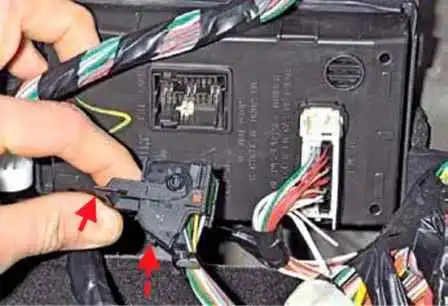
Turning the retainer bracket, disconnect the black block from the block connector (the arrows show the bracket and the retainer)
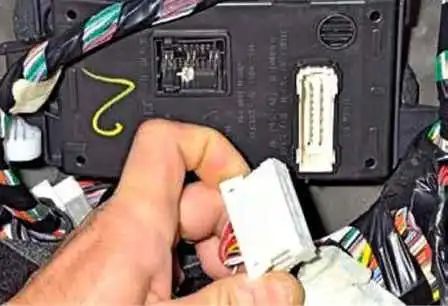
Squeezing the two latches of the wire block, disconnect the white block from the block connector
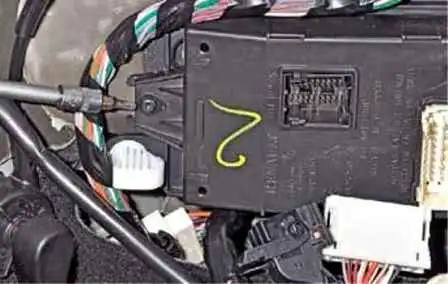
Use the TorxT-20 key to unscrew the block fastening screw
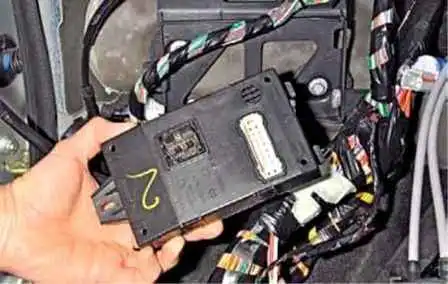
Remove the switching unit. Install the block in reverse order.
Removing the transmission control unit of a 4x4 car
The unit is installed on the right under the instrument panel
Removing the instrument panel (article - How to remove the panel Renault Duster)
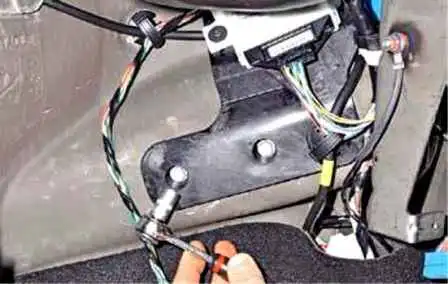
With a 10 head, unscrew the two bolts securing the block bracket
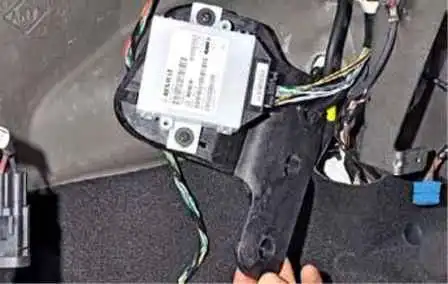
And release the bracket with the block
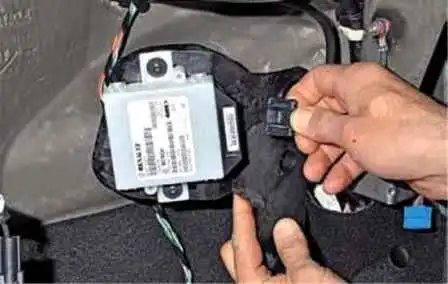
By pressing the lock of the wire block, we disconnect the block from the block connector

Using the TorxT-20 wrench, unscrew the two screws securing the unit and remove the transmission control unit.
Install the block in reverse order.
Removing the audio head unit
Disconnect the negative battery terminal
Remove the lining of the instrument panel console, set the trim aside without disconnecting the wire blocks from the switches installed in the trim
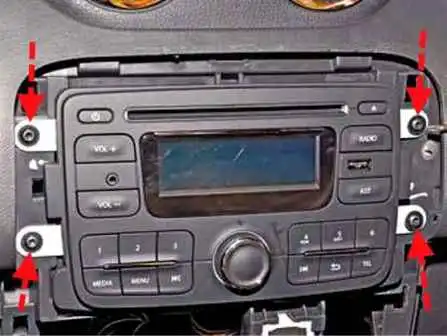
Use the TorxT-20 key to unscrew the four screws securing the head unit.
Remove the head unit from the device panel
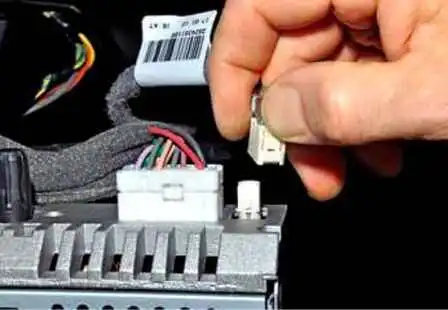
Pressing the lock of the antenna block, disconnect the block from the head unit connector
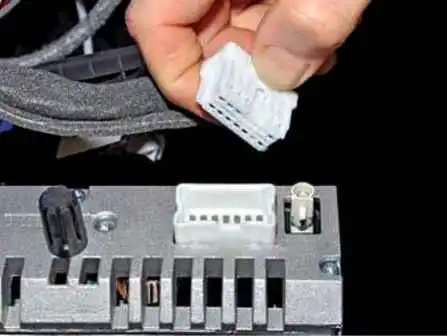
Pressing the lock of the wire block, disconnect the white 12-pin block from the head unit connector
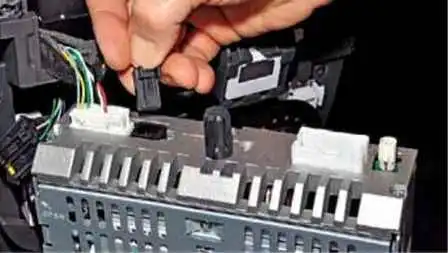
By pressing the lock of the wire block, we disconnect the black block (block of the remote control for the audio system) from the head unit connector.
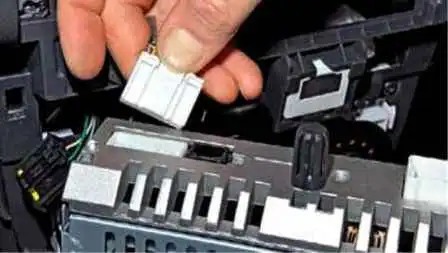
Pressing the lock of the wire block, disconnect the 24-pin white block from the head unit connector and remove the head unit.
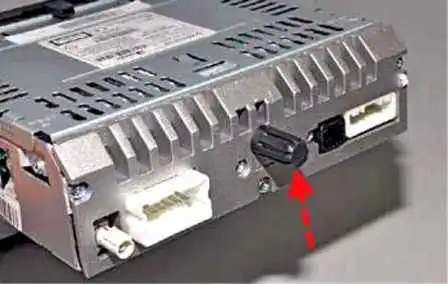
Install the head unit in reverse order
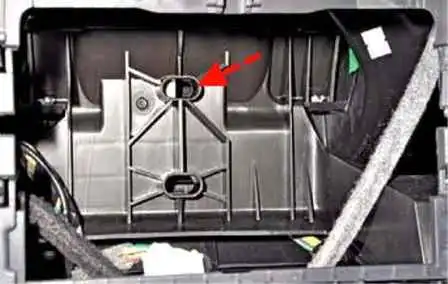
When installing, the head unit pin with the rubber bushing put on it must fit into the hole in the instrument panel.


