


We change the shoes in the event of the maximum permissible wear of their linings or of the brake drum of the rear wheel brake mechanism.
The shoes must also be replaced when the linings are oil-contaminated, when there are deep grooves and chips on them, or when the linings peel away from the shoe base.
The brake mechanisms of the rear wheels of the front-wheel-drive and all-wheel-drive Renault Duster cars have a fundamentally identical design.
The difference lies in the location of the retracting springs and the expander lever of the parking brake drive.
The shoes of the brake mechanisms of all cars are replaced using the same techniques, described using the example of a front-wheel-drive car.
However, to facilitate the work on an all-wheel-drive car, the retracting springs can be removed beforehand, since they are located on the outer sides of the shoes.
We carry out the work on a level surface.
We show the replacement of the shoes on the left rear wheel.
Before removing the brake drum, we lower the parking cable lever to the stop — the car must be released from braking.
We remove the rear wheel and securely fix the car on a factory-made support stand.
To remove the drum, the shoes must be brought together.
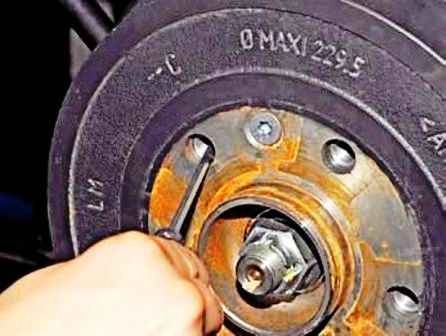
To do this, with a flat-blade screwdriver, through the threaded hole in the hub (in the drum — on a 4x2 car), we turn the ratchet nut of the automatic clearance adjustment mechanism between the shoes and the drum, reducing the length of the expander bar.
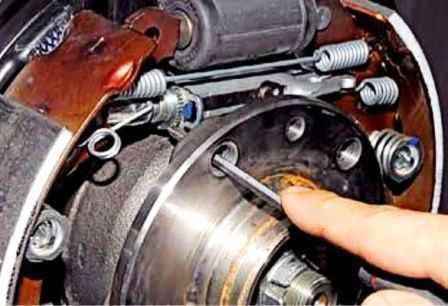
For clarity we show it with the drum removed. We turn the ratchet nut on the left and right wheels by the teeth from bottom to top.
On a 4x4 car
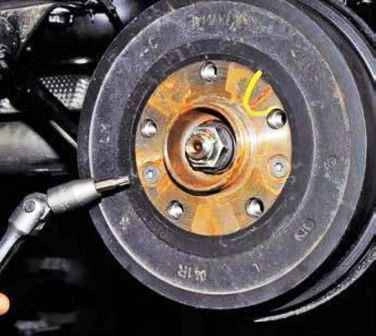
With a Torx T-40 key we unscrew two screws securing the brake drum to the hub.
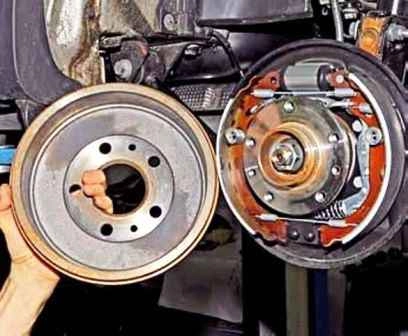
We remove the brake drum.
Do not press the brake pedal with the drum removed, the wheel cylinder pistons may come out completely.
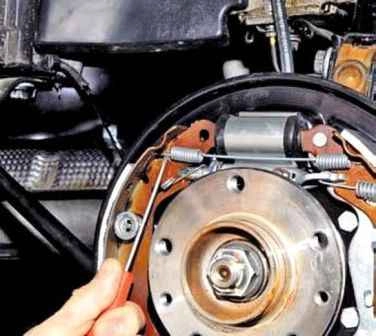
With a screwdriver we prise up and disengage from the shoe the hook of the upper retracting spring.
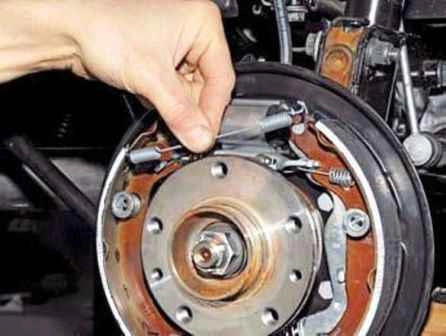
We remove the spring.
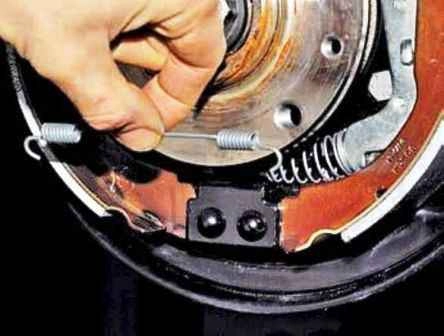
We also remove the lower retracting spring.
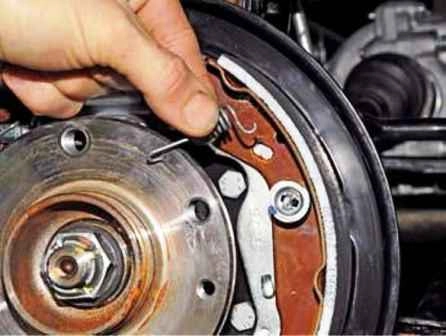
We remove the clearance adjuster spring.
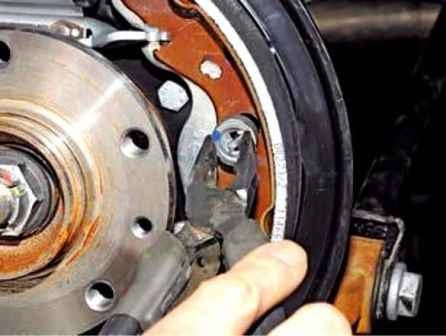
With pliers we turn the spring cup of the support pin of the rear shoe until the slot in the cup aligns with the shank of the pin.
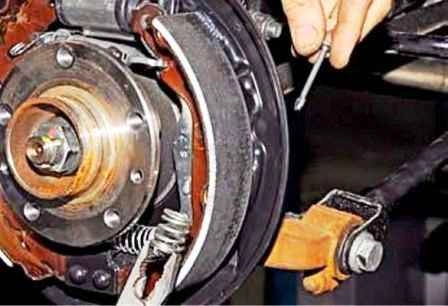
We remove the cup with the spring and take the support pin out of the opening in the brake mechanism backplate.
We also remove the support pin of the front shoe.
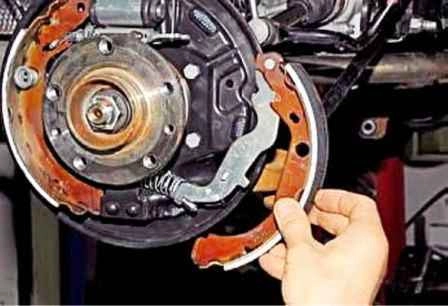
We move the rear brake shoe away from the brake backplate.
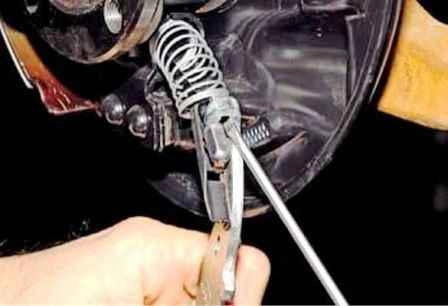
We disconnect the parking brake cable end piece from the rear shoe lever.
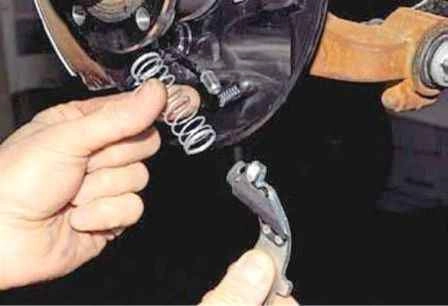
We remove the shoe and the spring of the cable end piece.
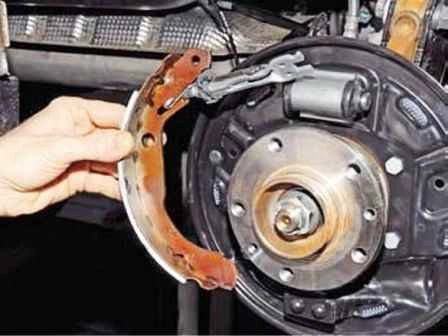
We remove the front brake shoe together with the expander bar and separate them.
We check the technical condition of the parts and clean them.
Before installing the new shoes, we clean the thread of the expander bar end piece and of the ratchet nut and apply a thin layer of plastic grease to the thread.
We set the automatic clearance adjustment mechanism to its initial state, screwing the expander bar end piece by hand into the opening in the bar (the thread on the expander bar end piece and the ratchet nut — right-hand).
We install the new shoes of the rear wheel brake mechanism in the reverse order.
Before installing the brake mechanism drum, we clean its working surface with a metal brush from dirt and shoe wear products.
Similarly we replace the shoes of the right wheel brake mechanism (the thread on the expander bar end piece and the ratchet nut — left-hand).
To adjust the position of the brake shoes, we press the brake pedal several times.
We hold it in the pressed position and then repeatedly raise and lower the parking brake lever (when moving the lever, the parking brake release button on the lever must be kept pressed all the time so that the ratchet mechanism does not operate).
In this case, in the rear wheel brake mechanisms, clicks will be heard from the operation of the automatic clearance adjustment mechanism between the shoes and the brake drums.
We raise and lower the parking brake lever until the clicks in the brake mechanisms stop.
We check the brake fluid level in the reservoir of the system's hydraulic drive and, if necessary, bring it to normal.
On a 4x2 car
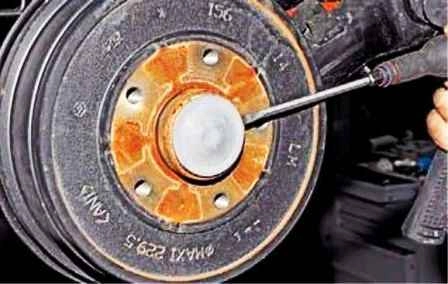
We prise up the protective cap with a screwdriver.
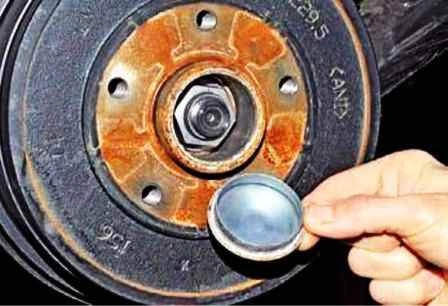
We remove the protective cap of the hub bearing.
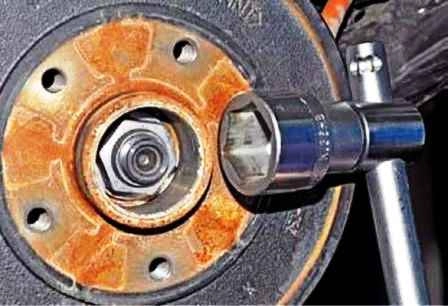
With a 36 mm socket we unscrew the hub bearing nut.
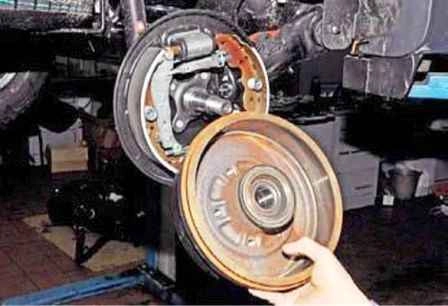
We remove the brake drum complete with the bearing.
The further operations for replacing the shoes are identical to the operations on a 4x4 car.
After installing the brake drum, we tighten the hub bearing nut to a torque of 175 N·m.
A new nut should be installed, but if there is none, the old nut can be used.
We spread the jaws of the vice by 10—15 mm, place the hub nut on them at an angle so that it rests simultaneously with an edge and with the base.
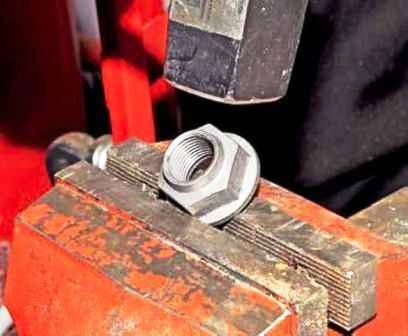
We carefully strike the outer chamfer of the nut with a hammer, crushing it.
The chamfer must be crushed in three places.
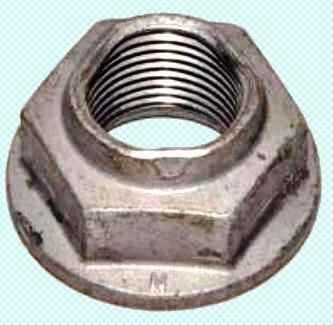
Restored hub nut.


