We remove the cylinder head to replace the gasket under the head or to repair the cylinder head itself.
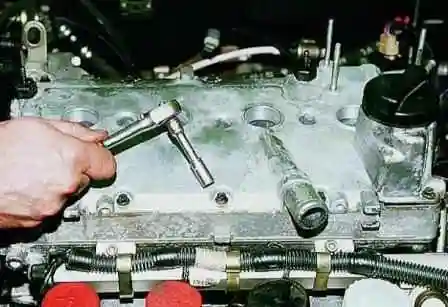
With a head of 8, we unscrew 15 bolts securing the valve cover
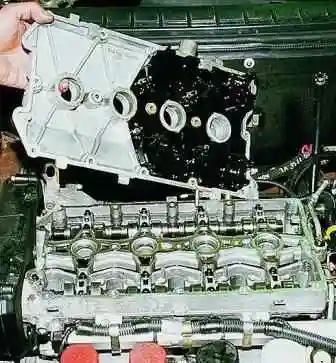
Remove the cylinder head cover
Remove the front timing belt cover
Remove the camshaft pulleys for this:
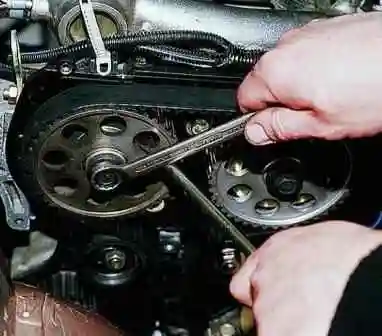
Holding the exhaust camshaft pulley from turning with a screwdriver, loosen the bolt with a 17 wrench
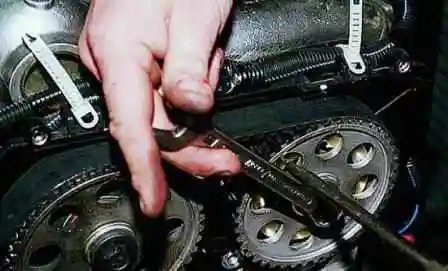
We also loosen the intake camshaft pulley bolt
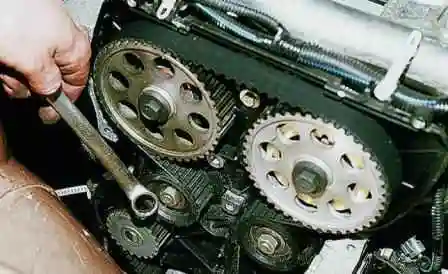
Using a 17 key, loosen the nut of the belt tension roller
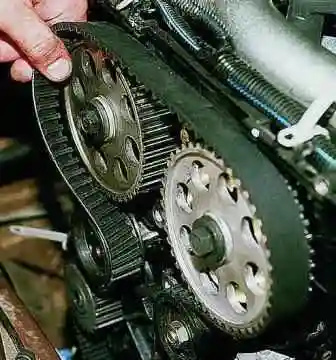
By turning the roller, we loosen the belt tension and remove the belt from the pulleys
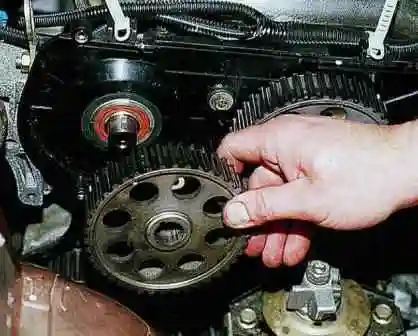
Remove the camshaft pulleys
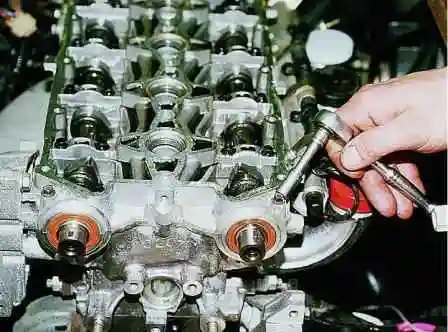
With a head of 8, we unscrew 20 bolts securing the camshaft bearing housing
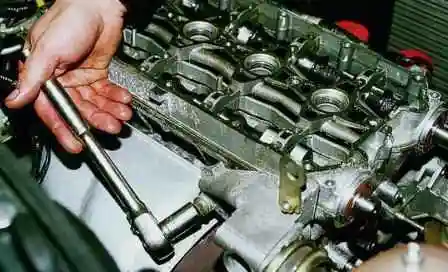
With a 15 head, unscrew the three nuts securing the rear support bracket
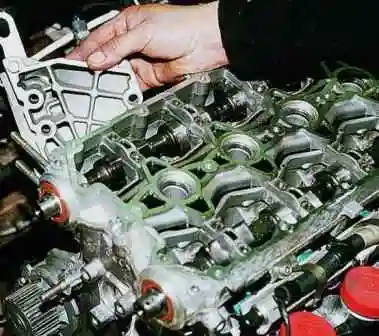
Remove the bracket
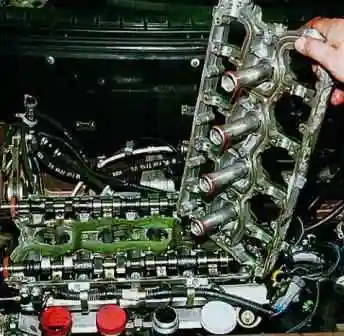
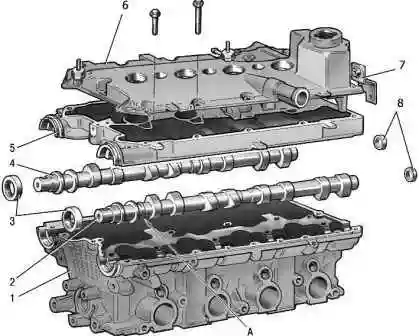
Remove the camshaft bearing housing.
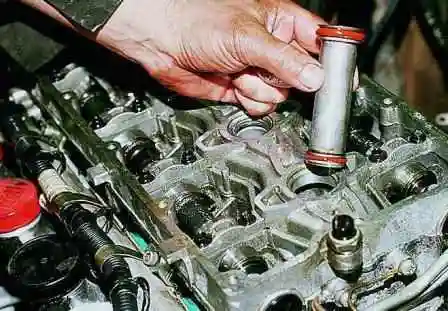
Remove the spark plug guide tubes from the housing
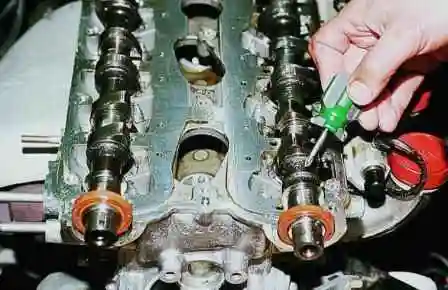
To distinguish the shafts, a belt is made on the inlet shaft near the first neck
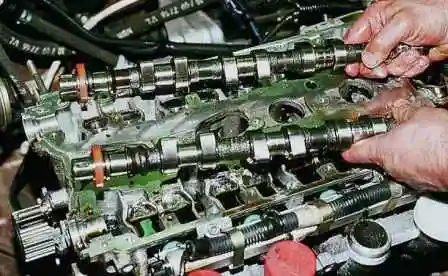
Retrieving the camshafts
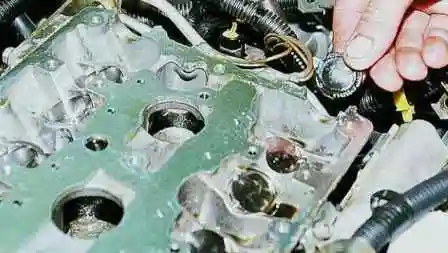
Remove the camshaft plugs
Remove the intake and exhaust manifold
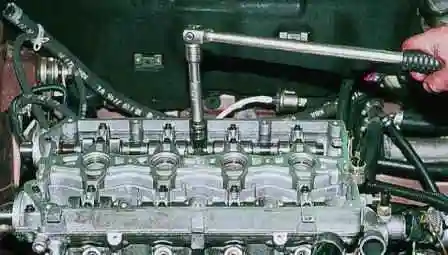
Using a 10 hexagon and an amplifier, we unscrew the ten head mounting bolts. Removing bolts and washers
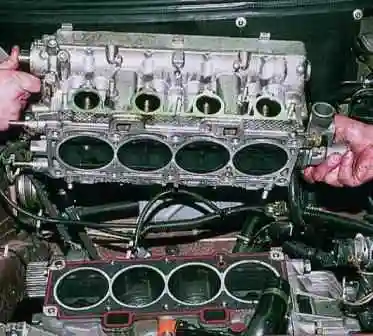
Remove the cylinder head.
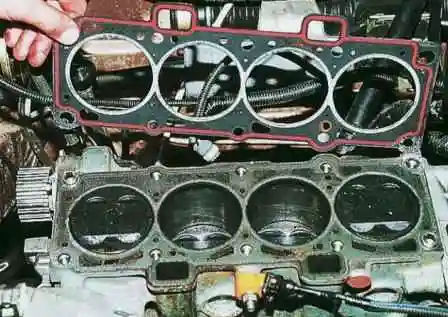
Removing the gasket
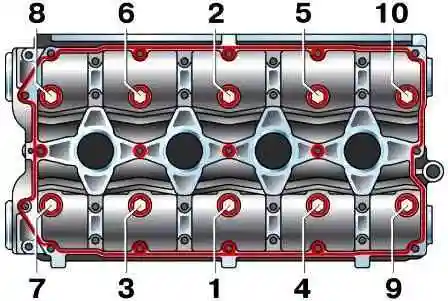
Install the cylinder head in reverse order.
The block head tightening pattern is shown in the figure
The spacer cannot be reused.
We tighten the bolts according to the scheme in three steps:
- - first step - tightening 20 Nm (2 kgf.m);
- - second trick - turn 90˚;
- - the third trick is a 90˚ turn.
Before installing the bolts, you need to check their length.
If the bolts have extended more than 95 mm, then they need to be replaced.
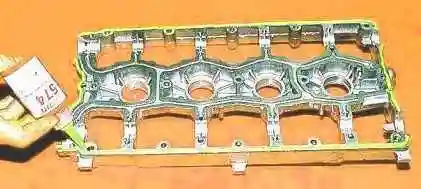
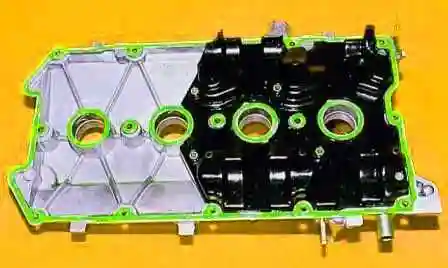
Apply sealant to the surface of the shaft bearing housing
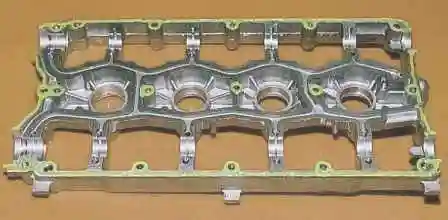
Sealant application areas
We install the bearing housing and evenly tighten the mounting bolts.
Lubricating the O-rings of the guide pipes with engine oil, install the pipes in the holes of the cylinder head and bearing housing.
Before installing the valve cover, apply sealant.


