Replacing the clutch discs is necessary when the force on the pedals decreases when the clutch is released (and, accordingly, the stroke increases), which indicates a large wear on the surface of the drive disc or "draft" of the spring
Increased noise when disengaging the clutch, jerking during clutch operation also indicates wear on the clutch discs and release bearing.
When replacing clutch discs, the entire clutch kit must be replaced.
We install the car on a viewing ditch or a lift.
Removing the gearbox (article - Removing and installing the GAZelle gearbox Next)
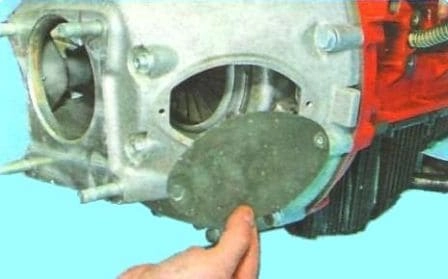
We unscrew the two mounting bolts and remove the technological hatch cover on the clutch housing
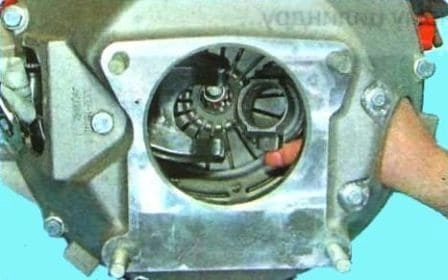
Remove the release bearing from the fork
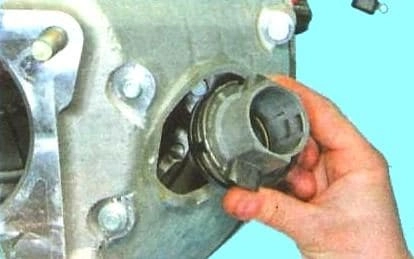
Remove the bearing
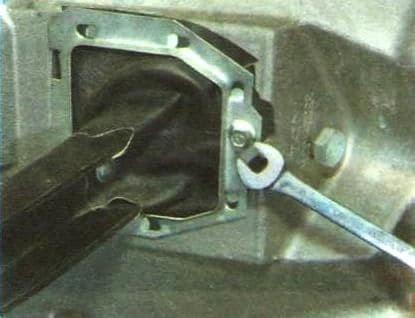
We unscrew the bolt securing the frame of the clutch fork cover
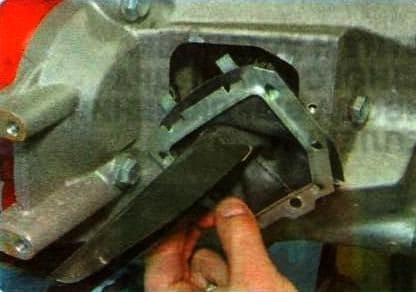
Remove the plug along with the frame and case
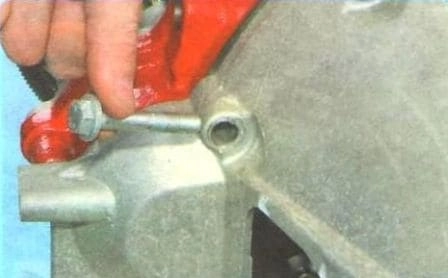
We unscrew the twelve bolts of the clutch housing to the cylinder block located in a circle and remove the crankcase ("bell")
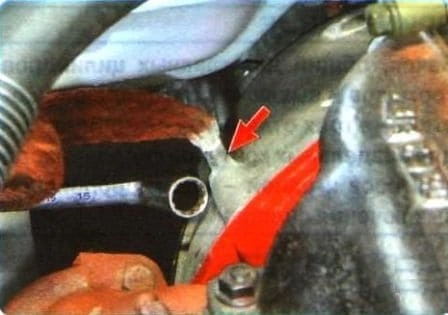
A mass wire connecting the body to the power plant is fixed with one bolt
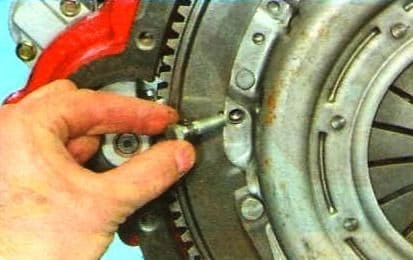
Turning the crankshaft, unscrew the six bolts securing the clutch pressure plate to the flywheel
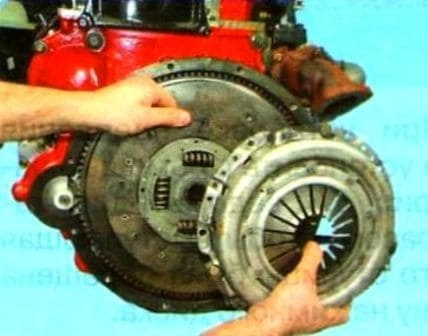
Remove pressure and driven disc
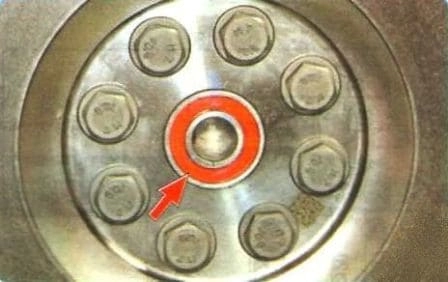
Into the flywheel, the main bearing of the gearbox input shaft is pressed
When removing the clutch, pay attention to the condition of this bearing.
In case of unsatisfactory condition, the bearing is replaced.
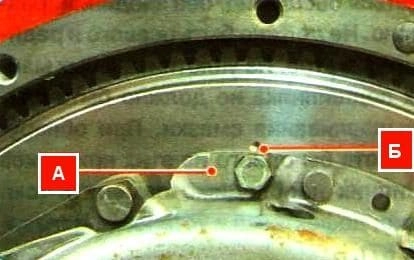
To reduce engine vibrations due to imbalance of clutch parts, the crankshaft is balanced as an assembly with the pressure plate at the factory.
If the clutch is not removed for replacement, then when installing, pay attention to the coincidence of the marks on the pressure plate "A" (round mark on the casing) and the flywheel "B" (recess).
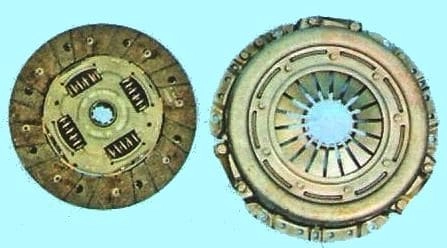
Before installing the clutch, check the ease of movement of the driven disk along the splines of the input shaft of the gearbox.
If necessary, correct the causes of jamming or replace defective parts.
Check the ease of rotation of the clutch release bearing and the absence of play on the clutch.
At the slightest sign of a malfunction (increased noise, seizing of rolling elements, play), replace the bearing assembly with the coupling.

The driven plate must be installed so that the protruding part of the hub is facing the pressure plate.
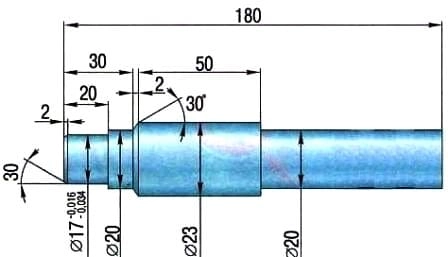
First install the driven disk using a mandrel.
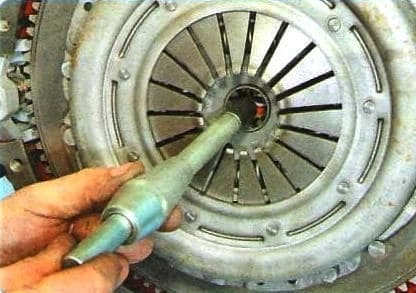
After that, install the drive disk (basket) and screw the bolts securing the drive disk to the flywheel.
We wrap the bolts evenly one turn each, moving from bolt to bolt in diameter.
Remove the mandrel and install the gearbox.
Install all parts in reverse order.
The tightening torque of the pressure plate bolts is 20 - 29 Nm.


