The ISF2.8 engine uses a cartridge fuel filter
The water-in-fuel sensor is built into the fuel filter housing along with the fuel heater.
The fuel filter is installed between the fuel pump and the fuel tank and is secured to the left side member in the engine compartment.
The filter operates under vacuum.
A hand pump is used to fill the system with fuel.
The fuel filter element is replaced without removing the filter housing.
Disconnect the negative terminal from the battery.
Place a container to collect the fuel under the fuel filter housing.
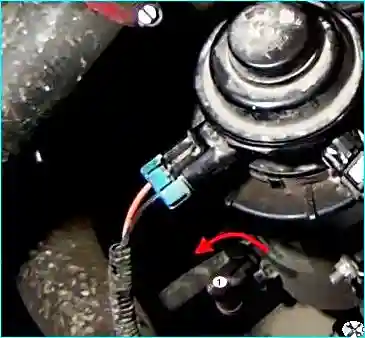
Open the drain cock by turning the wing nut counterclockwise
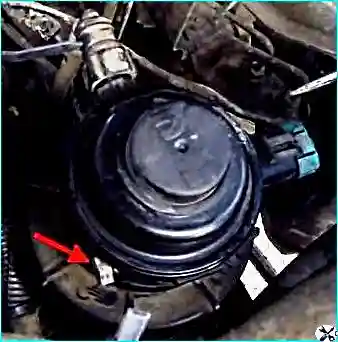
Unscrew the plug on the filter housing cover
Drain the fuel in the filter housing through the tap.
Screw the air bleed plug into the cover.
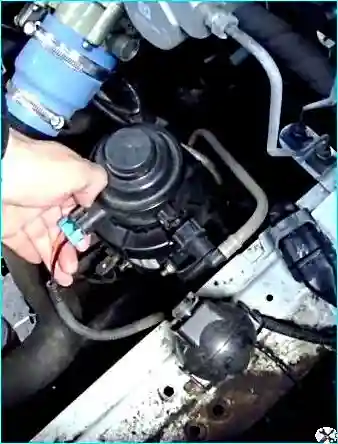
We squeeze the retainer of the wiring block and disconnect the block
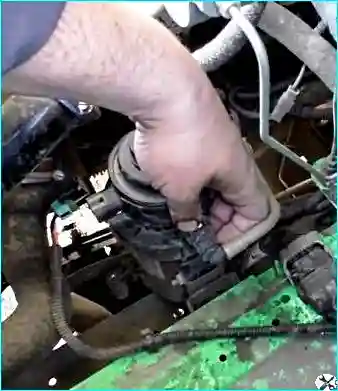
We squeeze the retainer and disconnect the fuel supply line from the filter nipple
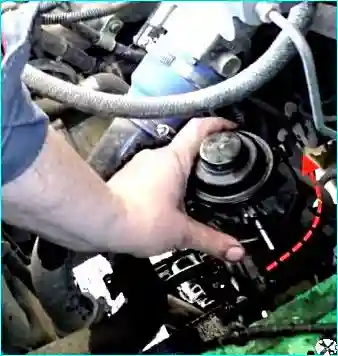
Unscrew the clamping nut of the filter housing cover counterclockwise
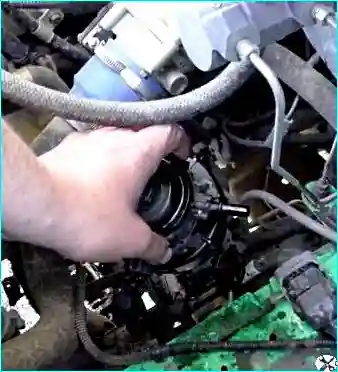
Move the cover away from the housing
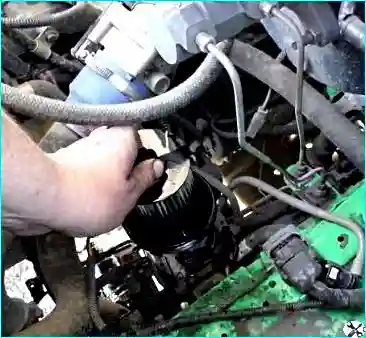
We remove the filter element from the housing. Close the drain cock
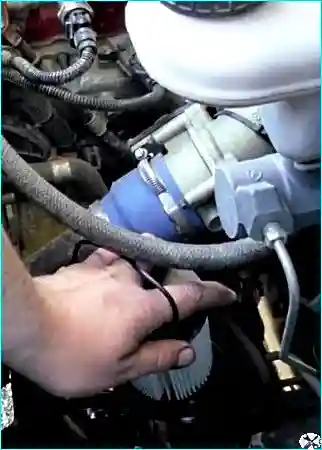
Install a new filter element
To facilitate bleeding the fuel system, pour clean fuel into the filter housing to a level of 10 - 15 mm below the edge of the housing.
Lubricate the sealing ring of the housing cover with fuel.
Install the cover and tighten the clamping nut at least 3.5 turns.
Bleeding the fuel system (article - Maintenance of the fuel system).
Removal and installation of the fuel filter assembly
We remove the fuel filter completely only for its repair or replacement.
Disconnect the negative terminal of the battery
Place a container for draining the fuel sediment under the filter housing

Open drain cock, turning the wing nut counterclockwise
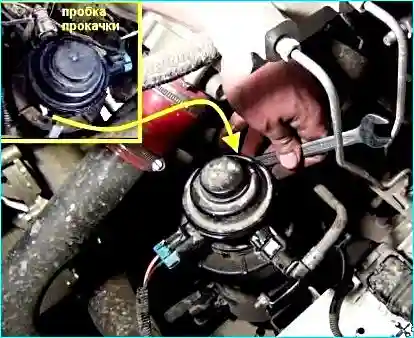
Drain the fuel sediment through the cock, screw the air bleed plug into the cover.

Press the wire block retainer and disconnect block

Squeeze the retainer and disconnect the fuel supply line from the filter nipple
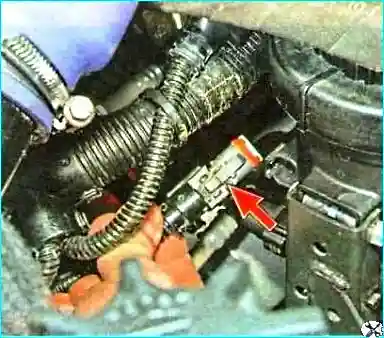
Press the retainer of the water sensor wire block and disconnect the block.
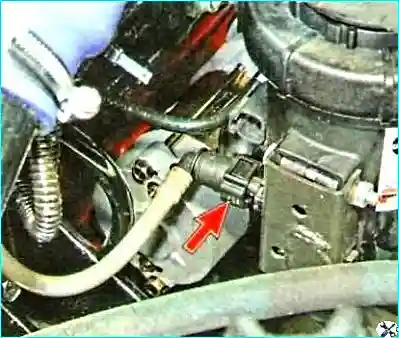
Press the retainer and disconnect the tip of the fuel outlet line from the filter nipple
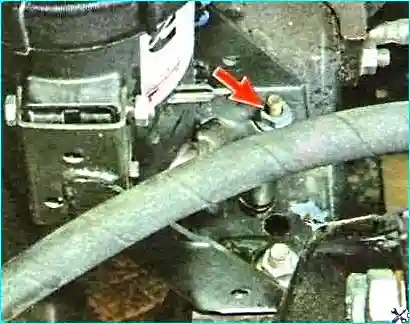
Unscrew the nut securing the rear filter bracket to the frame side member and remove the bolt
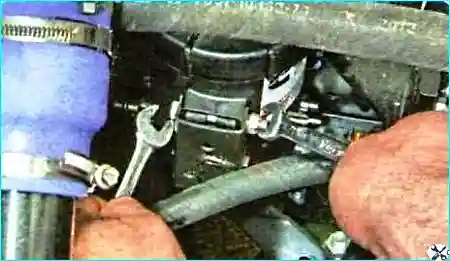
Unscrew the nut securing the front filter bracket and remove the bolt from the hole
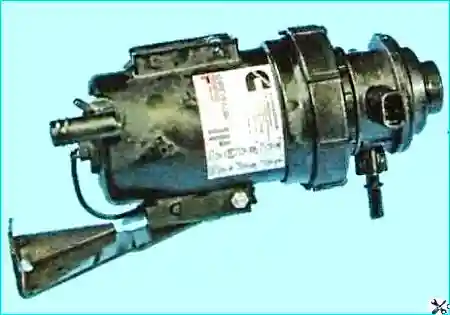
Removing the fuel filter
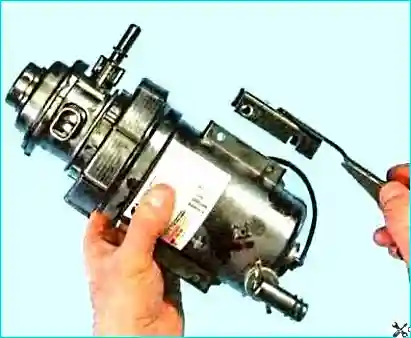
Unscrew the nut securing the rear filter bracket to the filter housing, remove the bolt and remove the bracket from the filter
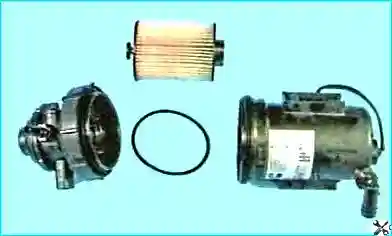
If necessary, disassemble the filter and remove the filter element
Install the filter in the reverse order and bleed the fuel system.


