We replace the steering tips and steering rods when there is play or deformation of the steering rods
We install the car on a lift or a viewing ditch
Replacing tie rod ends
The threads of the tie rod ends are different, the thread of the left end is right-handed, and the right end is left-handed
This task will require a ball joint puller
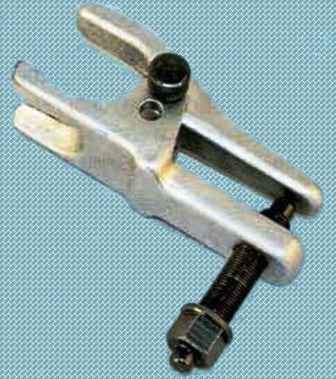
Raise and mount the front of the car on a support (if we raise the car with jacks)
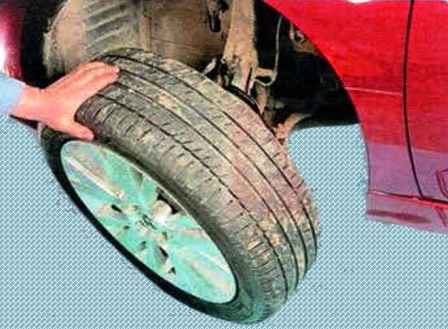
Remove the wheel from the side of the work being done
We clean the fasteners with a metal brush and treat with penetrating lubricant WD-40
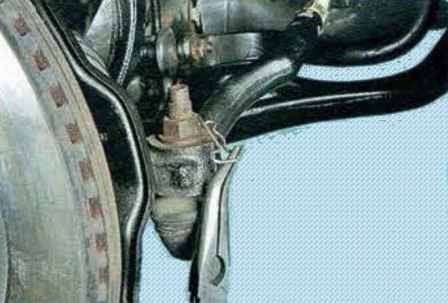
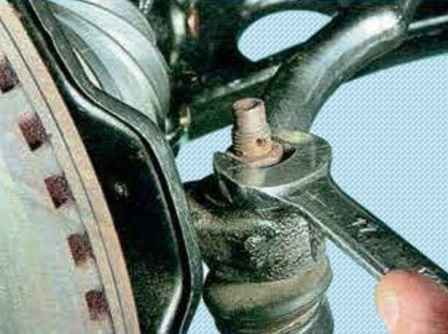
We take out the retainer and unscrew the nut that secures the ball pin of the tip to the steering knuckle lever
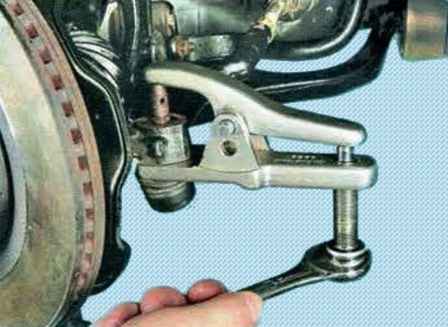
Installing the ball joint puller
Press the pin out of the pivot arm boss
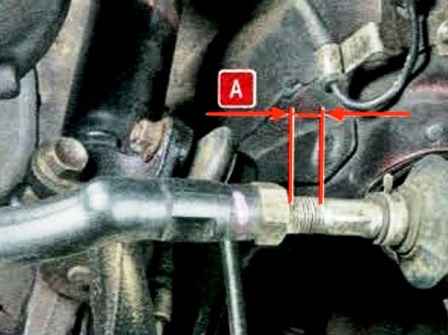
We measure and record the length of the free part of the thread of the steering rod, so that during assembly, if possible, do not violate the angle of convergence of the wheels
The difference in the length values (A) of the free threaded parts of the steering rods should be no more than 3 mm
You can mark with a marker the position of the locknut on the threaded part of the steering rod
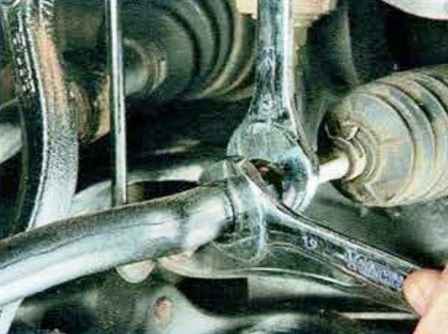
Loosen the tie rod end locknut
If there is no puller, the ball joint pin can be knocked out with sharp hammer blows on the end face of the swing arm boss, striking along the axis of the lever
We unscrew the tip from the steering rod, counting the number of revolutions, so that when installing a new tip, if possible, the toe-in does not change
Install the new tip in the reverse order, screwing it onto the steering rod as many turns as was calculated during removal
Tighten the locknut to a torque of 68-98 Nm
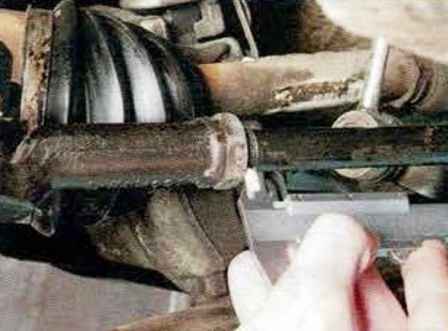
Re-measure the length of the free part of the tie rod thread.
It must match the value measured when the tip was removed
If this is not the case, loosen the locknut and unscrew or tighten the tip, depending on whether the length of the free part of the thread has increased or decreased
Tighten the locknut and repeat the test
Install all the parts in reverse order and check the wheel alignment
Replacing the tie rod
Remove the front suspension subframe, as described in the article "How to remove and install the Mazda 6 front suspension subframe"
Remove the tie rod end from the corresponding side as described above
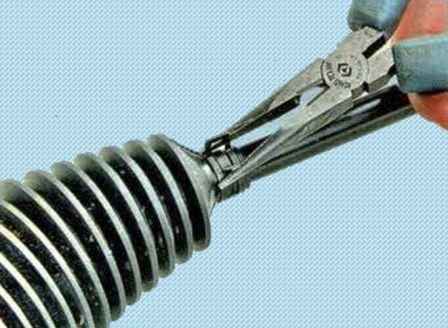
Squeeze the bent ears of the clamp and slide it along the steering wheel howling traction
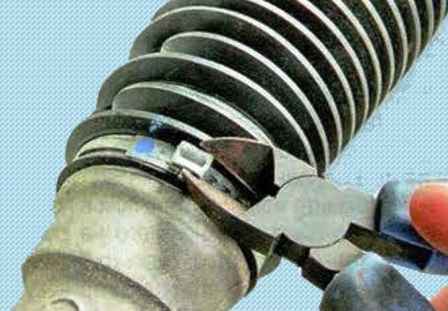
We bite the second clamp of the protective cover
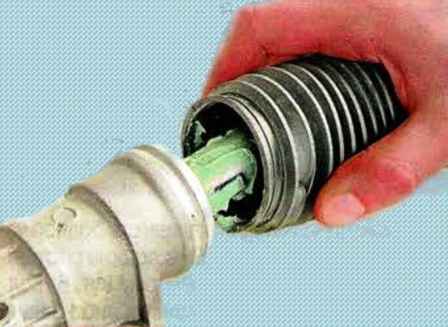
Remove the case
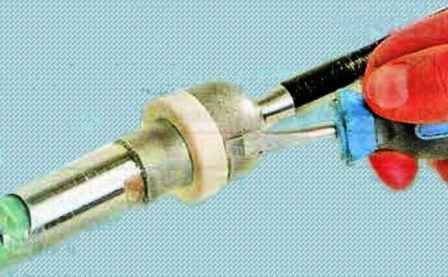
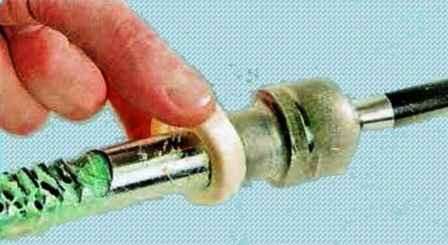
We pry off the thrust ring and slide it along the steering shaft
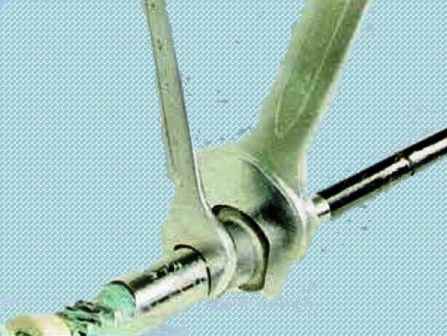
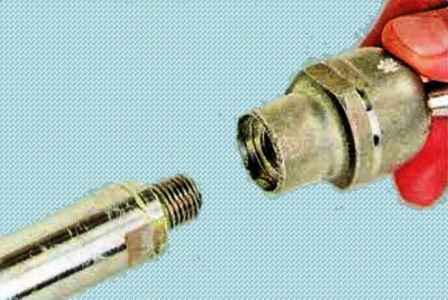
Retaining the rod from turning, unscrew the nut and remove the steering rod
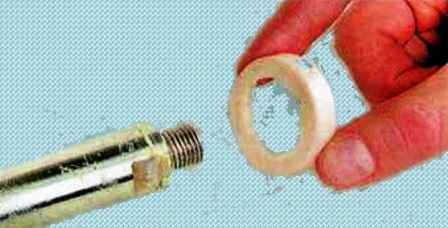
Remove and inspect the thrust ring. Replace the ring if it is deformed or broken
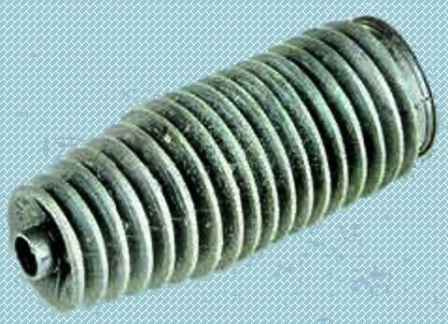
We examine the protective cover. In case of deformation or cuts on the cover, we replace it
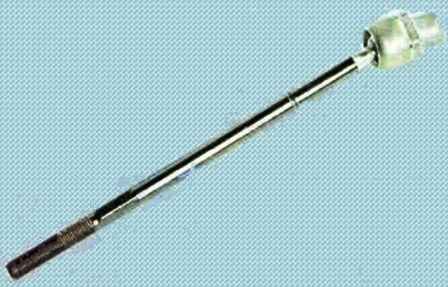
Install the new tie rod and all removed parts in reverse order
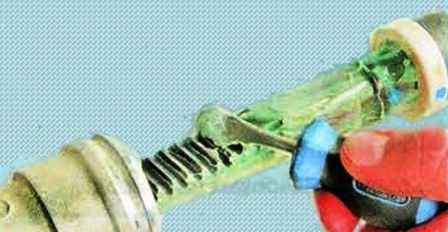
When assembling, before installing the protective cover, apply new grease to the working surface of the steering gear shaft-rack
Tie-rod end ball joint nut tightening torque 33-40 Nm
Check and, if necessary, adjust the wheel alignment


