Repair of the car's parking brake consists in replacing the handbrake control cables, as well as adjusting the handbrake
With the parking brake properly adjusted, the vehicle should stand securely with the handbrake lever up on a 23˚ slope.
If the car is not held by the handbrake, then you need to adjust the tightening of the cables.
If, however, tightening the adjustment mechanism fails to adjust the handbrake, then you need to inspect the rear brake mechanisms for wear on the pads, etc.
Adjusting the parking brake actuator
We adjust the parking brake drive after replacing the brake pads of the rear wheels, cables or the parking brake lever.
Hang out the rear wheels and securely fix the car on stands.
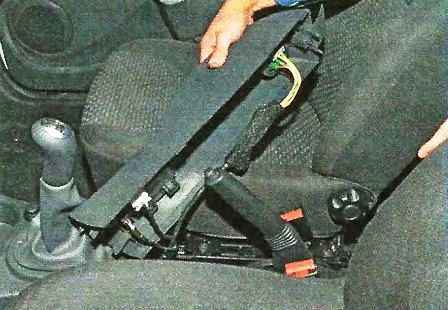
Having lifted the parking brake lever, remove the rear part of the floor tunnel lining (How to remove the Nissan Almera floor tunnel lining)
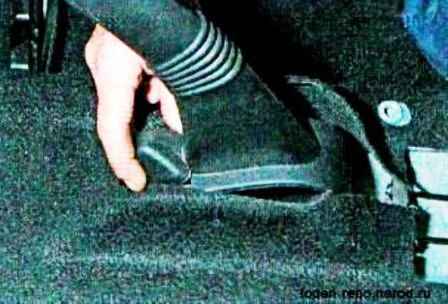
Remove the cap of the lever lining that covers the adjusting nut of the parking brake actuator.
To adjust the position of the brake pads, press the brake pedal several times.
Then, while holding it down, repeatedly raise and lower the parking brake lever (when moving the lever, keep the parking brake release button on the lever pressed all the time so that the ratchet mechanism does not work).
At the same time, clicks will be heard in the brake mechanisms of the rear wheels from the operation of the mechanism for automatically adjusting the gaps between the pads and the brake drums.
If no clicks are heard when moving the parking brake lever, then increase the cable tension by tightening the nut on the threaded end of the front cable (see below).
Raise and lower the parking brake lever until the clicks in the brake mechanisms stop.
After that, we check the stroke of the lever, which should be 8-9 clicks (teeth along the sector of the ratchet device of the lever).
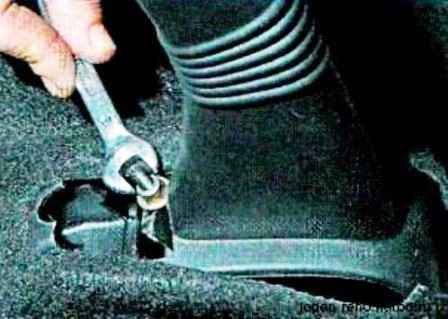
If the number of clicks does not match the specified, then with a wrench or a high head by 10 we turn the nut on the threaded end of the front cable (increasing or decreasing its tension), thereby adjusting the stroke of the parking brake lever.
When the parking brake lever is fully released, the outstretched rear wheels should turn freely, and when the lever is raised, they should be locked.
A properly adjusted parking brake should hold the vehicle on inclines up to and including 23%.
Replacing the parking brake cables
We replace the parking brake cables in case they break, stretch or jam inside the shells (rear cables), when the parking brake adjustment fails to keep the car stationary on a slope - up to 23% inclusive.
We carry out work on a flat area, a viewing ditch or overpass.
We show the work of replacing the rear cable using the example of the left cable, we replace the right one in the same way.
Remove the lining of the floor tunnel.
To loosen the cable tension, raise the parking brake lever and with a 10 key, almost completely unscrew the drive adjusting nut on the threaded tip of the front cable.
Release the parking brake lever.
Removing the brake drums of the rear wheels (How to replace the brake pads of a Nissan Almera car)
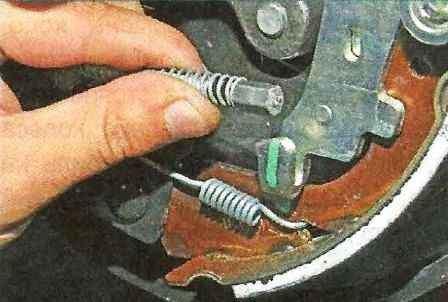
We remove the tip of the parking brake cable from the rear shoe lever
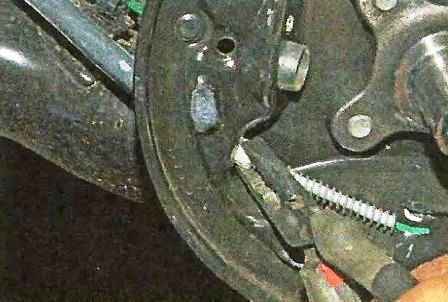
Pliers compress the petals of the latch of the rear tip of the cable sheath
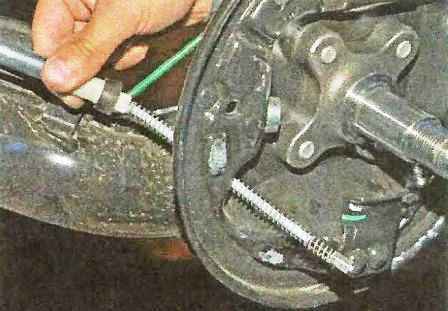
Remove the tip from the hole in the shield of the brake mechanism
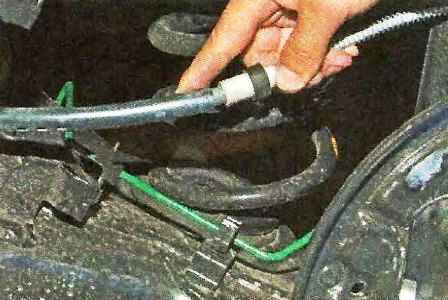
Remove the cable from the holder on the rear suspension arm
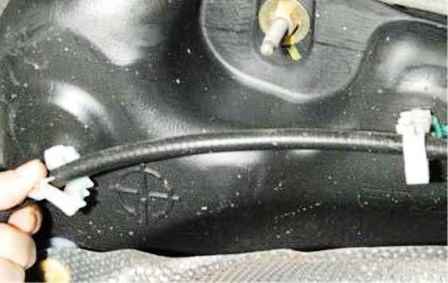
Remove the cable from the two plastic holders on the fuel tank
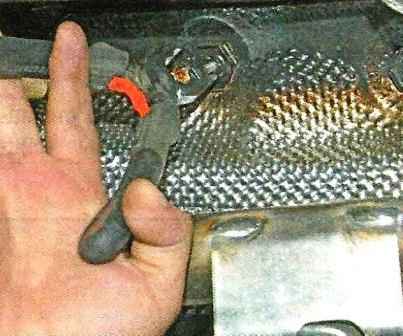
Unscrew the three nuts securing the heat shield with pliers
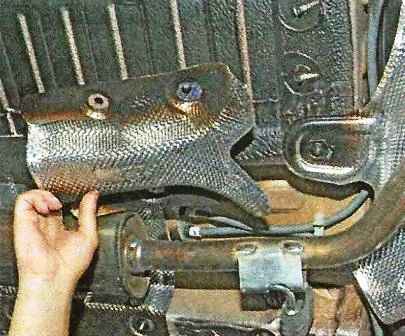
Remove the heat shield
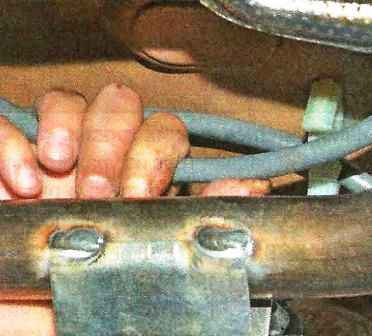
We remove the cable from the plastic holder on the bottom of the body
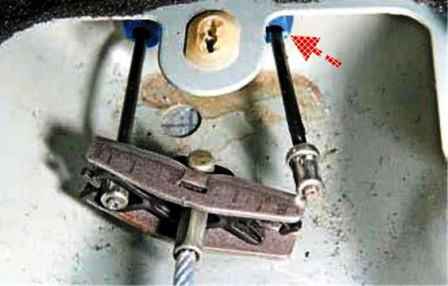
Using pliers, we pull the front tip of the cable into the passenger compartment and, turning the equalizer, we remove the tip of the cable from its slot.
Using pliers, we squeeze the petals of the latch of the front tip of the cable sheath and push the tip out of the hole in the bottom.
This operation is not easy to perform, as you have to work in the cramped space of the bottom niche.
But, given that we remove the cable for replacement, you can simply break the plastic retainer petals.
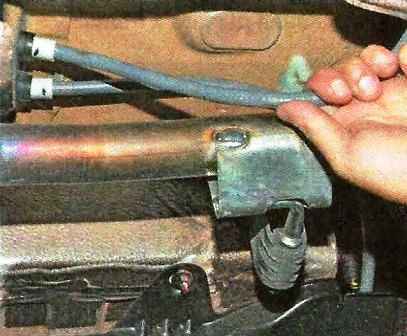
We bring the cable out of the hole in the bottom of the body.
Similarly, remove the right cable of the parking cable.
Install the rear parking brake cables in reverse order.
To replace the front parking brake cable, remove the rear of the floor tunnel lining and loosen the cables by unscrewing the drive adjusting nut on the threaded end of the front cable.
Remove the front ends of the rear cables from the equalizer
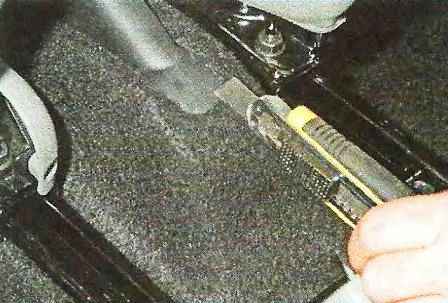
Cut the floor carpet behind the parking brake lever with a knife
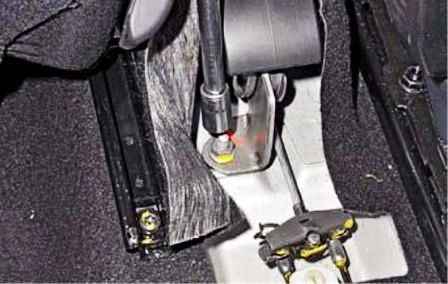
Bending the cut parts of the carpet, with a 13 head, unscrew the two nuts securing the lever to the floor
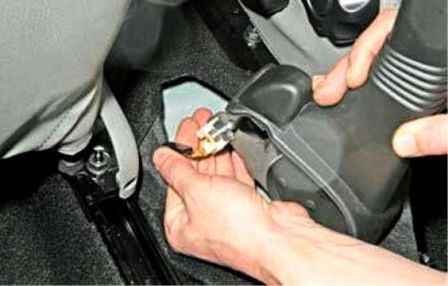
Having lifted the parking brake lever, disconnect the wire block from the parking brake indicator switch
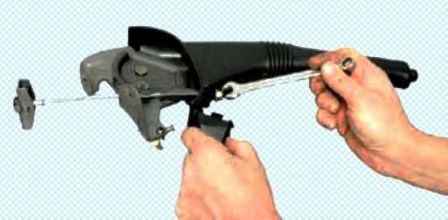
Having removed the plug of the lever lining, with a 10 key, completely unscrew the adjusting nut on the threaded tip of the front cable
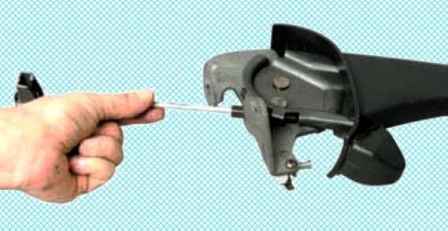
Remove the front cable from the lever hole.
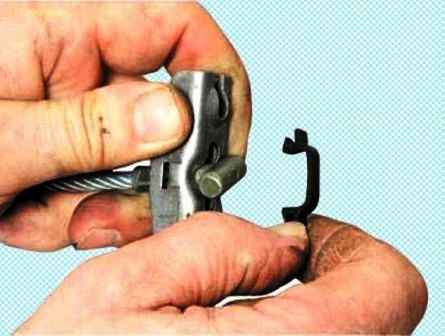
Having prying with a screwdriver, we alternately remove the plastic clips of the front cable tip and the rear cable tips from the equalizer.
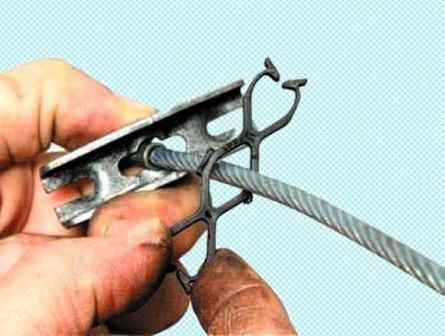
Remove the front cable from the equalizer.
Install the front cable and parking brake lever in reverse order.
After that, we adjust the parking brake drive, as described above.


